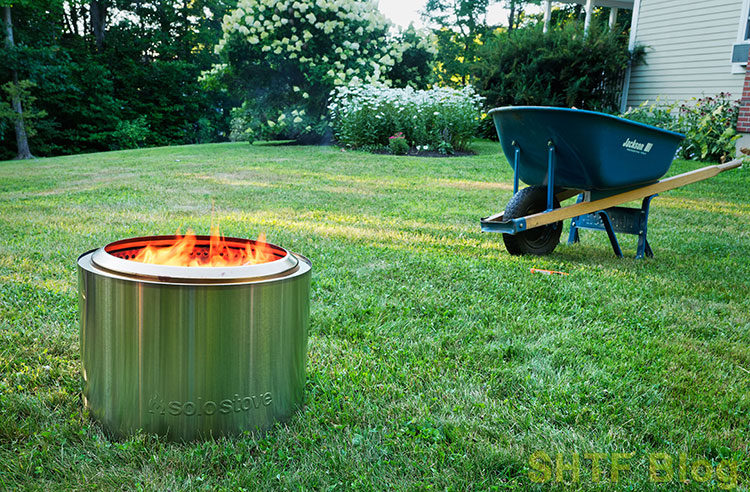
I have a Solo Stove Bonfire. I love it. It uses a fraction of the firewood that a traditional campfire does, I’m not constantly shifting my chair to avoid the smoke that seems to blow into my face, and it produces better heat if I want to sit around it on a cool day. It’s also portable and (with an optional stand) safe to use on almost any outdoor surface.
But what about Solo Stove cooking? Solo sells cooking accessories, so it must be possible, right? And if it is, how does it work? More importantly, how well does it work?
Solo Stove Cooking 101
Yes, you can cook on a Solo Stove, but it has to be done carefully and it requires some patience. My first attempt was a failure, and I suspect others might encounter the same thing.
The challenge arises from the fact that you are attempting to do something that the stove was not designed for. Solo Stoves were designed to be smokeless fire pits for people to gather around and enjoy each other’s company while watching a fire burn. Fire draws people around. It has for centuries. Who doesn’t enjoy sitting around a fire?
The Stove’s Design
If you’re not already familiar with the Solo Stove’s design, in a nutshell, it creates a vacuum effect that pulls the smoke/gasses down through the bottom. That happens from the fire’s “first” burn.
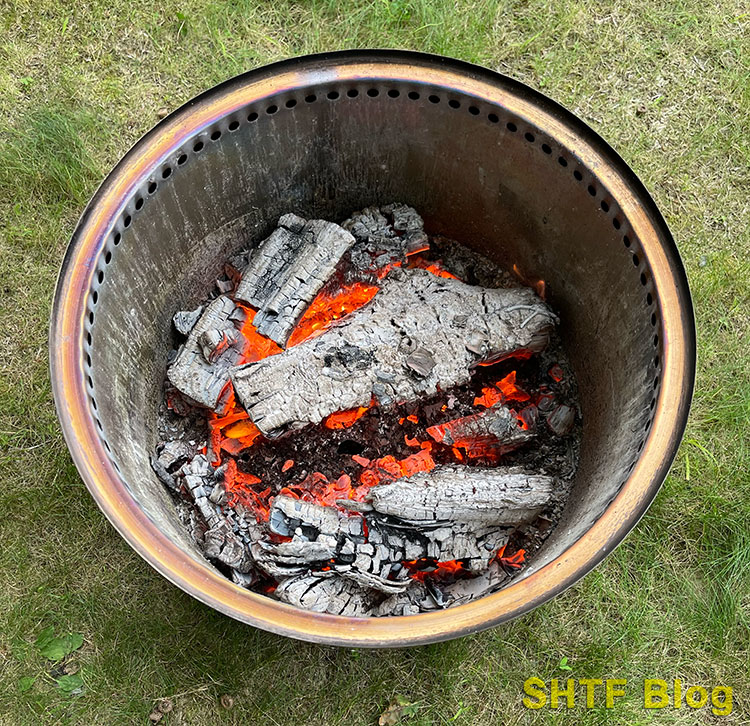
Fresh air is then injected into the gasses through vents at the bottom. That newly oxygenated hot air (now combustible again) rises up inside the hollow wall of the stove and comes out small holes near the inside top of the stove (visible in the picture above). As it comes out, the flames from the fire reignite those gasses. This is the “secondary” burn.
This design yields more heat from the wood, reduces wood consumption, produces less smoke, and adds an interesting visible effect at the top of the stove where flames dance around. The design is the same idea as a modern catalytic-style wood stove that people use in their homes and that are now commonly sold in order to reduce air pollution.
Air pollution from recreational campfires is significant, and if you or others around you have asthma, or you live in an area with neighbors, reducing the pollution from campfires is a smart (and courteous) thing to do. The Solo Stove is the answer to this problem.
So, as you can see, Solo designed a stove for clean(er) and safe(er) enjoyment of a recreational fire pit. They did not design it as a cookstove. That does not mean you can’t cook on it, it just means you have to go about it the right way.
How to Cook On a Solo Stove
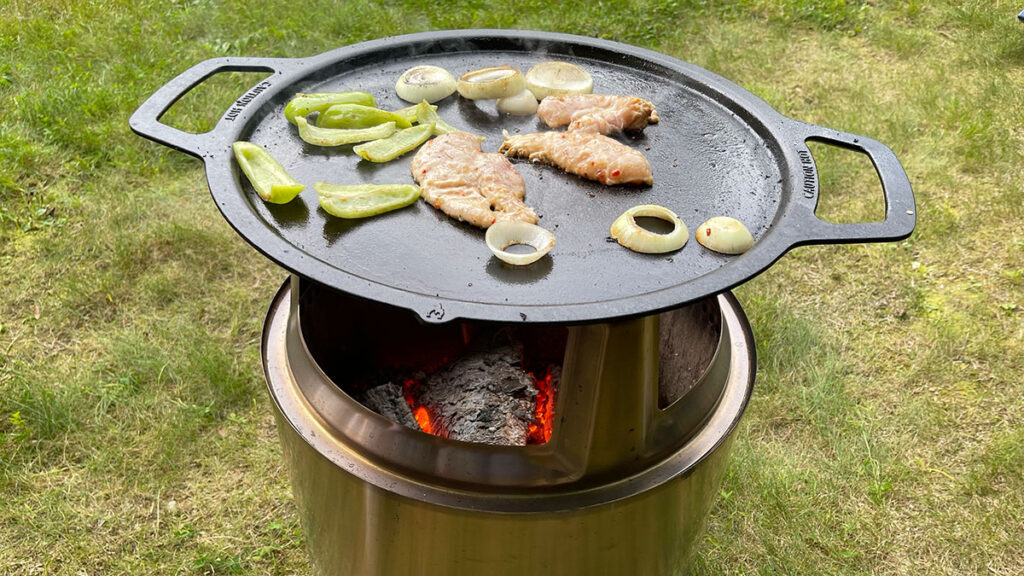
I loved my Solo Stove so much that I wanted the optional Cast Iron Griddle Top and Hub for cooking. I figured I’m out enjoying the fire anyway, why not cook on it at the same time?
The challenge in cooking on a Solo Stove, I learned, is that the coals are deep inside the stove and the unit produces a lot of heat. Again, that’s great for recreational use, but it’s a challenge for cooking. You can’t get pots or pans close to the coals and there can just be too much heat coming out the top if you’re not careful.
It’s a tricky process, and if you go about it the first time like I did, you’ll do it wrong.
How to Do it Wrong
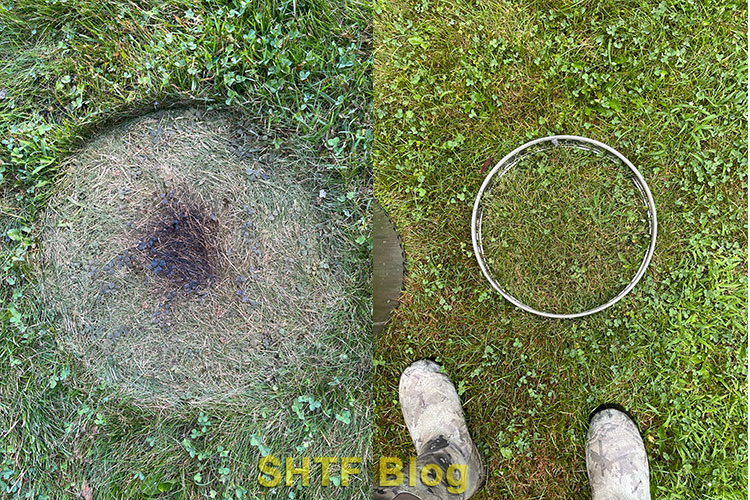
The first mistake I made was not using the optional stand. This was a mistake I made aside from cooking itself. I set the stove directly on the lawn and it torched the grass. Then I got a stand for it which allowed it to be set on virtually any outdoor surface without leaving it burnt. I also like how the stand elevated the entire stove a bit more.
The second mistake I made was trying to cook too soon after I started the fire. I knew this was likely going to happen when I set the griddle down on top of the hub. It was throwing a lot of heat. I was just too impatient to wait for the flames to die down.
The result? A griddle that became raging hot very quickly. A bit of olive oil quickly bubbled up and smoked to high heaven. Oops!
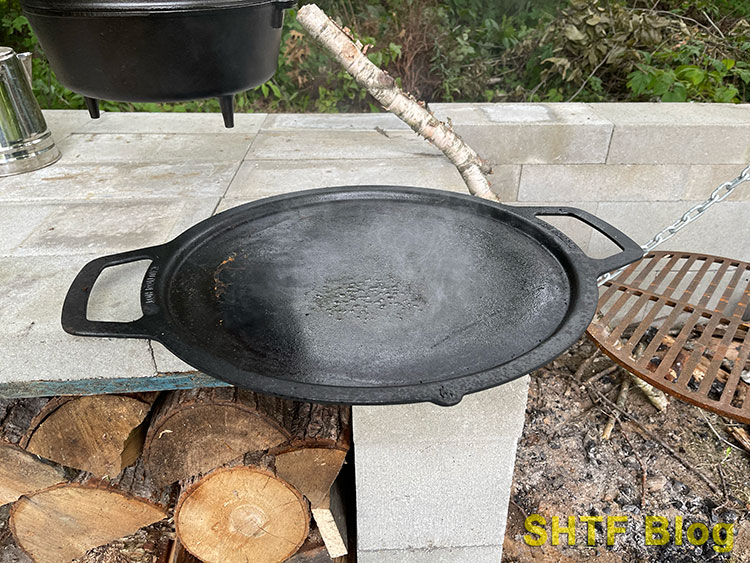
I carefully grabbed it with my fireplace gloves and rushed to set it down on my nearby outdoor cook station to cool off. Then I did what I should have done in the first place – I waited…
How to Do it the Right Way
My first attempt was certainly a trial by fire (har har). Fortunately, I didn’t have to start over. I just needed to wait a bit longer.
Following is your guide to a better cooking experience.
1 – Use the Right Wood
Seasoned hardwood is – by far – the best type of wood to burn in a Solo Stove. The same applies to a wood stove in your home. Hardwoods burn longer and when properly seasoned, produces less smoke.
Specific to cooking on the stove, smaller hardwood chunks are going to work best because their smaller size means they sit closer to the base. You do not want any wood approaching the top of the stove. The flame becomes too high and the secondary burn feature is not as effective.
I did not have an ample supply of chunk wood but I have plenty of stacked firewood, so I simply picked the smallest pieces I had. Those worked fine.
2 – Let the Fire Burn Down
Anyone that has done any serious amount of outdoor cooking knows that coals are what you want for most cooking, not flames. This is even more true with Solo Stove cooking.
The fire pit cooking system works best with a shallow bed of embers in the pit’s burn chamber. Flames shouldn’t be higher than a few inches from the coals while cooking on a Solo Stove. You have to get the timing right.
There’s definitely a learning curve to manage your fire on a coal/ember level, but it is by no means insurmountable. A trial run (or two) and you’ll have it down.
I let my fire burn 1.5 hours before I started cooking on it. The time involved comes from the aforementioned fact that the Solo Stove is so efficient with its wood use. It doesn’t burn wood fast (ultimately a good thing). I probably could have done it sooner with strategic use of the wood and with smaller pieces, but I was reading by the fire anyway and was in no rush to get it done.
3 – Move Coals to the Inner Walls
Once you have the right amount of embers and coals, use a poker of some type to move the coals toward the inner walls of the stove. When you look down into the Solo Stove the center should be bare and clear of embers. There will be plenty of heat coming up from the center anyway and moving coals toward the walls will help distribute the heat evenly for a consistent cooking service (versus the center of the cast iron being more hot than the rim).
4 – Have the Right Equipment
If you are going to cook on your Solo Stove you need three things: 1) a grill top, wok, or griddle; 2) the hub sold by Solo; and 3) a pair of gloves made for high heat. These are all essential.
You can buy the cast iron griddle and Solo hub as a package. That’s what I did. It saves a bit of money that way, and once you have the hub you can buy just the wok or grill top to use on the same hub. (The hub is pictured in the very first photo of this article, it elevates the griddle off the stove).
The cooking hub actually tucks inside the stove upside down when not in use. This makes storage super easy.
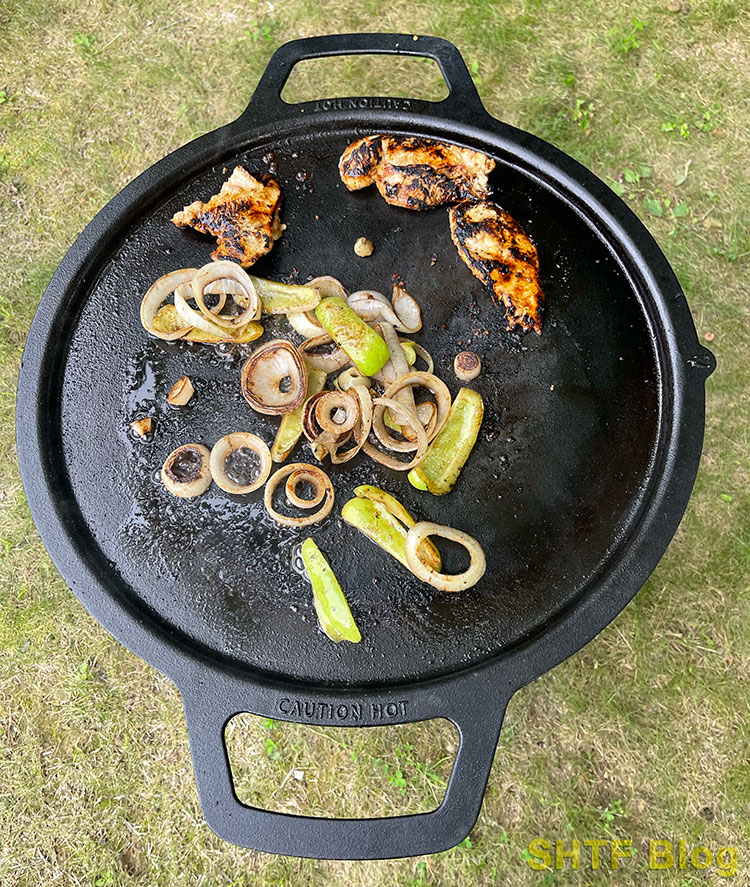
The cast iron griddle is thinner than what you might be used to with a cast iron skillet, so that makes having a lower cooking temperature even more important. That’s not to say the griddle is cheap construction, however. It’s not. If a griddle this size was any thicker, it would be too heavy for practical use.
Heat resistant gloves or silicon grippers are also essential. You will want the option to move the griddle, wok, or grill around, off, on, etc. You cannot do this without proper heat protection. Solo sells their own heat-resistant gloves for this purpose. I used my fireplace gloves.
You’ll also need a place ready to set the hot cast iron down on. As I mentioned, I used the concrete blocks on my outdoor cook station. You could set yours on a few bricks, a rock, whatever.
5 – Choose the Right Food
Some foods will lend themselves better to Solo Stove cooking than others. Have a thick cowboy steak? Probably best to avoid cooking it here.
I found that thinner meats work best. Vegetables are also good. My meal consisted of both: thin cut chicken breasts with peppers and onions. Simple.
If you’re using the cast iron grill (as opposed to griddle or wok), make sure to remove the flame ring first. Grease can get on it requiring unnecessary cleanup.
6 – Consider Other Accessories
You are not limited to the cooking accessories that Solo Stove sells, of course. In the end, you are working with a flame. There are many ways to cook with a flame. I used my cast iron Lodge tripod made for campfires with great success.
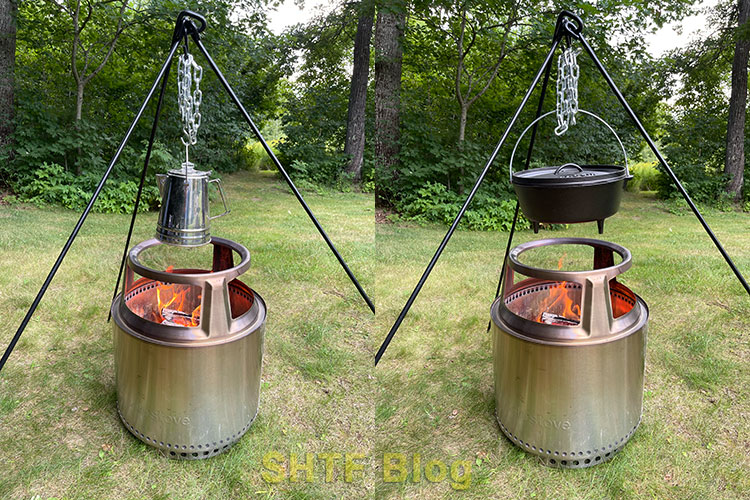
Having a tripod and other cast iron equipment expands your options.
Solo Summary
The Solo Stove is an artisanal fire pit that – when done carefully – can also double as a cooking device. I’m glad I have the optional cooking package because it extends the versatility of the stove. Plus, there’s value in having the massive cast iron griddle even aside from Solo Stove use. I can use it over open fires as well!
I know what you’re all thinking, though. What about the most-cooked campfire food of all time – the marshmallow. The Solo Stove excels at cooking these.
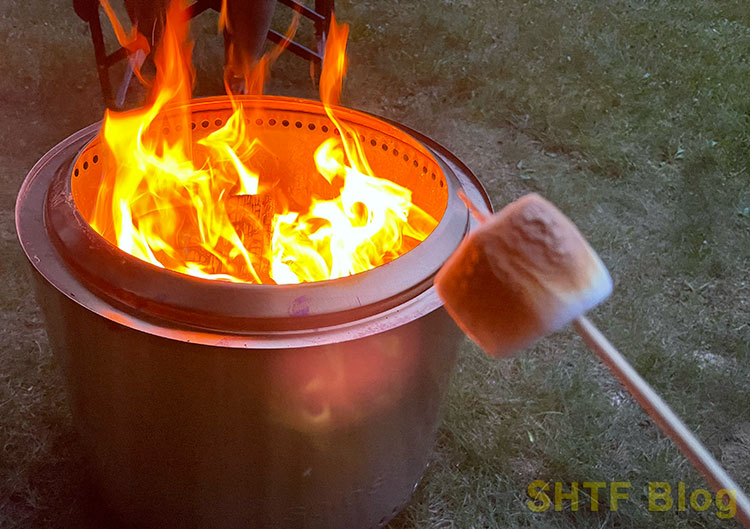
If you like your marshmallows evenly browned, like I do, you can get a consistent heat by holding it near the lower side of the stove’s top. Just keep rotating it and you’ll soon have a marshmallow worthy of a smore!
Want to watch a few Solo Stove employees discuss cooking strategy? Check this video:
What are your thoughts on Solo Stove cooking? Have you tried it? What worked for you? Let us know in the comments section.