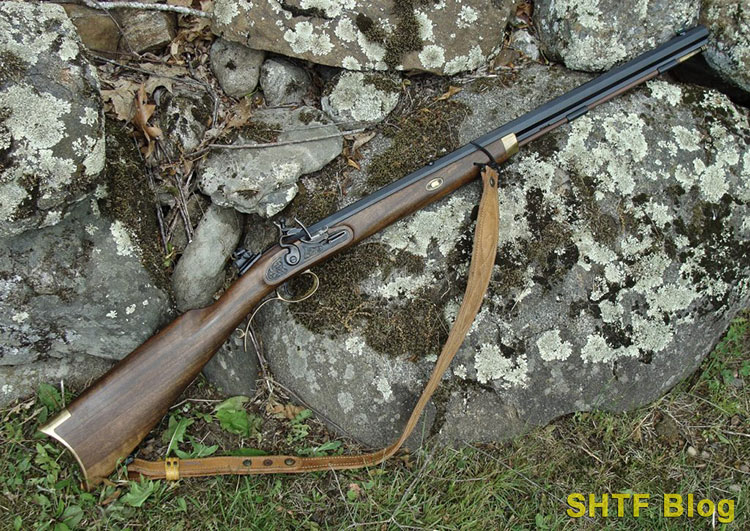
In contrast to the popularity (and complexity) of the AR-15, some yearn to expand their firearms collections to include more simple designs. Flintlock rifles are about as simple as you can get, but despite their simplicity, new users wonder – how do you even clean a flintlock rifle?
Flintlock Rifle Care
During a recent conversation regarding the care of muzzleloading firearms, a friend mentioned an experience with his caplock rifle. The kit-built .50-caliber had seen some initial use, but it then sat idle and forgotten. More than a decade later it surfaced amidst other items from the rear of a closet.
Expecting the worse, he brushed off a layer of dust and gave it a thorough going over. The result? Everything including the bore was still in pristine condition. When asked about his cleaning method the explanation was simply “hot water and oil.”
Unfortunately, “pitted” barrels are fairly common among muzzleloaders, whether antiques or modern replicas. These guns are designed to burn traditional black powder. Once fired, without prompt attention, irreversible damage will soon set in. The residue known as “fouling” is hydroscopic, meaning it will quickly absorb water – which will lead to rust. How soon? Well, humid environments certainly accelerate the process.
One sticky July 4th evening in the distant past I touched off a front-stuffing percussion rifle and parked it in a corner for the night. By 0800 the next morning, the bore had an ugly new coating of rust. I rescued it through the same hot water treatment, followed by vigorous scrubbing with an oiled bore brush – while learning the value of prompt cleaning.
Water for Cleaning Firearms?
Am I the only one that thinks water and firearms don’t seem like an ideal mix? Apparently not, judging by the various other cleaning methods and black powder wonder-mixes in commercial and homemade form. Some shooters get by with household products such as Windex which may be diluted with water.
Others create a “Moose Milk” mixture from Murphy’s Soap or Ballistol (popular for use on firearms). The National Muzzle Loading Rifle Association (NMLRA) has an informative page dedicated to this process: How to Make Moose Milk.
Commercial products are another alternative. Of course, most are advertised as somewhere between effective to “the best” if their directions are followed to the letter. And, there’s still the old standby of hot water. Lately, I’m thinking the “best” choice can depend in part on the design of the particular front-stuffer rifle, and the type of propellant – which could actually be a modern black powder substitute.
Considerations
First, a disclaimer. Although I enjoy muzzleloaders, they’re just part of a larger shooting repertoire. Some who shoot muzzleloading guns regularly have highly refined cleaning regimens, occasionally with unique spins. Being more of a hack, I gravitate toward the KISS concept – Keep It Simple, Stupid.
Regarding propellants, my experience is limited to true black powder (actually an explosive), along with a few modern substitutes such as Pyrodex and Blackhorn 209. The latter is a designed for modern in-line muzzleloaders (with some special modifications like smaller touchholes). Many of these types of products can be ordered online through stores like Natchez.
I’d use it across the board if I could because, unlike the others, it’s not hydroscopic. Cleaning is thus less urgent and also simpler. Pyrodex appeared as an earlier black powder substitute, marketed to produce less fouling. It probably sees most use in caplocks, but the cleaning procedures are similar to traditional black powder.
Speaking of “traditional,” the last muzzleloading post was devoted flintlocks, describing how to load and shoot one. It concluded with a .50-caliber Lyman Trade Rifle in need of cleaning, having been fouled by GOEX black powder. I had a few crud-cutting options on hand but, in the end, I went with water, largely because of this rifle’s design.
Hooked Breech Rifle Design
One feature I shopped for was its “hooked breech,” which simplifies disassembly for cleaning. Hooked breech involves a sturdy steel hook on the rear of the barrel’s breech-plug engages a socket in separate steel tang in the stock. Further forward, a brass wedge slips horizontally through the forend, engaging a slotted barrel tenon. After removing the wedge (and ramrod), the barrel can be tilted upward to disengage for easy maintenance.
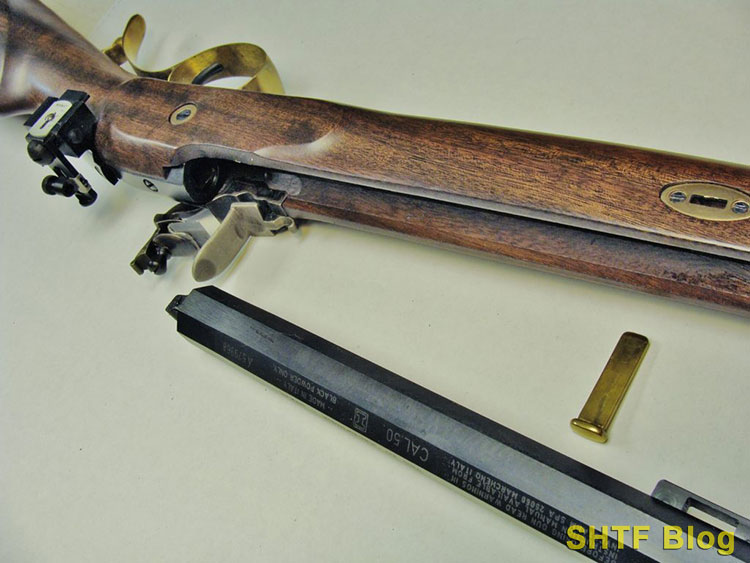
Purists say this system is less accurate than other designs, some built with full-length stocks that are pinned to their barrels. Maybe, but being at best a part-time traditionalist, I’ll go for KISS. One the barrel comes off, it’s easy to swab with hot water.
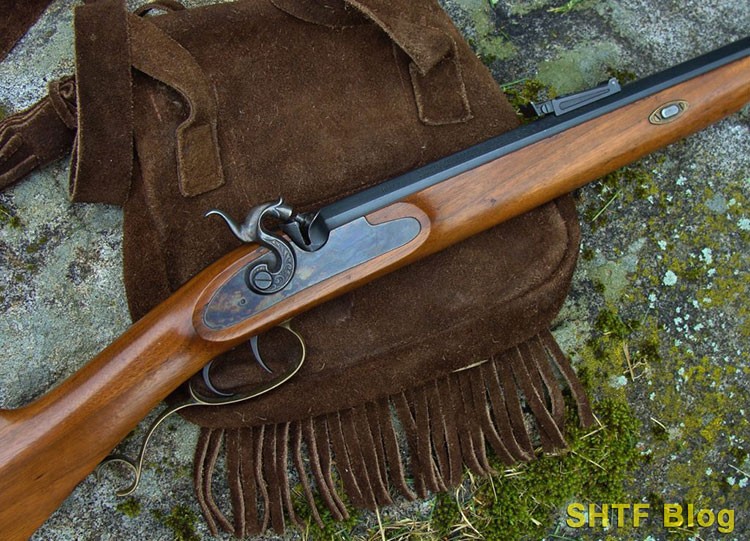
Let’s get to cleaning…
Required Tools
The tools need to clean a flintlock rifle are actually pretty basic. The rifle’s ramrod will usually work as a cleaning rod once a patch jag attached. Speaking of patches, you could make them from old tee shirts. Between shooting and final cleaning, you’ll go through a bunch.
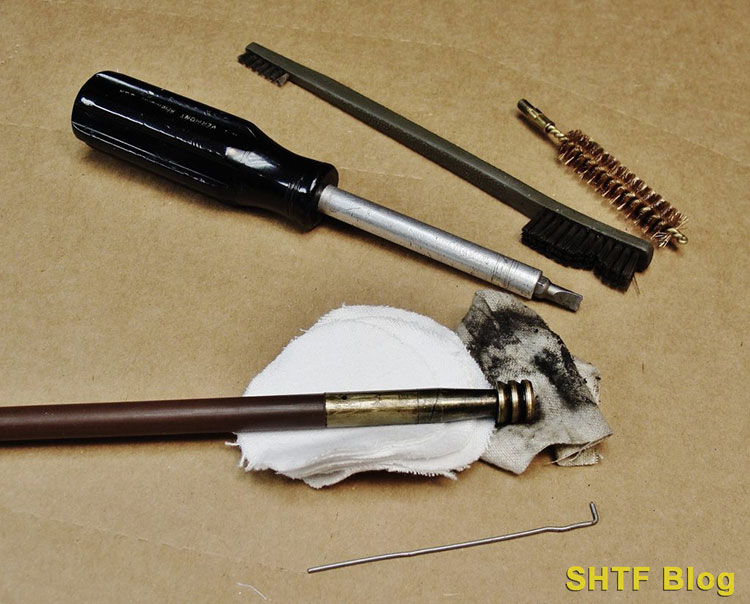
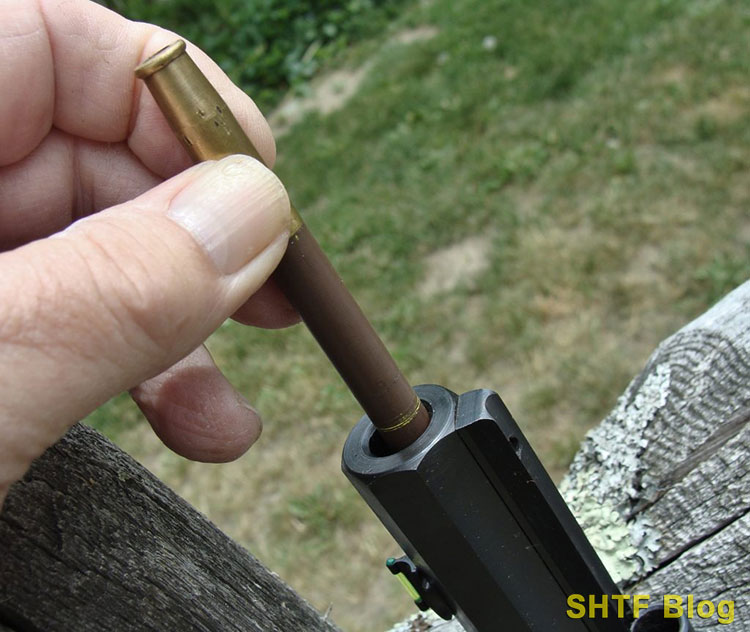
Rod – I replaced the factory’s wooden ramrod with an “unbreakable” synthetic version. One end has a flared brass tip for loading. The other end is threaded to accept accessories. After development of a good load, I scribed a line around the rod that coincides with the muzzle. The mark indicates full seating of the charge, as well as the rifle’s load status. I also drilled a hole through the front end of the rod to accept a small Allen wrench (or other item), just in case a handle was needed to help pull it out. Others use a separate and more durable rod with a handle. Mine can flex, so I take care to avoid scraping it against the rifling or crown.
Jag – This item captures the patch during its trip through the bore. The diameter must provide some clearance for the thickness of the patch. A bit of resistance is okay. A tight fit isn’t because the rod and patch could wind up stuck inside the barrel. The jag for my .50-caliber Lyman measures 0.465”. The threaded shank will need to fit the rod.
Patches – I use quite a few between shooting and cleaning. I sprung for a large bag of round 2 ¼” diameter, .015 thick, cotton patches – a good fit for my bore and jag (patch thickness doubles when surrounding the jag).
Bore Brush – You may, or may not need one. I shoot Hornady’s lead PA Conical bullets, but their heavy lubrication minimizes the need for constant brushing of the bore.
Scraper – Some folks use one to scrape the barrel’s internal breech face. So far, I haven’t used one.
Small Punch – Since my rifle’s barrel is secured by a wedge, it needs to be driven out. I start it using a small steel punch with a fired .22 LR case slipped over its tip. A wooden dowel could work, too.
Screw Drivers – The Lyman’s lock is secured by one large slotted screw that passes through the stock. Once it’s removed the entire lock can be carefully wiggled free for cleaning. Another smaller flat-tip screwdriver is used to unscrew the vent-liner (the drum that houses the touchhole).
Bucket – Anything capable of containing a column of hot water will do. I use a drywall bucket.
Old Towel – Or a thick rag.
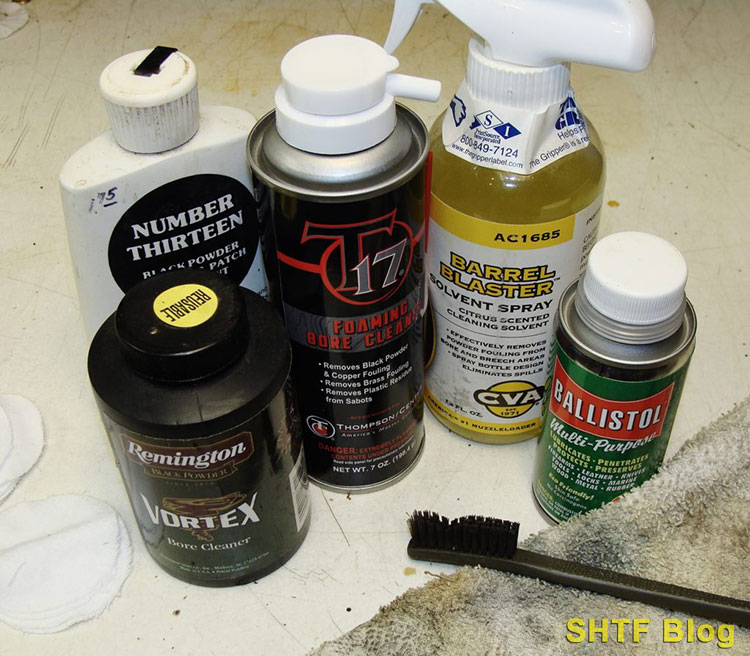
Toothbrush – It’s handy for cleaning the various nooks and crannies of the lock. I use a not-too-traditional M-16 brush, but anything will work.
Small Probe – Could be a bent paper-clip, used to clear the touchhole.
Oil – Some purists are pretty anal about their choices, the theory being the right types can help “season” the bore to ease future reloading efforts. Others just go with “oil” and remove it prior to loading. I’ve used Rust Prevent, Rem Oil, a few others, and even (gasp) WD-40 (see my article on WD-40 and firearms).
How to Clean a Flintlock Rifle
First things first: Make sure the gun is unloaded! I check with my ramrod’s scribed line. If unsure, you could carefully insert a rod until it stops and apply a mark adjacent to the muzzle. Once removed, it can serve as a gauge by laying it beside the barrel.
Also, find a suitable location. The olfactory experience will be familiar to those who’ve awakened in a deer camp, where the previous evening’s menu included boiled eggs and beans. To preserve domestic tranquility I head to the basement. However, I am authorized to boil water on the kitchen stove.
The steps that follow are tailored to my rifle but, for the most part (with the exception of its hooked breech), they’ll apply to many muzzleloaders including caplocks.
Step 1 – Disassemble the Rifle
Again, thanks to the design of my Lyman, I can separate the barrel from its stock. When cleaning traditional muzzleloaders, consider the breech-plug permanent (actually, some are welded). Everything happens through the muzzle.
- The process begins by removal of the ramrod – an easy step to forget.
- Next comes the barrel wedge. Once started with a few taps, it can usually be wiggled free.
- The hammer is cocked to clear the pan (or nipple on a percussion gun).
- Thanks to its hooked breech, the barrel can then be elevated by its muzzle and separated from the gun.
- The barrel’s vent-liner is carefully unscrewed*, creating a larger pathway for flushing of fouling.
- The lock’s retaining screw (or screws) is removed, and the lock is carefully freed from the stock.
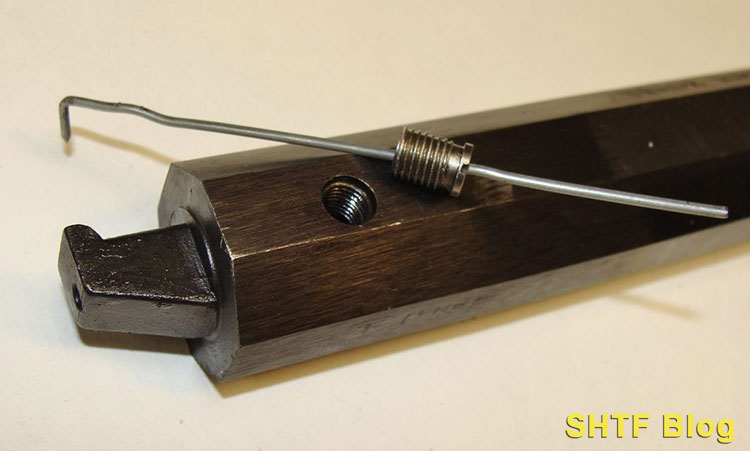
*Note: Some knowledgeable shooters recommend NOT removing a vent-liner because of possible damage to the threads which could turn this part into a projectile. I remove mine carefully – and I also have a spare.
Step 2 – Clean the Barrel
A watched pot never boils, but you could get it cooking during disassembly. Once the various parts are laid out, I give the drywall bucket a squirt of dish detergent (just an option) and dump in a large pot of hot water…
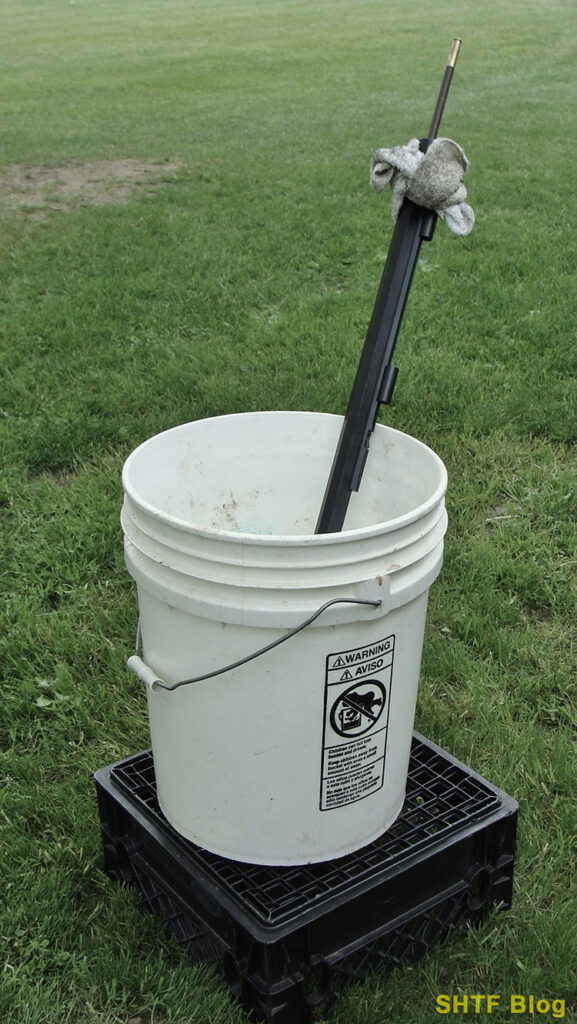
- Grasping the barrel by its muzzle-end with a thick rag, the breech-end is submerged in the bucket.
- A patch is centered on the jag and the rod is driven through the barrel. The pressure expels air from the bore, creating a vacuum. At this point it’ll behave like a pump…
- Proceed carefully with the upstroke to avoid scalding yourself. A few strokes should flush out the fouling. Caution: The barrel will get really hot!
- Remove the barrel from the bucket and quickly swab it dry with a couple patches. If the steel is hot enough it’ll evaporate most of the remaining water before it rusts – mostly.
- I drop the vent-liner in the bucket at the start. Here’s where I fish it out with a magnetic part retriever, blowing and wiping it dry, before setting it aside.
- Don’t forget to clean the ramrod (and jag threads, etc.).
Step 3 – Lock Work
Rather than dunk this intricate mechanism, I use a moistened patch and the toothbrush…
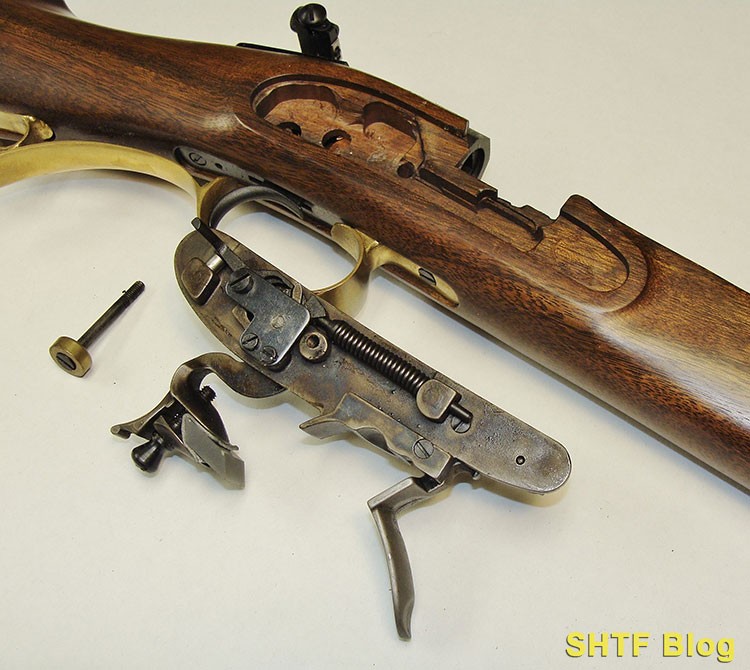
- The pan, frizzen (upright steel ear) and its surrounding surfaces will need thorough attention.
- Same for the rest, including the hammer. Make sure the flint is still secure, and be careful not to lose any parts.
- Clean any residue remaining in the stock, and inspect any crevices for traces of powder.
- Probe the vent-liner’s touchhole to ensure it’s clear, and inspect the threads.
Step 4 – Proper Lubrication
By now the barrel should be cool enough to handle, so run a another dry patch or two through to absorb remaining water. Don’t be shocked to see a indications of light rust; the reason you’ll want to get on it.
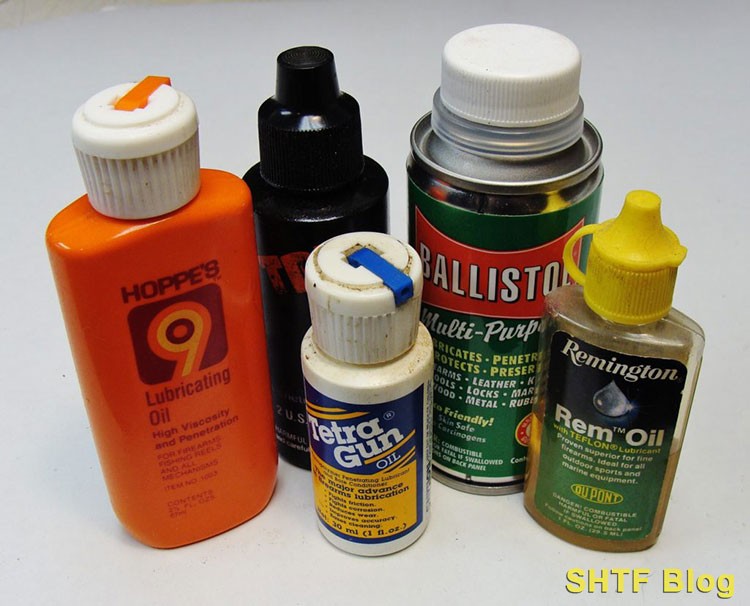
- Run several lubricated patches through the bore – enough to come out looking clean.
- Inspect the barrel’s vent-liner threads, lightly lube them, and carefully reinstall the liner until snug. Take great care to avoid damaging the threads – essential for containment of pressure.
- Wipe the external surfaces and apply your rust preventative to the sight dovetails, rib junctures, and the ramrod thimbles – anywhere rust could form if left untreated.
- Continue with the lock, any parts in the stock, and the screws.
Done?
Reassembly should be easy enough. But, rather than store the rifle, I tuck it safely in a corner for at least a day, pending a final inspection. Part of this involves running another patch through the bore to check for any signs of rust. More often than not things will be fine, but better to be safe than sorry.
If you’re more of a visual person and want to see someone going through the process of cleaning a flintlock, this video may help:
What if the Barrel is Pinned to the Stock?
These guns aren’t designed for routine disassembly, so dunking is out. Some shooters rig a small section of flexible tubing to the vent-hole (or nipple), and connect it to a bottle of hot water. Here’s a useful video that details the process:
Another option is a commercial black powder solution. Some contain neutralizing mixes that can be squirted down the barrel where they foam to work their magic. Being interested in this method, I checked a national authority; Dixie Gun Woks. This company has been around for years and is largely responsible for the resurgence of muzzleloading.
Dixie recommends use of black powder solvents, supported by periodic in-depth maintenance per the disassembly and hot water treatment described above. Of course, the full treatment will require removal of the pins. You can find the information in their FAQ page.
Final Thoughts
I’d be remiss if not mentioning Lyman, the company that sells my rifle. Some user manuals are disappointing but the one that came with my Trade Rifle was full of valuable information about everything from loads to cleaning (it’s manual can be seen on-line).
As if the manual isn’t good enough, they also have an entire book devoted to muzzleloading firearms: Lyman Black Powder Handbook.
Actually, once a routine is established, cleaning a traditional muzzleloader isn’t all that bad. The essentials are fairly basic and widely available. Worse case, on the fly, you could get by with some hot water and motor oil.
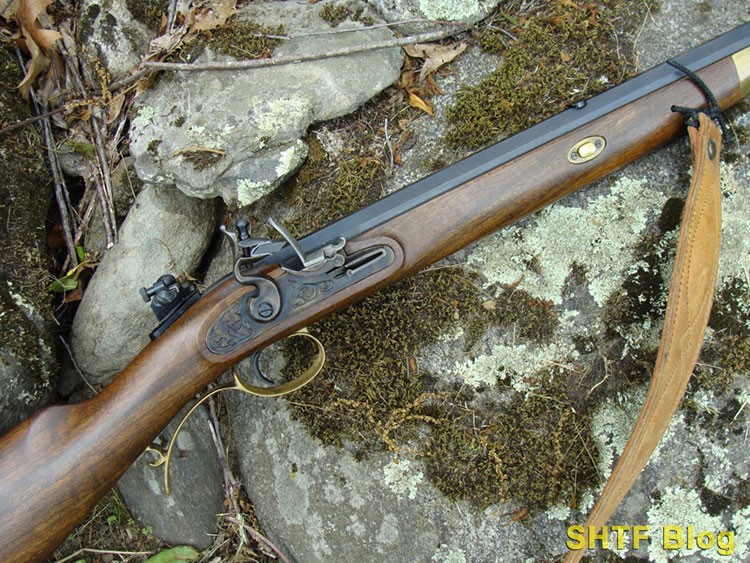
And speaking of basic, there’s just something satisfying about a gun you can touch off with a chunk of rock, especially when it belches fire and brimstone.

2 comments
Where do I purchase the threaded fitting that screws into the barrel touchhole? I have never run across one in the USA, but I absolutely want to buy several for myself and my shooting buddies. Please let me have the information to contact the supplier. Thanks, and all the best………..
Hi, Frank. Steve wrote:
Luckily, I ordered an extra from Lyman after buying my Trade Rifle. Just called ‘em about extra flints, only to find out they’ve dumped their entire black powder line. I’m guessing it’s a proprietary part. Two possible sources could be Dixie Gun works or Track of the Wolf (where I just ordered flints). Or, a good gunsmith could probably make one. Mine is essentially a threaded plug with slot, drilled for the vent.
Good luck sorting through the options!