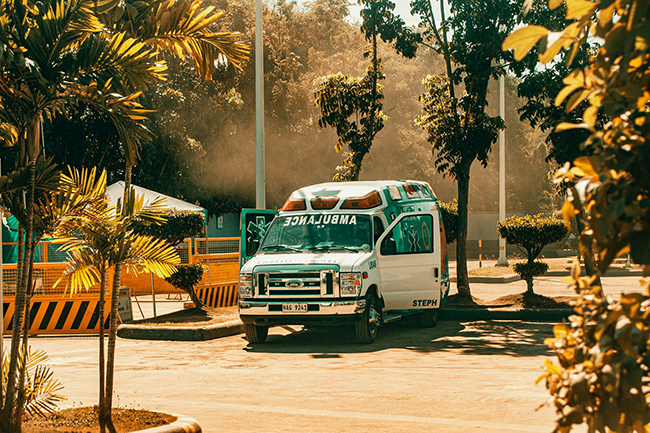
Prepping for medical emergencies and disaster life support training is an underappreciated and underutilized skill – in my opinion. Do you know how to treat someone when there is no doctor? What happens in a post-collapse scenario and professional medical help is unavailable or severely delayed? Do you – or someone on your team – have the skills and supplies needed to help someone out?
by J. Bridger, contributing writer
Three Classes for Disaster Life Support Training
I was fortunate enough to take part in three classes hosted by my university:
- Stop the Bleed,
- Basic Disaster Life Support, and
- Advanced Disaster Life Support.
Since not everyone has access to these classes, I wanted to outline what we learned for your preparedness benefit. Perhaps you are wondering what is involved with medical training of this type.
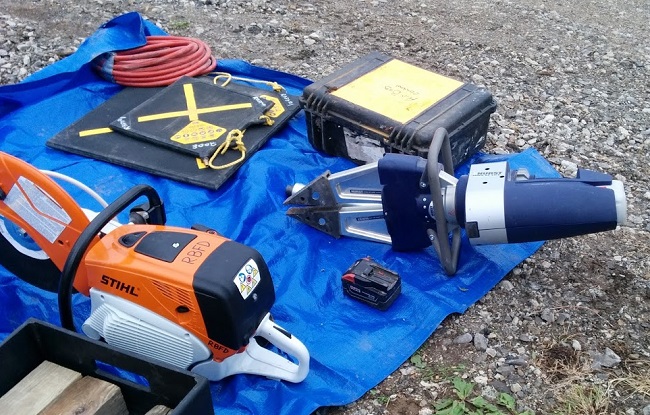
This is not a substitute for training. None of this reflects my own opinion. The information I have summarized for you is dependent on what the instructor considers important, and what I found interesting or important enough to write down.
Stop the Bleed Class
Day one began with a local RN teaching Stop the Bleed. I’d heard of this class before, and always wanted to take it. I’ve even heard there is legislation in some places that would make this a requirement to graduate high school. If you’ve had Tactical Emergency Casualty Care (TECC) or Tactical Combat Casualty Care (TCCC), nothing here will benefit you. If you don’t have a medical background, this is for you. The information is interesting, easy to follow, and the skills are simple.
The Hartford Consensus looked at autopsy reports from the Sandy Hook shooting and found most of the 26 victims died from exsanguination, meaning they bled to death. The #1 cause of death from injury is bleeding. This training is good anywhere: home, work, school, motor vehicle collisions, natural disasters, mass shootings, you name it.
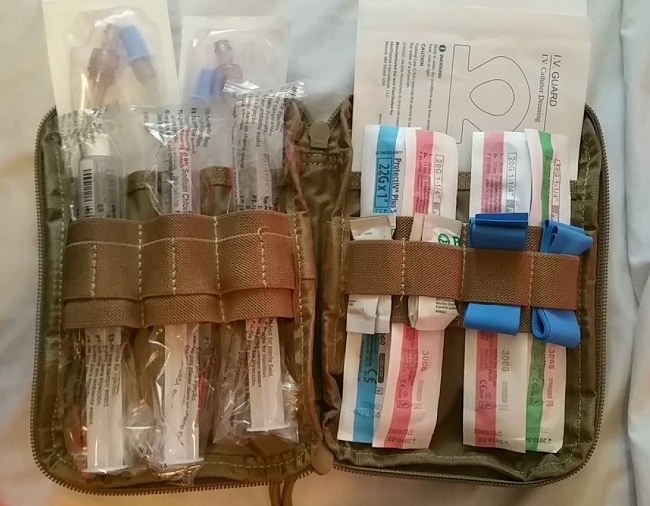
Don’t forget YOUR safety is YOUR priority. The RN teaching this class advised us that if you do not have any open cuts on your hands, the risk of getting an infection from a blood borne pathogen is slim to none. She stated there was no data on the CDC from this because the risk is so low.
I’m not sure how I feel about that. I would ALWAYS advise you to wear gloves. If you don’t have gloves, that’s a decision you will need to make. If you get blood on your hands, wash it off and see your health care provider. Stop the Bleed certification does NOT mandate that you stop to help. That decision is also up to you. You will be covered under the Good Samaritan laws, but don’t forget you can be sued for ANYTHING, at ANYTIME, in ANYPLACE by ANYONE. They may not be successful, but you can still be sued.
Related article: Should You Become an EMT for Prepper Medical Training?
Stop the Bleed Class Lessons
You have two goals: 1) identify the bleed and 2) stop the bleed. To do this, Stop the Bleed provides you with a handy acronym and a set of three skills. The acronym is ABC for Alert, Bleeding, Compress.
Alert: Call 911, know your location, put the phone on speaker and set it down or place it in your pocket.
Bleeding: Identify. Look for continuous bleeding, large volume of blood, pooling, spurting, partial or full amputation of a limb, and mental status change. The arms and legs are the most common sites. Junctional wounds such as the neck, armpit, and groin area are difficult to compress, and tourniquets do NOT go here. If a wound is in the body (torso or abdomen) no packing or direct pressure will keep the solid organs from bleeding. They need a surgeon.
Compress: Direct pressure, always! Don’t wait for someone to grab a tourniquet or gauze until you begin treatment.
The three skills are compression, wound packing, and applying a tourniquet.
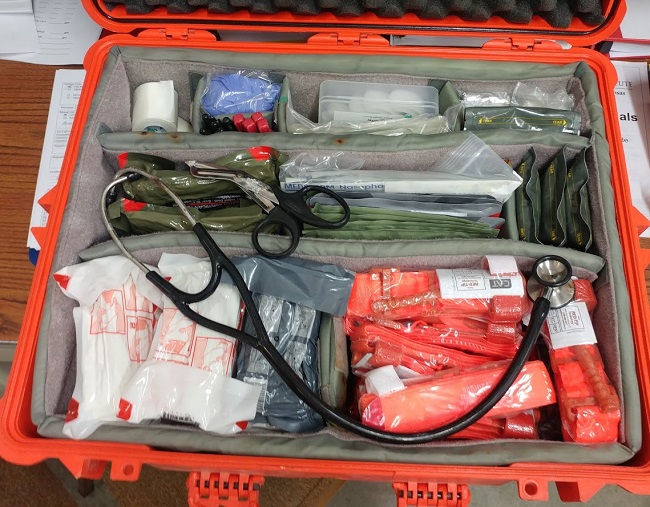
Compress involves laying the victim on the ground, place something between the wound and your hands (quikclot, gauze, t-shirt, scarf, whatever) and use “CPR arms.” Your wrists, elbows, and shoulders should all be stacked in a straight line. Use all your weight! If you get tired, try using an elbow, a knee, or swap out with someone else (quickly!).
Wound packing is interesting. Most people don’t know why or how. In the case of a gunshot wound (GSW), the path and energy of the bullet will leave a permanent wound cavity. Packing will help to distribute pressure to the inside of the wound cavity, and hopefully stop or slow bleeding. This will hurt but should not do any more damage to the body. Living tissue is strong. To do this, just take your gauze and use your fingers to pack as much of it as possible into the wound. Then apply direct pressure. If you feel a piece of glass, a bone shard, or bullet, leave it. Pack around it and try not to let it injure you. If there is a through and through wound, with an entry and an exit, pack the worst one and hold pressure on both sides if you can. If blood still oozes out or soaks your gauze, add more.
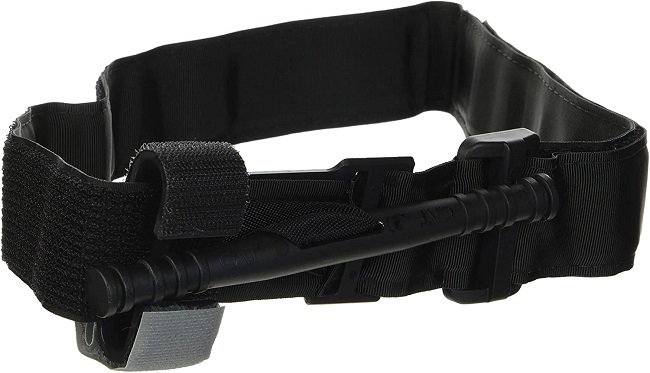
Tourniquets can be left on up to 6 hours and are the best treatment for uncontrolled bleeding. Once they’ve been placed, do NOT remove them. 2-3” above the wound is sufficient, but the higher the better. Tighten until the bleeding stops. This will be painful. You can add a second if you can’t make the first tight enough. Do not place these over elbows or knees. You can place a tourniquet over t-shirts or yoga pants, but nothing bulky like a jacket. If you are holding direct pressure, do not stop to add a tourniquet. Continue to hold pressure. Everyone says write the time on the tourniquet, but no one cares. This isn’t crucial. DIY tourniquets don’t work, but if you are forced to improvise, do not use something thin, like a shoelace or cell phone charger. Use something thick like a dish towel or scarf, with a stout windlass. Do not buy cheap tourniquets!
The Combat Application Tourniquet (CAT) is a quality tourniquet suitable for medical and bug out bags and it is reasonably priced. The Tactical Medical Solutions SOFTT tourniquets are equally good options.
For more information on this class, visit StoptheBleed.org.
Basic Disaster Life Support Class
BDLS is a one-day class sponsored by the National Disaster Life Support Foundation (NDLSF) and is good for 7.5 CMEs. If ever there was a medical class that sounds catered to preppers, it’s this one. The class consists of a pretest, 8 power point lessons, and a post test. Our instructors were phenomenal, including a former Green Beret, physician, and Harvard alumni; a paramedic/RN with explosive ordnance disposal (EOD) experience in law enforcement; and a couple active, very salty paramedics.
Lesson One: PRE-DISASTER Acronym
War and terrorism have killed two hundred million people worldwide in the last century, claiming more lives than any other type of disaster. At this level, our focus changes from patient to population. How can we do the most good for the most people? We must be prepared for all types of hazards. NDLSF uses the PRE-DISASTER acronym:
P (Planning and Practice): Identify at risk populations. This might be the elderly, disabled, etc. Identify stakeholders (police, fire, EMS, hospitals, politicians) and develop a plan, training, and education. Hold exercises, review, and revise the plan. This is a never-ending cycle.
R (Resilience): The ability to adapt and overcome adversity, to return life back to normal. This is achieved mostly through education.
E (Education and training): This is standardized, and essential to the workforce and community.
D (Detection): Is a disaster present? What happened? What is needed? Whom should I call? Maintain awareness!
I (Incident Management): This is the ICS. You have the IC (Incident commander), PIO (Public Information Officer), SO (Safety Officer), and LO (Liaison Officer). Under these fall Operations (doers: fire, EMS, FD, etc)., Logistics (getters), Planning (thinkers), and Finance (payers). If you haven’t done any ICS training, you can do this for free at the FEMA website.
S (Safety & Security): Priority 1: self and team. Priority 2: uninjured public, so they don’t become a casualty. Priority 3: existing casualties. Lastly, 4: environment.
A (Assess hazards): Recognize safety and security concerns.
S (Support): Logistics. What do I have What do I need? Where is it? When will I get it? What are my back up plans?
T (Triage & Treatment): Treatment continues until everyone has been treated or until all resources have been exhausted. Comfort care is treatment (feed, water, basic hygiene, shelter).
E (Evacuate): Relocation due to disaster. Getting affected to safety.
R (Recovery): Relief, rehab, restoration. This can begin in planning stage (mitigation). May take decades. After all this, an after-action review (AAR) is a duty, not an option. If you don’t take this time, you will continue to make the same mistakes.
Lesson Two: Natural Disasters
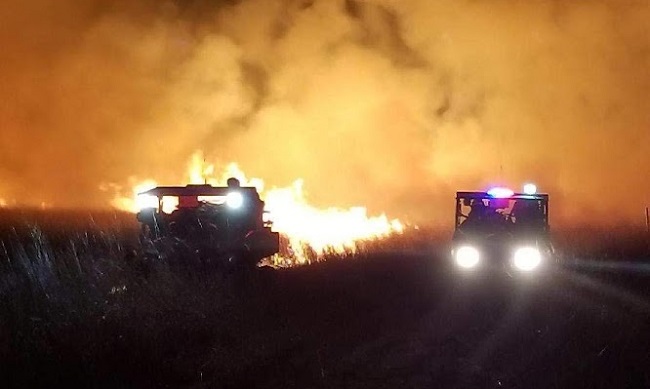
Natural disasters include earthquakes, floods (most common disaster worldwide), heat emergencies (leading cause of weather-related death in the US), hurricanes, cyclones, typhoons, tornadoes, volcanic eruptions (ash, respiratory problems), wildfire (burns, smoke inhalation, work-stress and heat related injuries), winter storms (carbon monoxide poisoning, house fires, hypothermia, frostbite).
Natural disasters can cause immediate, ongoing, and sustained Injury and illness. Immediate occurs within 48 hours and is usually acute medical issues and trauma. Ongoing can last for days, and includes trauma, medical, and exacerbation of chronic diseases like congestive heart failure (CHF), cardiopulmonary disease (COPD), dialysis, asthma, dehydration, cold and heat injuries, contamination, orthopedic injuries, and wound management.
Sustained conditions last for weeks and includes acute medical issues, chronic diseases, mental and behavioral conditions, communicable disease, stress, anxiety, depression, substance abuse, and pre-existing conditions.
Because of the many types of disasters and widespread damage, this calls for an all hazards approach. Plan ahead!
Lesson Three – Workforce Readiness and Disaster Deployment
The main idea of this lesson is that usually only 60% of employees respond when called for a disaster, and that is an optimistic amount. Those hospitals seeing a 60% return rate were ones that provided sleeping arrangement, doggy day care, child day care, food, elderly care, etc. Disasters don’t just affect “the public,” they affect employees that would be responding as well. Employees may be out of town or unable to come into work due to family matters. This is a good thing to keep in mind. The instructors recommend you keep a go-bag with weather appropriate clothes, toiletries, etc. ready in case you need to report to work for several days (depending on your job: police, fire, EMS, hospital, etc).
Lesson Four – Chemical Disasters
Chemical weapons are not an efficient way to kill people because they are hard to control. Dangerous chemicals are commonly used in water treatment, industrial applications, and crops. They can be released accidently such as a tanker car accident, or intentionally such as a terrorist attack. A toxidrome is the signs and symptoms for exposure to a class of chemicals. The most critical route of exposure is inhalation, then ingestion. You may not have any obvious clues someone has been exposed, so you must maintain a high level of suspicion.
Care is focused on decontamination, lifesaving interventions, and supportive treatment. Nerve agents interfere with the breaking down of acetylcholine (a neurotransmitter) by binding to acetylcholinesterase. These patients will be slimy and suffer from tetany. Their muscles won’t relax. Think of DUMBELS or SLUDGEM: Salivation, Lacrimation, Urination, Defecation, GI distress, Emesis (vomiting), Miosis (pinpoint pupil). The treatment is atropine (dose until symptoms subside) and 2-PAM (Pralidoxime chloride). This comes in an autoinjector. Atropine dries the patient out. Pralidoxime allows for reactivation of acetylcholinesterase and prevents aging of the neurotransmitter. Benzodiazepines can be used for seizures.
Lesson Five – Mass Casualty and Fatality Management
This class teaches the SALT algorithm for triage. It meets CDC requirements (MUCC). SALT stands for Sort, Assess, Life Saving Interventions, and Treatment/Transport.
It begins with global sorting: “If you can hear me, and can walk, go over there. If you can’t, wave an arm or leg.” You then begin triaging the bodies that don’t move. The life saving interventions you would perform are control bleeding (tourniquet), open the airway, needle decompression if they need it, and autoinjector antidote (2PAM or epi). Children get 2 rescue breaths if you open the airway and they don’t begin spontaneous breathing. Adults do not. No breathing = dead in a mass casualty event. Then, assign a category.
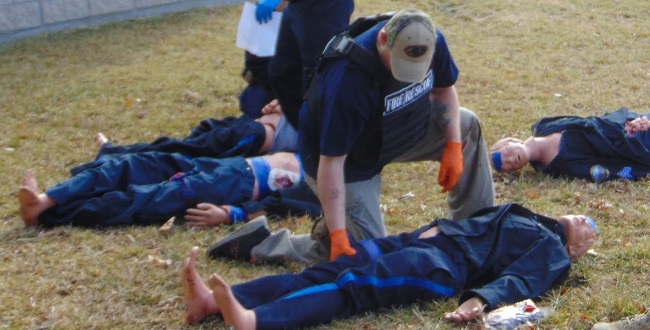
If you have a patient you could send home or to an urgent care, they are green/minimal. Think minor cuts, scrapes, things like that. If you have a patient that is not likely to die, but still needs medical care, they will be yellow/delayed. Think cuts with bone or tendon exposed, broken bones, bleeding controlled with a tourniquet, etc. Yellow/delayed must be breathing, able to respond to commands, have a peripheral pulse, no uncontrolled bleeding, and cannot be in respiratory distress. If your patient does, they will be marked red/immediate. These patients are likely to die without care and require management.
After other patients have been managed, you can reassess this category. If someone is not breathing after you open the airway (or give 2 rescue breaths for a child), they are dead/black. Don’t move them. It’s a crime scene. Now that patients have been triaged, they need to be moved to a casualty collection point, or treatment area.
Triage is continuous and dynamic. It is a difficult thing to learn without good instruction, because it goes against your gut instincts. The goal is to do the most good for the most amount of people, and sometimes that means leaving someone’s grandmother or child to die so you can save other people. You must adhere strictly to established practices, because you will be faced with challenging ethical dilemmas.
Lesson Six: Explosive, Traumatic, Nuclear, and Radiologic Disasters
75% of terror events involve explosives. Be aware of a 2nd bomb! Mechanism of blast injuries:
- Over-pressure. Lungs, intestines, ears, hollow organs are affected.
- Flying debris, penetrating injuries.
- Blunt injuries of blast wind. What goes up, must come down.
- All others. Burns, psycho-trauma, etc.
- Usually only involved in act of terrorism.
Shrapnel may be soaked in rat poison and feces. Sepsis takes up a lot of resources. Maintain situational awareness!
Immediately after the Oklahoma City bombing an LPN rushed in to help with no PPE only to be hit with falling debris. She died four days later. She was the only person to die during the rescue effort. Don’t be that person. When something falls on someone and is in place a long period of time, they can develop Crush syndrome. Potassium will be elevated, and they could experience shock, hypovolemia, and acidosis.
Compartment syndrome occurs when blood goes into an arm or leg compartment (separated by fascia) but does not come out. Severe pain, diminished pulses, swelling, and erythema are classic symptoms. These patients need a fasciotomy. Just because you are irradiated does not mean you are contaminated (think of x-rays).
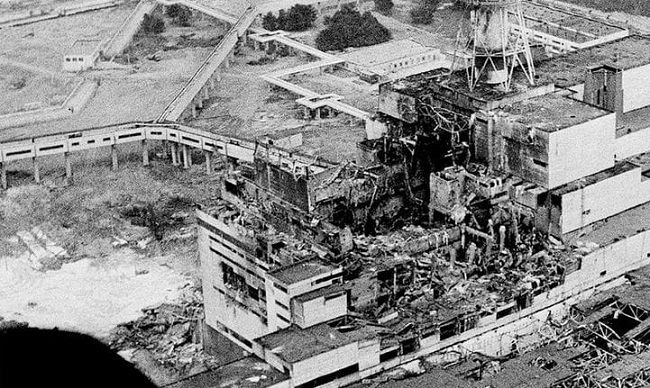
Here is some interesting data from Chernobyl regarding radiation poisoning: Time to onset of vomiting: <30 min, 1/21 people survived. 30 min to 1 hr., 15/22 people survived. 1-2 hrs., 49/50 people survived. >2 hrs., 41/41 people survived.
Lesson Seven – Public Health and Population Health in Disasters
An epidemic is a rapid increased in amount of cases. A pandemic covers a wide geographic area. Quarantine is for people that might have been exposed, isolation is for people who have been exposed. In a public health emergency, you may see common welfare favored over individual rights. The government CAN mandate health testing for admission into a shelter if there is a credible threat. In an extended disaster, people on dialysis, taking refrigerated medications, feeding tubes, on ventilators, etc. may die. 85% of people in a disaster are quiet and may appear “numb.” If you give them good guidance that makes sense, they will do what you tell them. 5-10% may act abnormally out of fear of the unknown and stress. You should keep N95 masks for your family. They are widely recognized as the best and they are cheap insurance.
Lesson Eight: Biologic Disasters
Infectious disease has killed more people in history than any other single cause. The ideal biologic agent for terrorism is communicable, aerosolized, rugged, resistant, causes a long agonizing sickness, is permanently scarring, attacks everyone, is hard to immunize for, and is quickly mutating. The CDC places bugs into three categories: A, B, and C. A is the worst. They are easily grown, disseminated, and have high mortality/morbidity. Botulism and smallpox are examples.
The government has bio-monitors set up in major cities that monitor for certain particulates. The CDC know how many anti-diarrheals, cold medicationss, etc. are sold on average and can detect a spike in sales.
Smallpox is the best biowarfare agent if there ever was one. Anthrax can be found in any dairy farm, is easy to grow, and forms resistant spores. However, this is hard to spread. It is treated with tetracycline and ciprofloxacin.
Botulism causes a descending paralysis. There is no antidote, but there is an antitoxin. It is not contagious. This is often seen in children and in canned foods that were not sealed properly.
Tularemia is common in rabbit handlers. Look at the dead animal’s liver. If it has pink spots, suspect tularemia. This is treated with ciprofloxacin.
Viral Hemorrhagic Fevers: Ebola, Marburg, Lassa, Omsk. You die from dehydration and infection. These are very contagious.
To summarize, bugs are bad. Some are very bad. The Health and Human Services (HHS) are in charge of biological events, not the FBI. How do we stop biologic events? Quarantine, isolation, vaccines (in an event like this, you CAN legally mandate someone get vaccinated), and chemoprophylaxis.
Advanced Disaster Life Support Class
ADLS is a two-day class good for 15 CMEs. There is a pretest and a post-test, which you must pass with an 80% to receive credit. You get two attempts. The first day consists of classroom studies and some light exercises at the end of the day.
Lesson One – Disaster and Public Health Emergencies
This lesson was an overview of Basic Disaster Life Support. Some attendees had BDLS several months before and it was a good review for them. The main point I took away was the crisis standard of care, which is the “minimal” acceptable care. The standard changes based on number of patients and available resources. Even HIPAA can change in these scenarios!
Related article: The Individual Trauma Kit / IFAK
Lesson Two – Triage for Disaster and Public Health Emergencies
What if there is no scene, like a novel influenza outbreak? The coronavirus is a perfect example. Sick individuals should stay home. Officials may advise the public to seek medical attention if they have specific symptoms and may cancel mass gatherings like school and work sites.
What are the downstream consequences? If kids stay home, what will parents do? Lack of planning creates vulnerability for front line providers. Any plan is better than no plan. We want objective criteria for patient care decisions. How will you justify it later if provider #1 and provider #2 do something different?
On a lighter note, check out: Funny Coronavirus Pictures
Remember, triage is just a best attempt. No system will work perfectly all the time. Keep in mind 90% of ventilators available are in use already. The last person you want doing triage is a physician, they think too much. This is especially interesting to look back on now that we have experienced COVID-19.
Lesson Three – Health System Surge Capacity for Disasters and Public Health Emergencies
Just because it’s in your scope, doesn’t mean you can do it. Skills are competency based. You need to be trained and shown competent. There are 3 phases of surge: conventional, contingency, and crisis.
First, clear existing beds (also called reverse triage). You must ensure care of disaster related casualties and usual patients unrelated to the disaster. You will need space, staff, supplies, and systems. No communications? In the old days, boy scouts would hop on bikes and carry messages. A hazard vulnerability analysis investigates the event probability vs. risk vs. level of preparation.
Lesson Four – Community Health Emergency Operations and Response
Public health = populations. It’s all about data. Resources include the Medical Reserve Corps, Community Emergency Response Teams (CERT), The Red Cross, EMAC agreements, the Public Health Service Commission Corps (PHSCC), and the Strategic National Stockpile. The Red Cross does not provide ongoing medical care. They may provide emergency first aid, but their mission is to shelter, feed, coordinate relief supply, and work with families. EMAC is a state to state mechanism to pull resources from other states.
Lesson Five – Legal and Ethical Issues in Disasters
The Stafford Act (1988) provides federal assistance for disaster areas. The state governor requests help from the president, who declares a disaster. This can be done before an event. It also allows federal police powers for safety. The Posse Comitatus Act (1878) prohibits military forces of enforcing civilian law, but they can support local LEO. In a disaster, are you required to stop and treat as a physician? No, not in the US. Federal rights may be waived for 72 hours in a declared disaster.
After the death by Power Point, we participated in three activities: Population Scenarios, Mass Casualty Triage, and Surge. The population scenario was a 30,000’ level overview of a how to manage a terrorist attack on a football stadium housing 50,000 fans. When do you start planning? Who do you want involved? Do you want hospitals, the FD, and EMS to do anything different or special? Where would you put these people if they had to be quarantined?
It was an interesting and enjoyable exercise to brainstorm and learn to think in a “big picture” way. The surge scenario was an industrial explosion with 200 dead and 2,000 injured, focusing on hospital level response. Activating a call tree, reverse triage, where to set up a triage area, how to secure the hospital, where to send other patients, etc.
The last exercise of the day was my favorite. It was a simply a tabletop with 26 cards, each representing a victim with a different presentation. You first separate them into walking, waving, and not moving. You then triage each one, performing LSI’s (Life Saving inventions) and assign them a category. This wasn’t a skills practice, but it helped you get in the mindset and practice discerning minimal from delayed and delayed from immediate. I found it very helpful to learn in a non-stressful environment first.
The second day of ADLS began with a short classroom lecture before we broke into groups to take part in four exercises: PPE and Decontamination, Casualty Management, Field Mass Casualty Exercise, and Emergency Operations Center Exercise.
Lesson Six: Levels of PPE and Decontamination
PPE comes in four flavors: Level A, B, C, and D. Before donning, go to the bathroom, hydrate, and measure vitals.
Level A: SCBA (Self-contained breathing apparatus), vapor protective encapsulated suit, clothing protection. This is the highest-level protection. Cons: expensive, extensive training, certification, fatigue, heat, loss of dexterity, difficultly in communications.
Level B: SCBA or SAR (Supplied air respirator). Splash protective resistant suit. Clothing protection. Can be used in oxygen deficient environment. High level. All the same cons. Limited range on supplied air.
Level C: APR (air purifying respirator). Respiratory protection for select vapors and aerosols. Hooded splash protective suit. Clothing protection. Comparatively inexpensive. Good respiratory protection. Less protection from liquids and vapor. Cons: Training. Fit test. Cert required. No oxygen deficient environments. Fatigue/heat exhaustion. Dexterity limited. Communication issues.
Level D: Universal protections. Gloves, gowns, booties, hairnets, simple mask, N95, and eye protection.
Skills: PPE & Decontamination
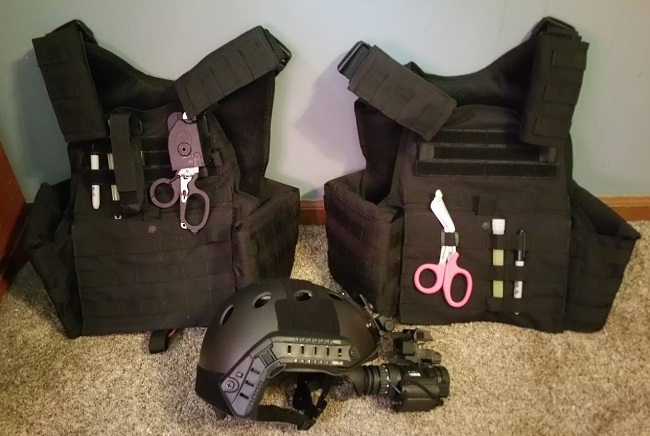
In this exercise, we followed a check list to put a volunteer in a Level C suit. First, they put on nitrile exam gloves and a Tyvek suit. We taped the cuffs to the boots and gloves, and taped the zippered seam shut. The volunteer donned thick butyl rubber gloves, and we taped the cuffs again.
Then came a PAPR (Powered Air Purifying Respirator) and hood. These things are awesome. The inner hood was tucked into the suit, and the outer hood was draped over the suit. Once the PAPR was turned on, the positive pressure in the suit caused it to puff out a little. The volunteer performed several small tasks to show how much dexterity was lost, before reversing the checklist to doff the PPE. The purpose was just to make us appreciate what goes into this level of PPE, not to certify or train anyone to use it.
Skills: Casualty Management
The first scenario was a collapsed building with a patient pinned under a beam. We assessed the patient and treated life threats before the building became unsafe, and we had to make the decision to leave. It felt unnatural to leave the patient, but the lives of the rescue team came first.
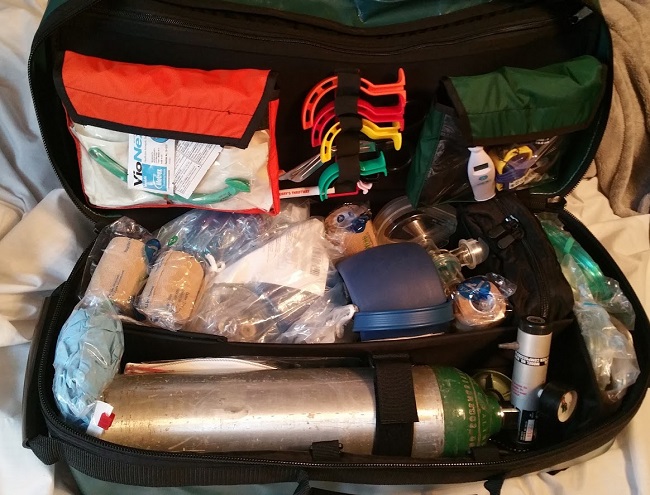
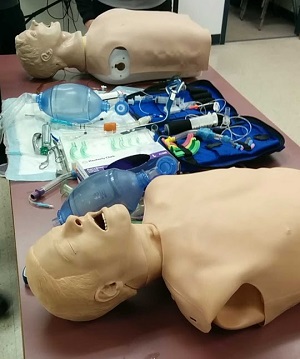
The second scenario was a patient with seizures and copious airway secretions. It took us a while to get the diagnosis of organophosphate poisoning, which reminded us to keep a high level of suspicion. The third scenario was an EMS call for a patient who was “sick.” She was unresponsive and bleeding from the nose and ears, so I suspected head injury and called for a rapid transport.
We then received information that she had recently returned from Africa and was presumably suffering from hemorrhagic fever. Oops. After that, we were fortunate enough to have bonus training from the physician on cricothyrotomies and needle chest decompressions.
Skills: Field Mass Casualty Exercise
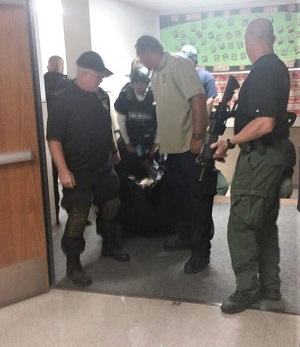
This was my absolute favorite. The scenario was a shooting in an emergency room, and I was assigned by the IC (Incident Commander) as “red team leader” in charge of treating and transporting red/immediate patients. Unbeknownst to us, the instructors had a dozen paid actors with mock burns, bleeding, and other injuries. They were hiding, screaming, unable to walk, you name it. The instructors played sirens and yelled through megaphones. None of us expected that level of effort.
The triage team assessed patients as they came to them, performing LSI’s and assigning categories. As reds began coming to my area, I would assess them again and provide care if needed. I had to keep a running list in my head of who must go now and who could wait, because we didn’t know when an ambulance would show up.
Afterwards we had a hot wash, which was helpful. Actors gave feedback and the instructors told us what went well, and what didn’t. It was great practice for me. I was able to assess level of consciousness, feel for pulses, and assess breathing status on seven or eight different live people. That experience alone was valuable.
Emergency Operations Center Exercise
The last exercise was the longest, and was difficult after the adrenaline, screaming, and mock injuries of the last exercise. We were assigned incident command roles, such as IC, public information officer, operations officer, logistics, planning, etc. We walked through an exercise where a town of 100,000 people had an explosion at a mall.
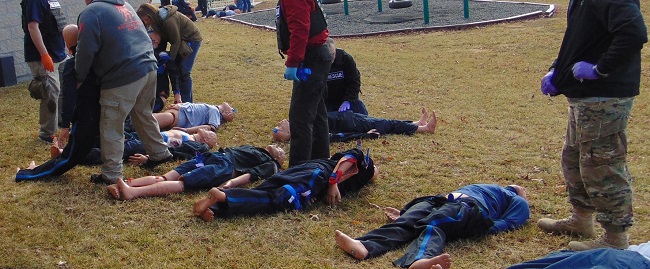
It was interesting and made me appreciate everything that goes on behind the scenes that you don’t see on the news. For example, how to feed and water responders, how to set up shifts so no one becomes exhausted, where do supplies come from, and so on.
Overall Impression of Medical Training Classes
I really enjoyed these classes. The instructors were phenomenal. Overall, we barely scratched the surface. The classes consisted of a range of education and experience levels. We had an EMT student in high school, lots of medical and PA students, admin staff, even an ER physician from Canada. It was relevant for everyone, and we all learned something.
I would recommend the trainings to anyone regardless of their medical education level. The most useful part was learning and practicing triage and lifesaving interventions. The classes really drove home how important communication, structure, planning, and practice can be in a disaster scenario. To look for a class near you, check out www.ndlsf.org.
Have you had medical training? If so, what and how was it?

3 comments
This is the best post I’ve seen on this blog, and maybe the best anywhere on the emergency med topic in years.
Good article, but long, so I will have to read it in sections. I learned a lot of things due to my mother having had several issues. Everything was a lesson from nurses. I would watch them, ask questions at times, but while it was nice to know what we were doing, there was that dreaded feeling of not knowing enough, being good enough or knowing what to do if there was a problem.
With even more actual classroom training that concern would be increased yet on the flip side, knowing what to do and how to help people is also a comfort. It’s scary yet exhilarating. I have some very basic skills and knowledge but like many would need more training for a major crisis.
So I’m a full time firefighter/EMT. To be honest parts of this article bored me, felt like I was sitting in a class at work. I don’t mean that to be rude, it means there is a lot of great information here for the average individual. I would emphasize learning the basics really well, stop the bleed is huge! I encourage everyone to get their EMT and join your local ambulance part time, lots of good experience there, and you’ll be comfortable handling emergencies when SHTF. Great article, sorry if I came across insulting at first!