Have you ever blued a gun? Wondering how to blue a gun? You’re not alone. The other day a friend handed me a well-used (but not abused) Winchester Model 70 bolt-action rifle, chambered for the immortal .30/06. Because this classic combination dated to the late 1960s, it lacked the luster of more desirable “Pre-64 Winchesters” which were finished to higher standards. Nevertheless, the well-polished steel typical of that era still retained most of its bluing.
by Steve Markwith, author of Survival Guns
The relatively decent condition of the steel on this gun came as a surprise, because it had been abandoned in a barn by a relative until the present owner found it, well-speckled with rust. A light layer can often be removed using WD-40 and judicious use of four-ought steel wool. Although this rifle was rescued before any pitting developed, several iffy spots required a more effective solution.
The fix turned out to be lots of careful rubbing using nothing more than a penny! This was a new one on me, but it obviously worked. Close examination revealed where it occurred, but overall, the one-cent repair came out great. It was also a whole lot cheaper than the cost of a complete re-bluing job, a process I’d seen before.
My Experience with Bluing
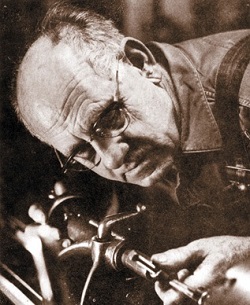
Years ago, I worked part-time in a gun shop that offered a full line of services including drilling and tapping, re-bluing, and stock repairs, etc. The gunsmith, Al, had worked for P.O. Ackley (of wildcat cartridge fame) and was a true wealth of knowledge. Not long after starting, as Al was firing up the burners on the hot-blue tank, I mentioned an interest in dabbling with re-bluing.
That evoked a reaction of either contempt or pity, but Al was decent enough to patiently explain how every small part needed to be disassembled and organized. But, that was just to start. The pre-blue polishing process was a skill unto itself (supposedly, some collectors of pre-war Colts and S&Ws can identify a factory polisher based on subtleties in the finish). These realities were driven home while observing the entire process. Occasionally, it also involved a few surprises!
Some parts like front-sight ramps or barrel bands could actually dissolve or cause a hideous case of “greening.” But, Al always took extra care to avoid rounded steel edges or softened lettering common to many other re-bluing jobs. Done right, the transformation can be stunning, BUT even the most professional job can greatly devalue a collectible firearm. I bought an immaculate 1942 German Luger for a song, simply because it was a “reblue.”
Family Guns that Deserve Re-Bluing
Nowadays, full-service gun shops are drying up. Skilled gunsmiths are harder to come by and some jobs – like stock refinishing and re-bluing – are labor intensive. Also, extremely durable alternative coatings have gained deserved popularity with the added advantage of color choices.
Still, many households have older firearms, handed down from one generation to the next. Although some are inexpensive “hardware store brands” dating to around 1900, others such as Colt revolvers or Winchester lever-action rifles could be worth a small fortune – if in decent, unaltered condition. Collectors will pore over every minute detail for signs of refinishing. So, based strictly on value, they are usually much more desirable if left “as is.”
But, of course, family sentiment holds value of its own. A well-used but not abused firearm could also be in need of help after decades of treasured sporting adventures. Most are better candidates for traditional re-bluing, which can be accomplished several ways.
The Gun Bluing Process
Hot blue is a bluing process that is actually a form of controlled corrosion, produced through exposure to special “bluing salts.” It works well on most carbon steel alloys, but not on stainless steel or aluminum. Once completed, the oxidized surface is more rust-resistant than bare-steel alone and, as noted above, with careful metal preparation, the outcome can be spectacular.
How the Hot Blue Process Works
Here’s how the hot blue process works:
Disassembly As noted above, anything destined for the bluing tank musty be completely disassembled. A slide might sound simpler than an entire pistol, but we can’t just drop it in. Any steel parts (firing pins and extractors) will need to be separated first for degreasing and full exposure to the solution. But some items including springs and non-ferrous parts (sights or plastic plungers) will need to stay entirely clear of the tank.
Metal Polishing Minor dings or surface rust can be cleaned up through light polishing, but pitting requires more aggressive methods involving a buffing wheel and abrasive compounds. Plenty of experience is necessary to avoid unintentional removal of excess steel. A more practical and affordable alternative for working guns is a bead-blasted finish created by pressure-driven abrasives.
Pre-tank Preparation Any traces of polishing compounds and oil must be removed before the actual bluing process takes place. This step is often performed by immersion of the parts in evaporative solvents like acetone, etc.
Hot Bluing Time for some alchemy! The correct amount of bluing salts is mixed with water in a tank, and heated by burners underneath it. The parts are then immersed for a timed period (minutes instead of hours) so the salts can work their magic.
Post-blue Because the bluing solution is caustic any traces must be immediately flushed away, normally through a separate hot-water bath. Once dried, the various parts receive a warm oil bath to ward off rust.
Reassembly Upon completion, if everything has gone right, there won’t be any extra parts!
One problem is, this process can’t be used on some firearms – like double-barreled shotguns.
The Rust Bluing Process
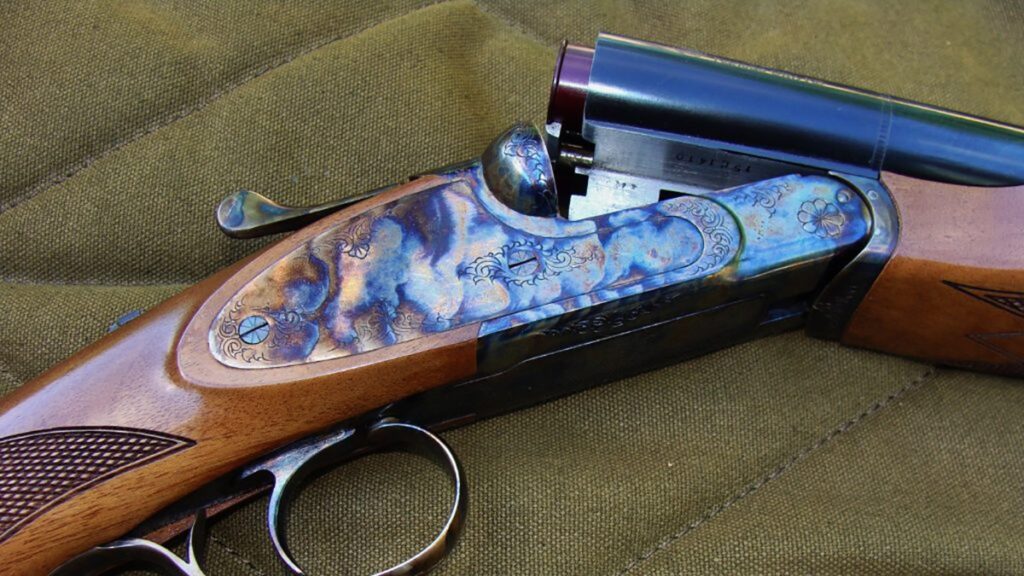
The barrels and ribs of many double-guns are joined together with silver solder, which won’t survive hot blue solutions. Instead, bluing is accomplished through a special mix of acids. Once applied, the parts are placed in a humid cabinet where the vapors can work their magic. Repeat exposures are required (sometimes over a period of a week or more). In between, dark velvet-like accumulations are “carded off” using fine steel wool. Because most of the other steps (including prep-work and post-bluing) remain similar to the tank process, rust-bluing is more labor intensive and less-often used. However, the resulting finish is durable and can be quite attractive (see pic at top of article).
Heat Bluing/Case Hardening
Controlled exposure of steel to heat can result in a variety of attractive finishes from straw-coloring to the spectacular rainbow effect produced through case hardening. Beyond its beauty, the latter also creates a very hard wear-resistant surface; the reason it’s often seen on hammers.
Recipes can be as guarded as Col. Sanders’ Secret Sauce, involving charred bones, leather, oil and, maybe, a pinch of newt. For this reason, some of today’s “case-hardening” is actually cosmetic and produced through a chemical process.
In The White
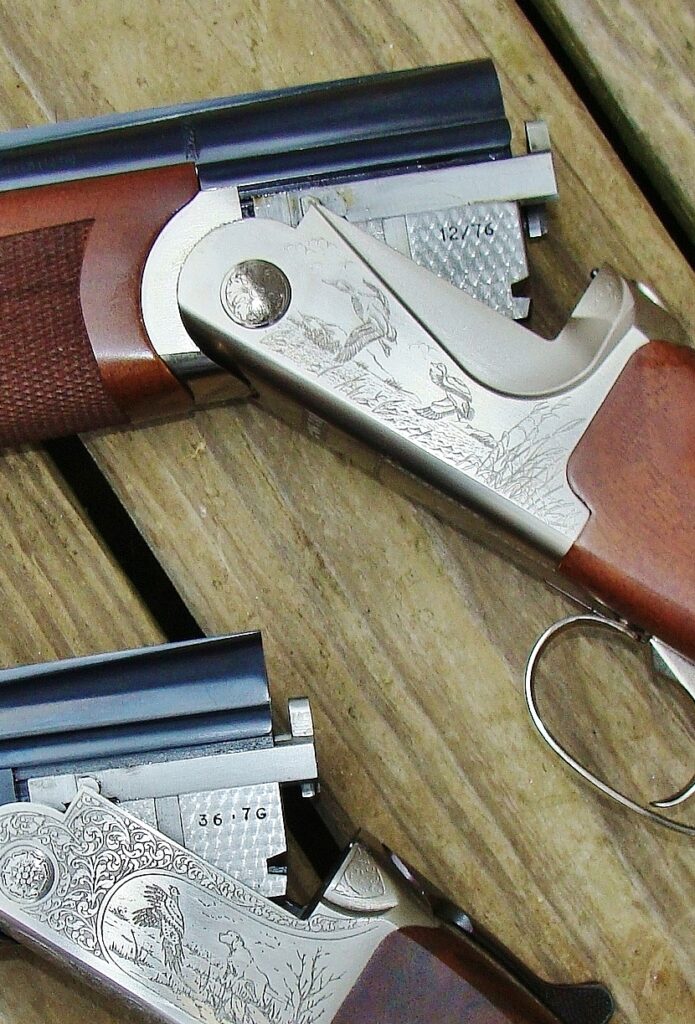
Some steel parts, like double-gun mono-blocks or rifle bolts, are left untreated because blued surfaces would quickly experience wear. Regular applications of protective oil reduces friction, and also prevents rust. To help hold it, engine-turning is sometimes applied. The resulting overlapping circular swirls in a bright steel surface also have visual appeal.
Is Bluing Guns Worth the Effort?
One post-bluing problem can involve the rest of a gun. Well-worn stocks will often swear with pretty new bluing! The cure could involve the expenditure of more funds since proper (and period-correct) wood refinishing requires skill. This leads to a question:
Is bluing worth the effort? Maybe yes. Maybe not.
Easy DIY Bluing Instructions
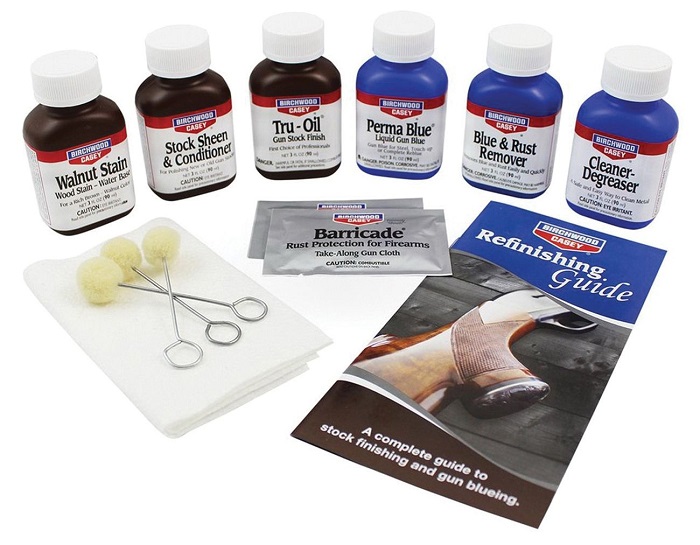
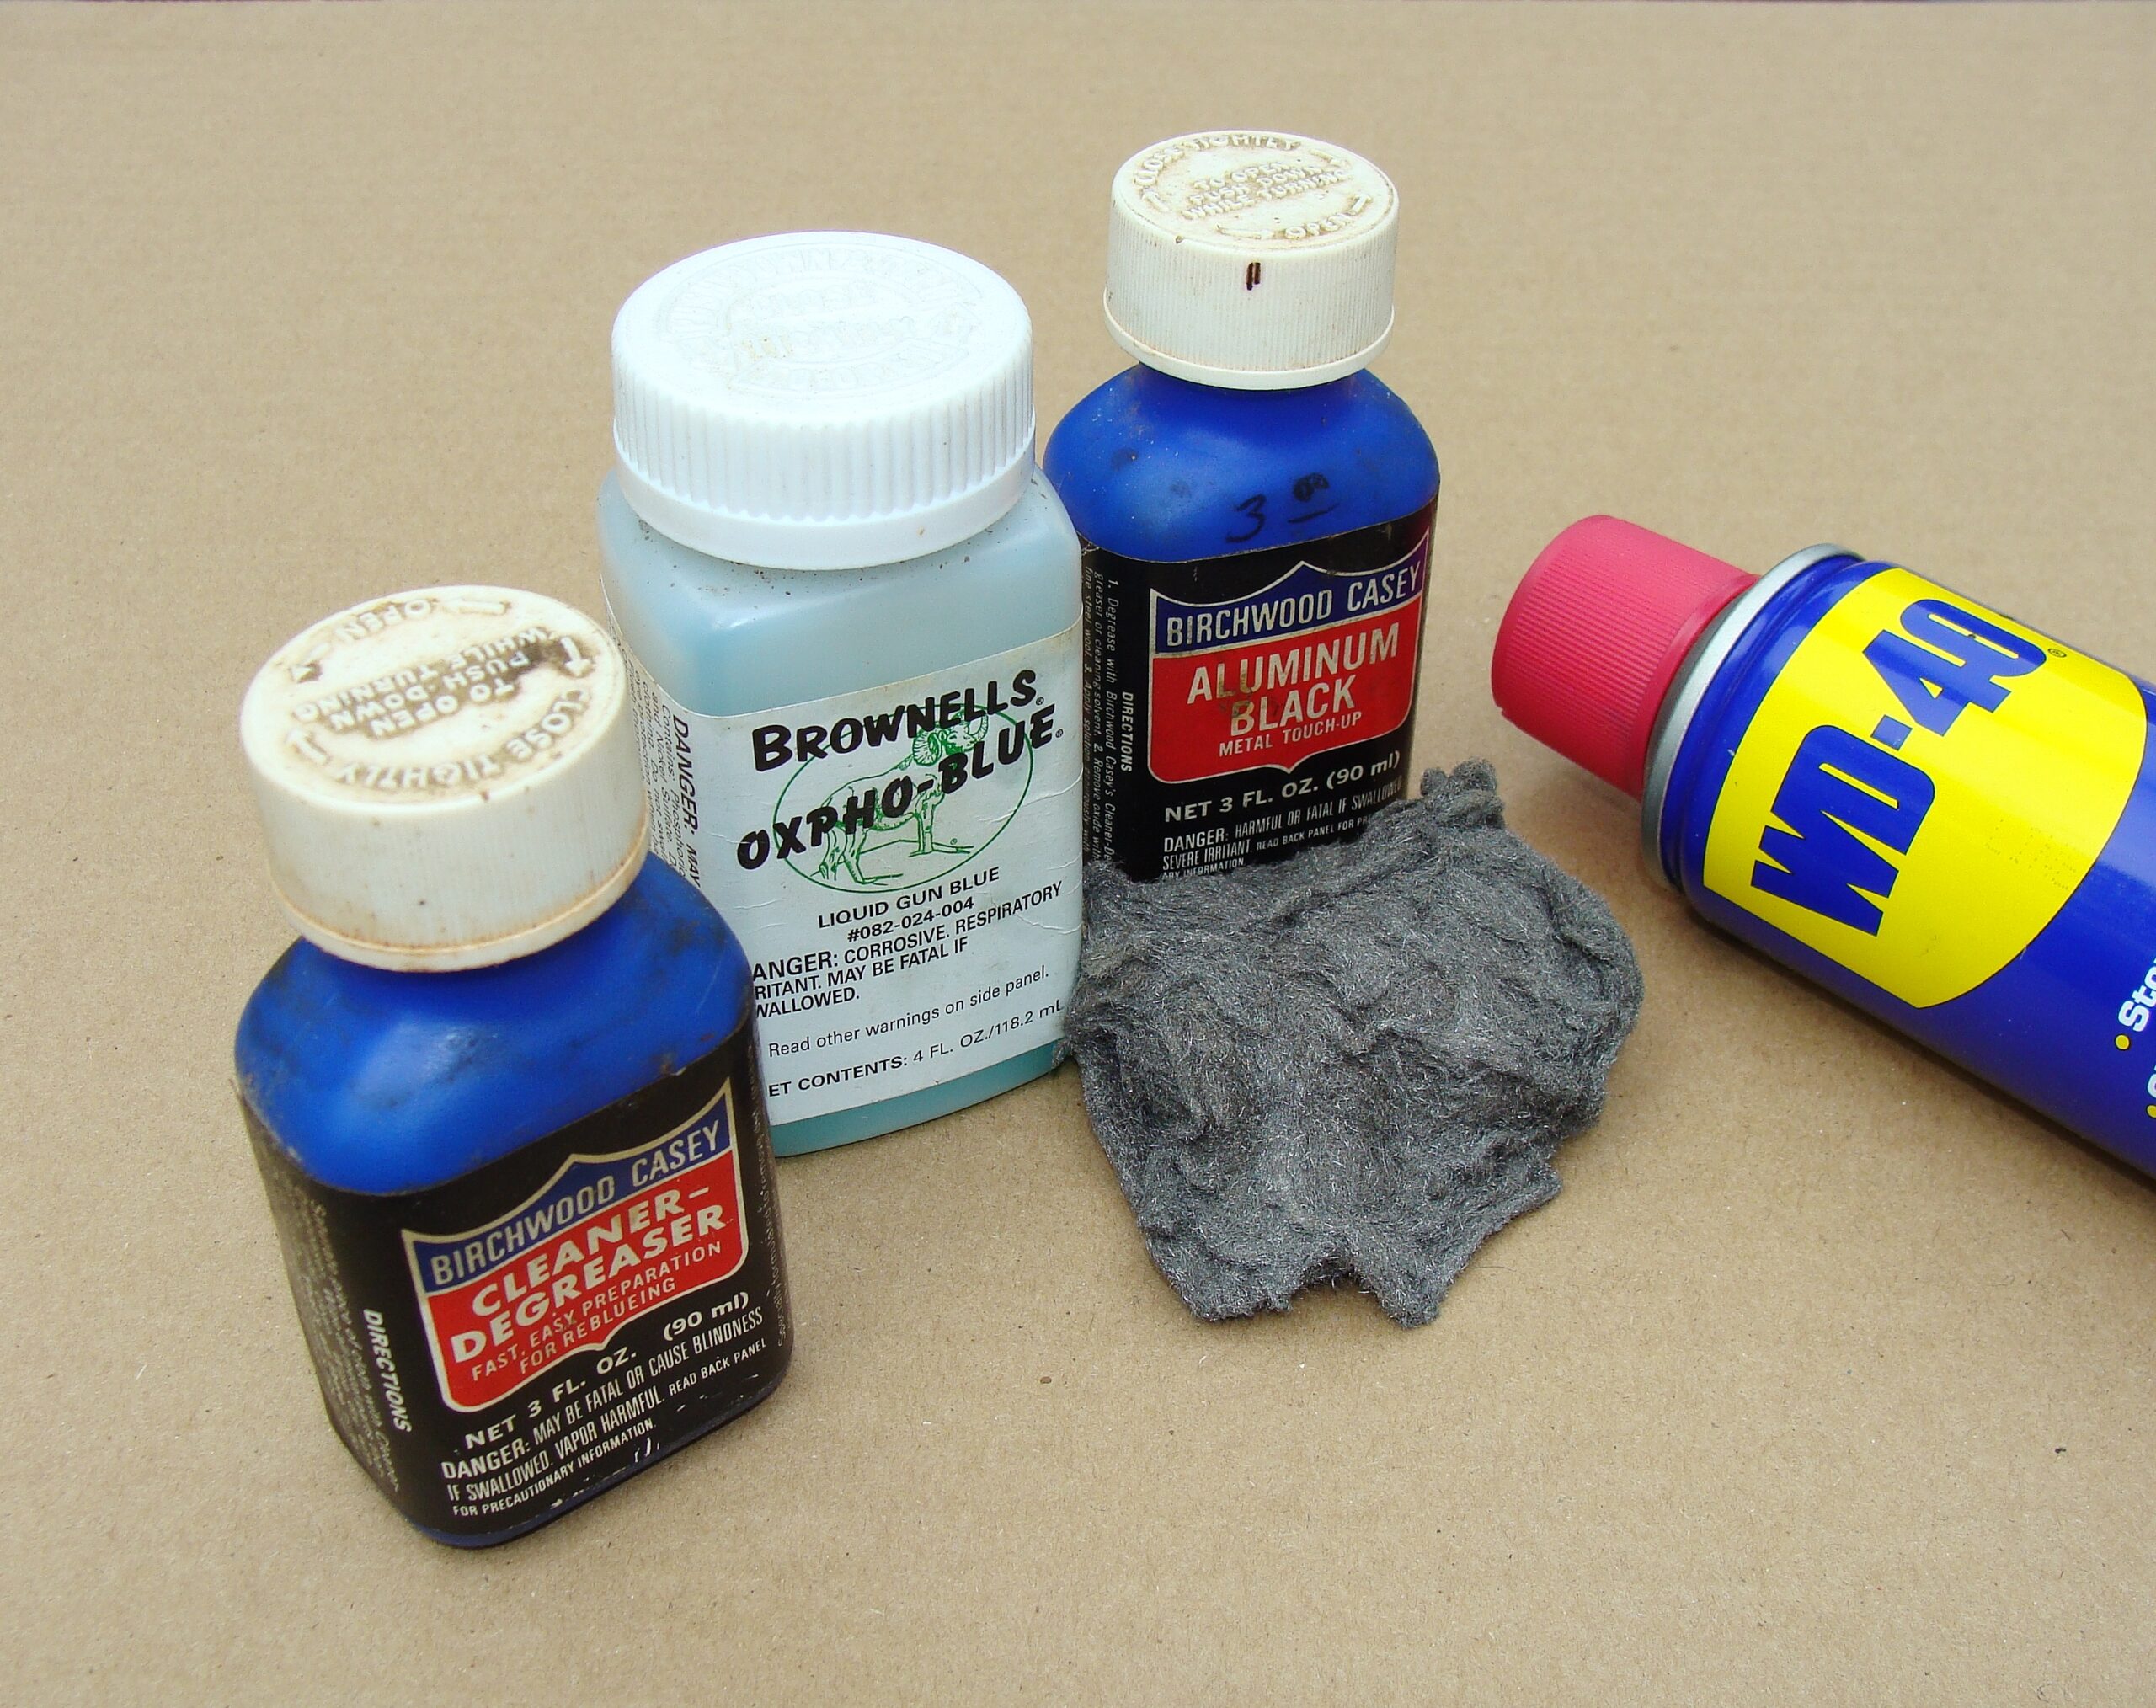
Small dings or bare spots are an inevitable result of use rather than neglect. More often than not, they can be touched up through quick fixes. Small patches of surface rust can often be removed through the aforementioned careful use of four-ought steel wool and WD-40 (read my post on WD-40 and guns). Minor scratches or thinning blued surfaces can be fixed through DIY touch-up products. One of the most common is the Birchwood Casey Deluxe Perma Blue Tru-Oil Liquid Blue and Stock Finish Kit.
Brownells also offers a slew of gun bluing products – shop them here.
I try to avoid taking the surface completely down to bare steel. The idea is to blend in the finishes and cold-blues often provide an inconspicuous fix for smaller spots.
Cold Bluing
Some cold bluing solutions work better than others, depending on the steel or iron alloy. That said, I always keep a bottle of Brownells Oxpho-Blue nearby for use on minor wear spots. Prior to its application, I’ll degrease the area using quick-drying non-residue cleaner like Brownells TCE, or Birchwood Casey’s Cleaner-Degreaser (a cheap product definitely worth having).
The steel is then warmed up with a hairdryer or heavy duty hot air gun. At that point, the cold-blue solution is dabbed on using a cotton swab. Eventually, the bare steel should begin to darken. When it begins to match the surrounding area, I let the solution sit for several minutes and carefully blot it dry.
Related article: DIY Cold Bluing
The last step is a shot of WD-40, followed by a light wipe. This process may need a few tries for best results. I’ve always reserved cold-blue for touch-ups, but recently, Brownells posted tricks for larger jobs on their website.
Either way, the safest bet is to try some on in inconspicuous spot, just in case a negative reaction develops. Some folks tackle entire guns and one popular project is a muzzle loading kit gun, designed to be finished by the purchaser. The steel usually arrives “in the white” and requires final filing and polishing. Birchwood Casey’s Plum Brown is an often-used product that creates an old-time appearance on replica percussion of flintlock guns.
Bluing and Aluminum
Peruse a rack full of used guns and you’ll probably note a few with dinged trigger guards. For example, Remington’s hugely popular Model 870 pump shotgun employs a steel receiver but, like many other brands, its trigger guard is aluminum. Bluing won’t work, but Brownells Aluma-Hyde can do a fair job of covering up scrapes, etc. Advertised as a “durable epoxy-based paint”, it’s available in several shades. Just follow the directions and let it fully cure before handling. Birchwood Casey’s Aluminum Black works, too.
How about a Magic Marker?
A small dab can hide a very minor ding on a scope or trigger guard, etc. If necessary, a bore cleaning solvent like Shooter’s Choice will quickly remove it. There is also a Birchwood Casey Aluminum Touch-Up Pen.
Hiring Professionals for Gun Bluing
Just because a gun is old doesn’t necessarily mean it’s gained value, so restorative expenses could easily exceed its worth. The internet can sometimes provide guidance and some gun shops or auctioneers will also due appraisals. Assuming a decision is made to proceed, a qualified professional will be necessary. Not all so-called “gunsmiths” possess the requisite skills, and even some good ones ship firearms to re-bluing specialists.
Turnbull Restoration Company is a true master of this art. A visit to their website is well worth the time since some educational videos are available. The requisite efforts are reflected by the costs, but the results speak for themselves!
Precision Bluing is another company to consider if you want a professional job.
Final Gun Bluing Thoughts
A cautionary note: Some seemingly good candidates won’t respond to common bluing efforts. For example, Winchester changed the metallurgy of their famous lever-action Model 1894s. As a result, although a magnet will stick to my post-1964 receiver, re-bluing would require a different approach.
That’s also true of stainless steel, although it’s much more weather-resistant. However, even stainless surfaces (and others) have benefitted from recent industrial salt-bath nitriding treatments. These finishes, which are as hard as nails, protect the slides of many popular polymer-framed pistols.
Given the new wave of coatings, the alternatives to bluing are near-endless, and many are much more practical for use in tougher conditions. That said, a deep mirror-blued surface does hold a charm all its own. Ongoing TLC and an occasional spot-fix can help preserve it.
Have you ever tried bluing a gun?
1 comment
Preparing your gun for the best results takes time and lots of effort. If your not williong to take the time to clean and degrease every inch of your gun, your just wasting your time and money.
Once ready to reblue, just be patient and do it right. You can get excellent results. Deciding which product to use is up to you. Read a lot, check out YOUTUBE for good advice, then do it.
Restoring a favorite firearm can be fun and satisfying.