
I’m not ashamed to admit it – I’ve been horrifically slow to adapt to solar power for my home survival preps. There, I said it. Maybe “slow” is an inappropriate term – “reserved” might be better – but the point of fact is that while I use and rightfully adore other solar-powered illumination flashlights and lanterns, when it comes to ramping up the scale to provide basic solar power to my home for illumination and charging capabilities, I was – pun intended – shamefully in the dark.
I will fully admit that my solar ignorance was due to my reluctance to dive into the maelstrom of information that falls under the general heading “Solar Power.” Start looking into home solar integration, and your mind will unravel and your eyes will slam open upon realizing the sheer quantity of possibilities for setting yourself up with some light powered by stored light.
Fortunately, an innovative company called BioLite sensed a great disturbance in The Force caused by millions of voices crying out in unilluminated anguish, and has chosen to silence them with an outstanding solar start-up kit that checks all the boxes for a turn-key introductory solar setup. September has been decreed “National Preparedness Month” by FEMA, and in response, for the entire month of September 2019, BioLite is offering a series of full-blown solar survival kits to help bring easy solar power and illumination to the masses.
About BioLite and Their Bundles
BioLite has been at the forefront of the natural power and preparedness nexus for quite some time. You’ve probably heard of or seen the double-take-inducing thermoelectric CampStove that utilizes heat from burning locally-sourced fuel (read: twigs and sticks) to generate electricity and charge your electronic devices.
Oh, yes, it’ll also cook your food and boil your water too.
Expanding its footprint by dedicating the company’s ideals to helping eliminating carbon footprints, New York based BioLite has been cleverly expanding its naturally-powered tool line since 2009 to include a vast variety of well-engineered photon-collecting apparatus that ultimately will make your quality of life tenfold better after a grid-down event.
The BioLite Apartment Prep Kit Bundle
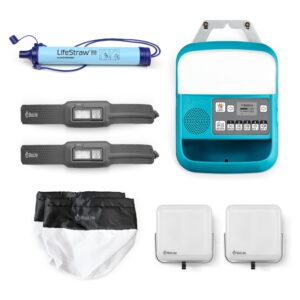
BioLite was kind enough to send me an “Apartment Prep Kit” to try out. This particular Prep Kit contains the following:
- One SolarHome 620 “microgrid” central charge controller hub, incorporating a radio with speaker, MP3 player that runs off a MicroSD slot, two USB charging ports, a 6 Watt solar panel, three overhead LED lights and one integrated light and display
- One AC adaptor for the SolarHome 620 so you can top off the battery when outlet power is available
- Two BioLite headlamps dubbed, appropriately, the HeadLamp 330
- Two small stuff sacks for the HeadLamp 330s to diffuse the focused light of the headlamps
- Two Solar-powered SunLight lanterns
- One LifeStraw Classic water filter, proving that hydration is possibly just as important as a charged iPhone and Led Zeppelin crooning when the power is down.
The other BioLite bundles are variations on the theme, with the “Solo” kit subsituting the SolarHome 620 Kit and its accessories for a Charge20 power bank, and promoting the on-the-go bug-out bag mentality with one each of the HeadLamp 330s, stuff sack, and SunLight. The “Family” Kit goes past the Apartment Bundle with four each of the HeadLamp 330s and SunLights, while keeping the SolarHome 620 on deck as well as upgrading the smaller LifeStraw Classic to the superb LifeStraw Family gravity water filter.
Let’s dig in to the provided Apartment Bundle, shall we?
Headlamp 330
Starting with the HeadLamp 330, we find that BioLite took the battery-bulb-band concept and streamlined it with a design that has some experience built right in.
While I’m not a die-hard user of head lamps, I do know that my qualms with them are relatively constant: if worn on a bare forehead, my head sweats and the band gets funky while it abrades my skin. The battery packs are often placed in terrible locations and are of offensive size, meaning that a speedy turn of the head often has the battery pack continuing its revolving orbit around my noggin even after my head stops.
Also, the headlamps I’ve used have too many options and not enough power, providing me with a practically useless strobe but not enough illumination to move through the nighttime woods at anything more than a brisk walk. The HeadLamp 330 addresses all these issues.
Also Read: How to Build a Solar Energy Generator for Backup Power
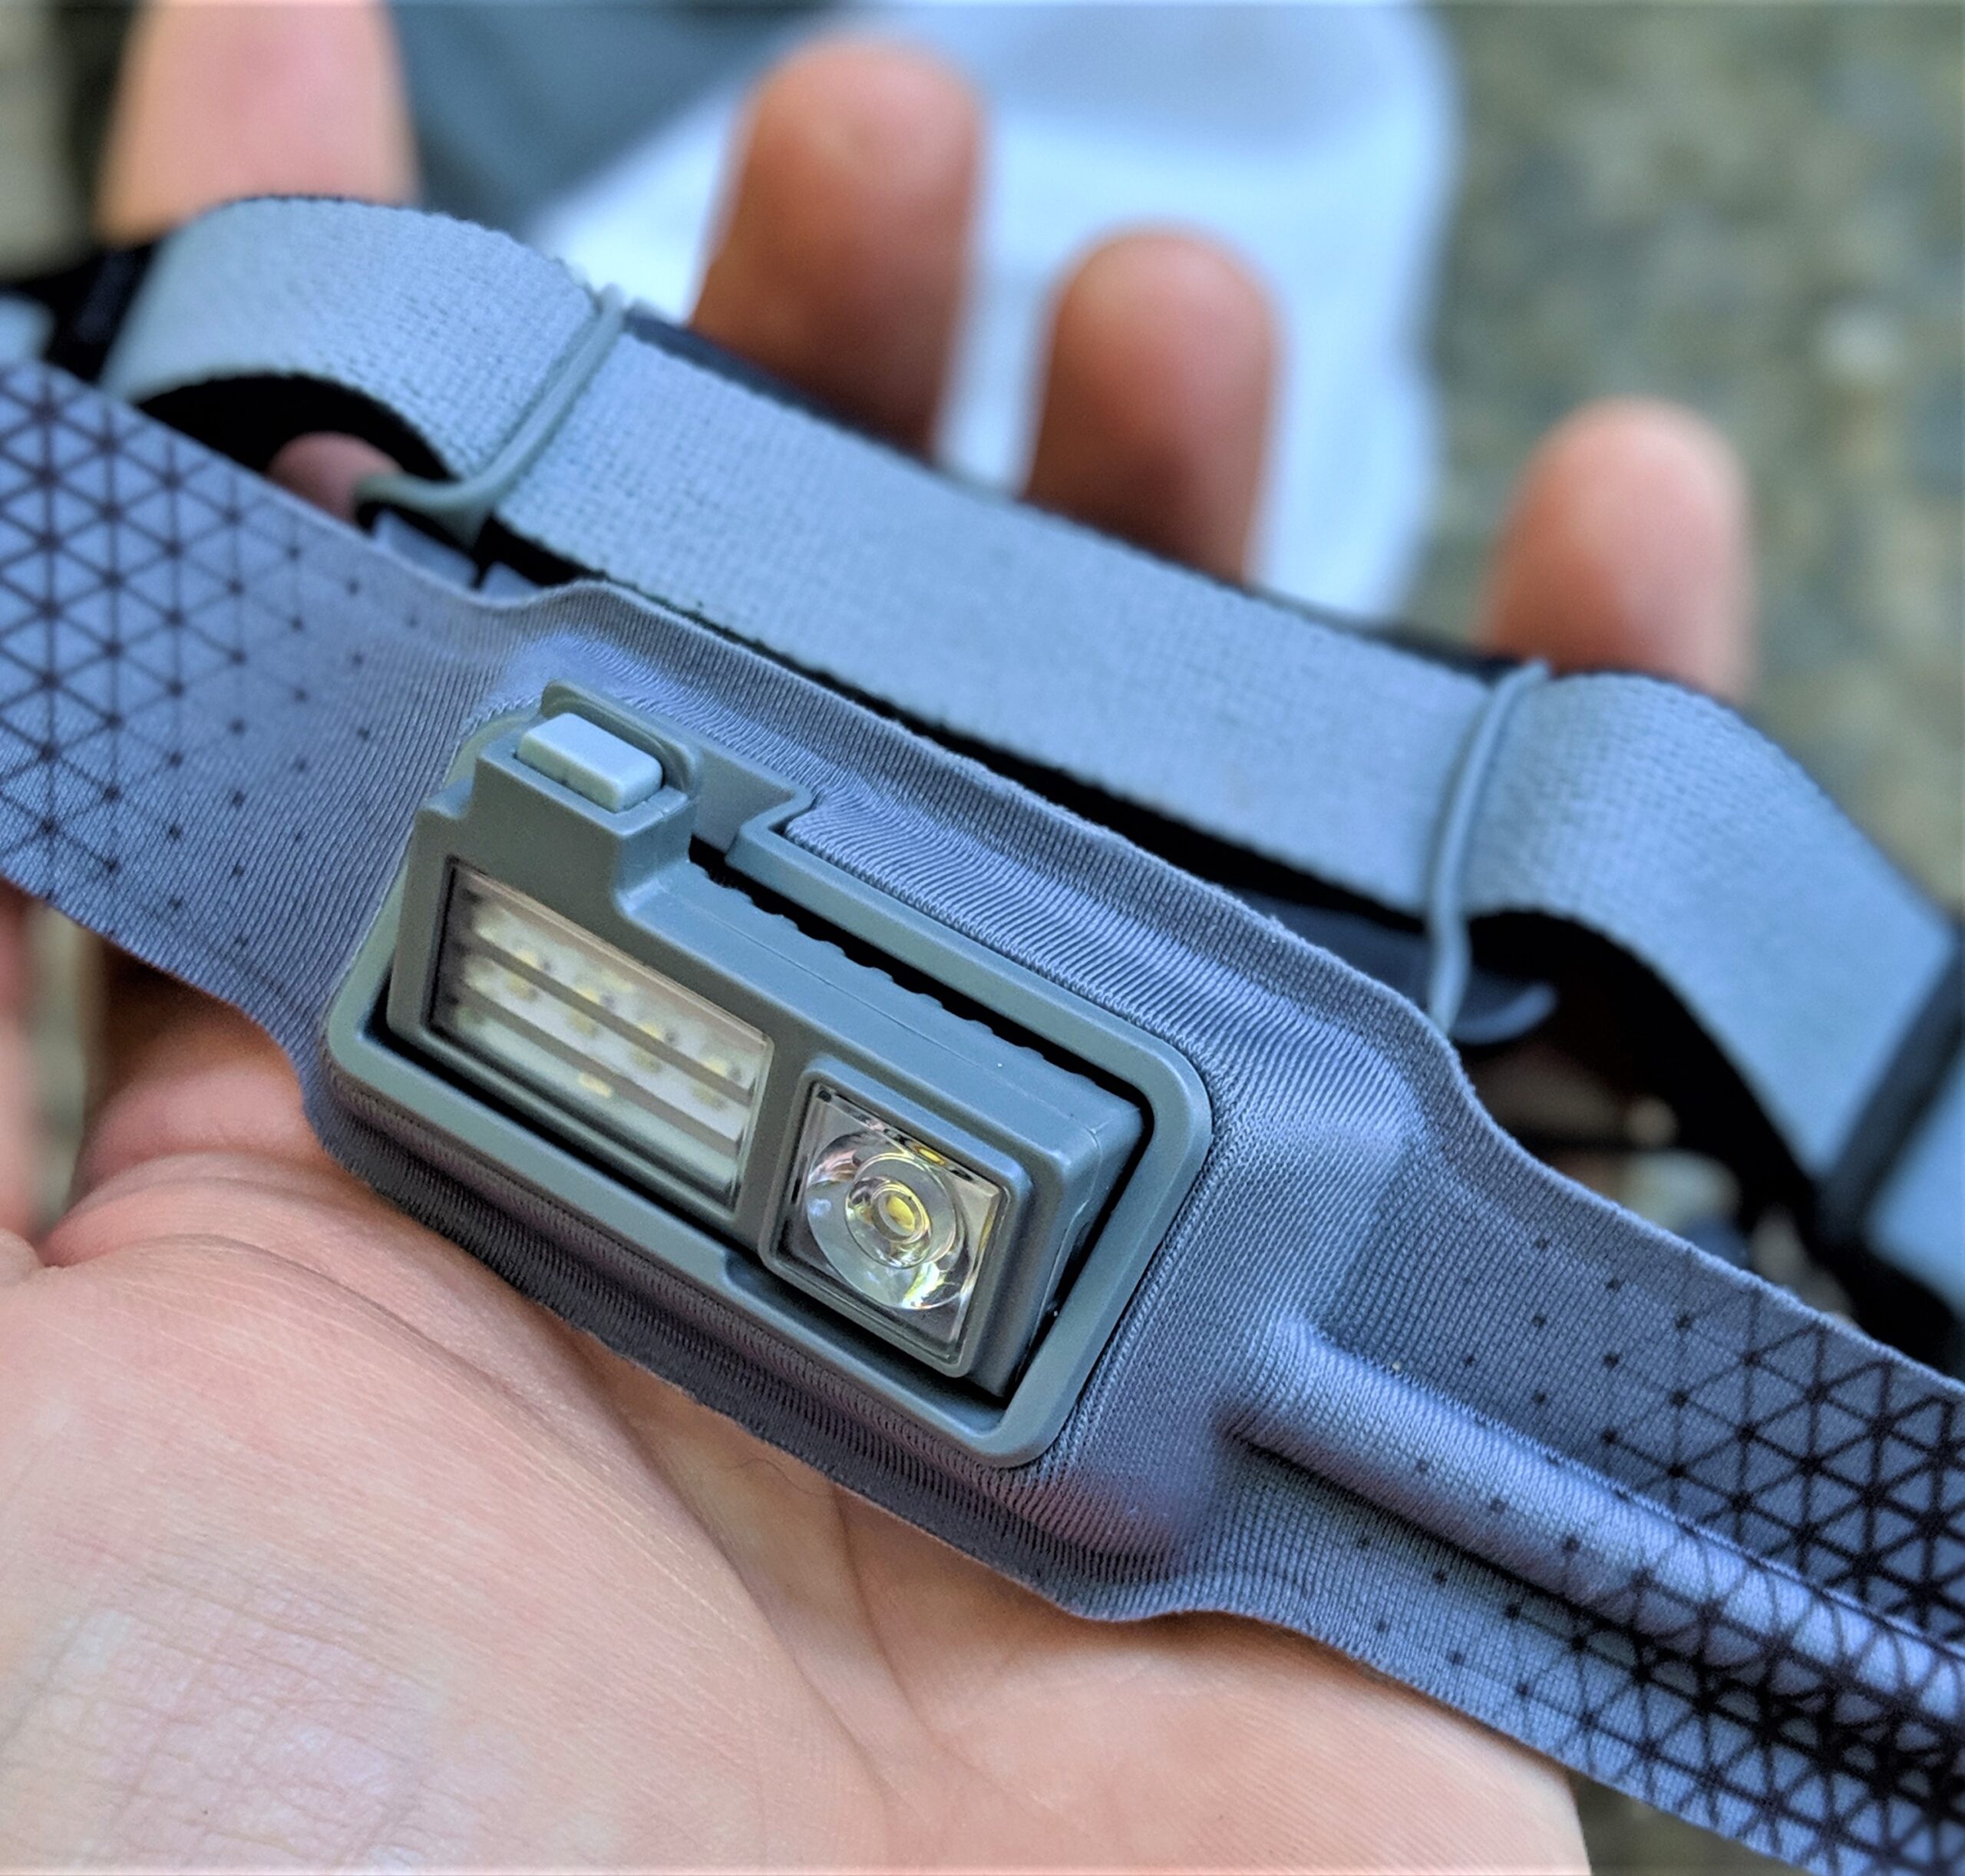
BioLite boasts the “3D SlimFit” construction, which, for ignoramuses such as myself, means that the headlamp is low-profile (9mm, or just over a third of an inch thick) and unobtrusive. The business end of the HeadLamp 330 itself is moulded right into the front half of the breathable, moisture-wicking fabric, so the lamp doesn’t require a bazillion adjustments to get it fitting properly, and it won’t bounce around on your melon while you perform your nighttime interpretive dances.
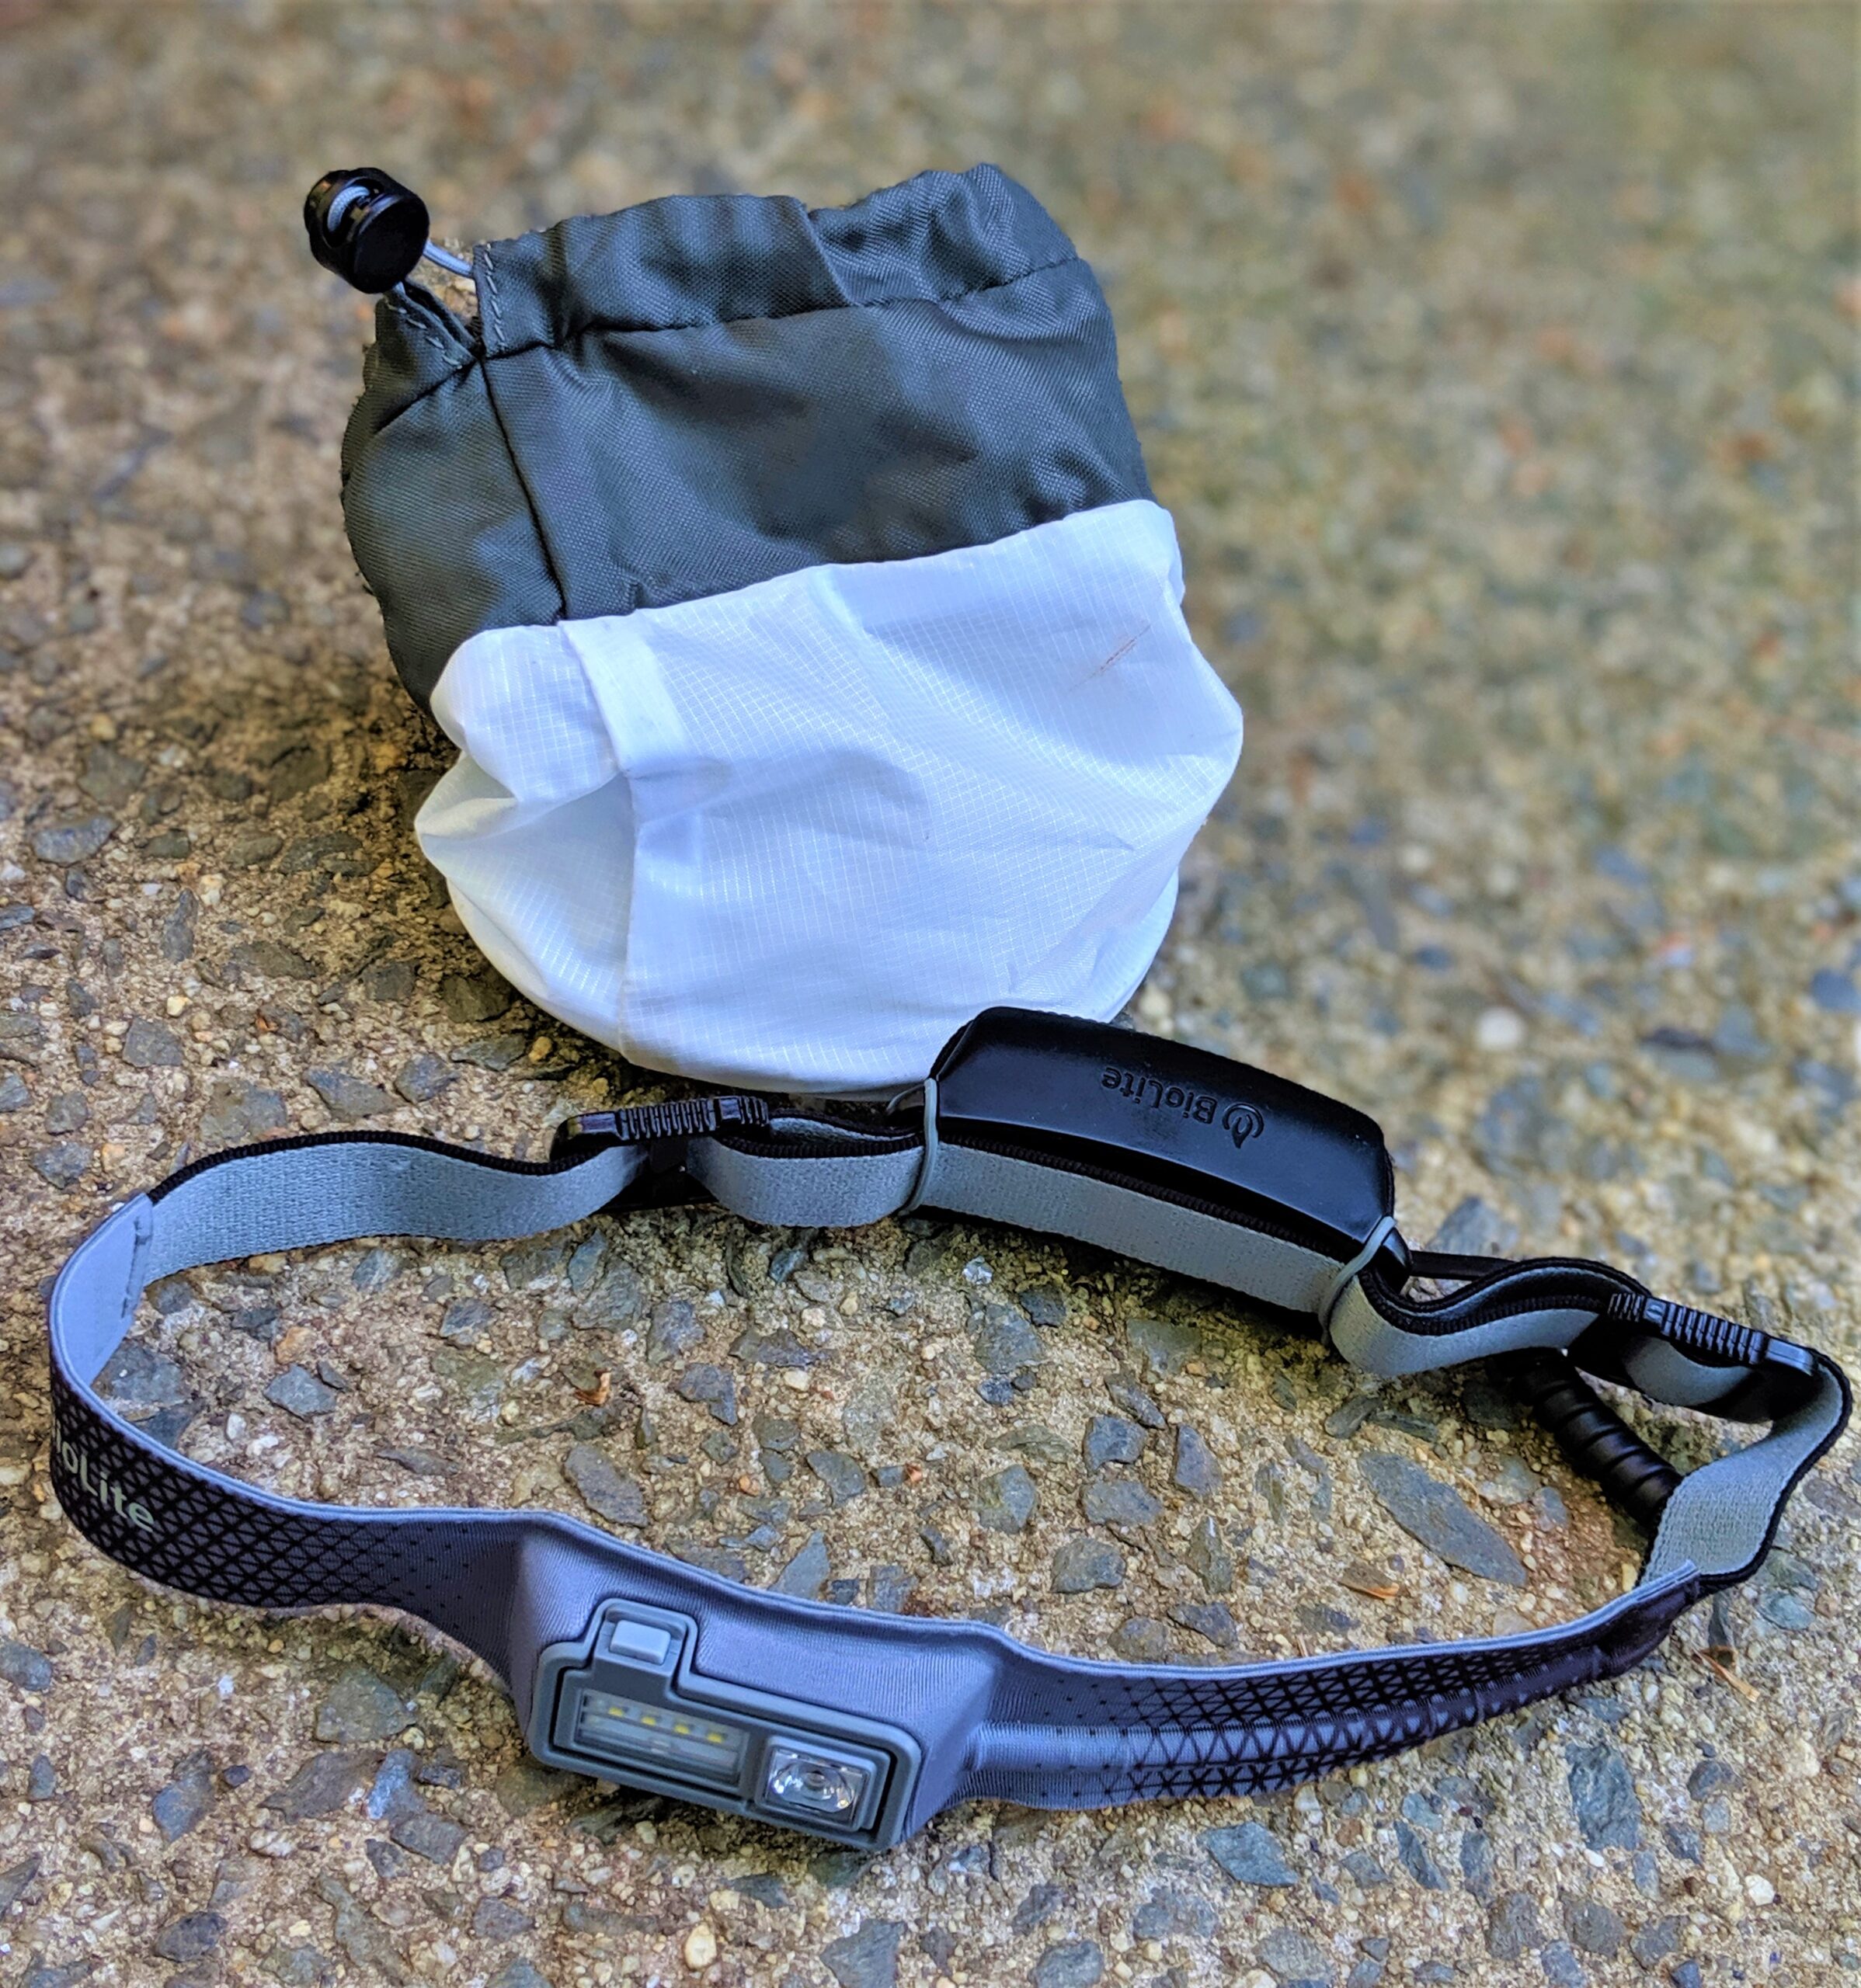
The battery case has been located at the back of the strap in an effort to balance the whole works. The battery case is sealed except for its Micro-USB sealed charging port, and since it is unencumbered with the need to carry a heavy payload of alkaline batteries, is delightfully lightweight. As a matter of fact, the entire HeadLamp 330 only weighs two and a half ounces, or about the same as three alkaline AA batteries.
Going back to the lamp itself, the output is rated at 330 lumens at full-tilt. There are options for how that output works for you, including a spotlight, localized floodlight, and yes, that strobe function. A red output for preserving night vision hunting is available via button-clicking as well. The internal 900 mAh Lithium-Ion battery will keep the light going for you on high-power mode for about 3 hours in my testing; BioLite says that if you can use constraint and keep the output level to the lower levels – meaning the 100-lumen floodlight – you should be able to squeeze 40 hours out of a single charge. The HeadLamp 300 also has a memory, so whatever setting you were using when you turned it off will be the setting it resumes duty at when fired back up.
The LEDs themselves are housed in a simple tilting panel on the front of the HeadLamp 330. This panel can be tilted down out of the lamp band housing to provide the light where you need it the most. However, the panel and its extremely close proximity to the single power button is my only real complaint about the HeadLamp 330 – adjusting the light panel angle means that you’ll likely bump the power button – a situation made worse if you’re using gloves. Other than that, the HeadLamp 330 is brilliantly executed and a superb tool for providing hands- and hassle-free personal illumination.
Light Diffusing StuffSack
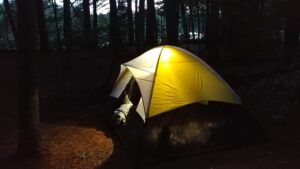
If you get a BioLite Headlamp 330 – whether on its own or part of this Apartment Kit – you need to procure a BioLite StuffSack as well. This ingenious little white fabric-and-drawstring joy is a simple solution to a larger problem: one light, multiple people.
Its simplicity belies its elegance: simply turn your HeadLamp 330 on, drop it in the Light-Diffusing StuffSack, cinch the drawstrings, and hang. Instant lantern for area lighting! On a recent camping trip with my sons, the HeadLamp/StuffSack combo rendered outstanding service, spilling plenty of nicely diffused light inside our tent while we played several cutthroat games of Go-Fish and cribbage. As a bonus, the StuffSack is a great carrying case for your HeadLamp and its included USB cable. The Light-Diffusing StuffSack is a must-have, and BioLite absolutely did the consumer right by including them in the kit.
SunLight Portable Solar Light
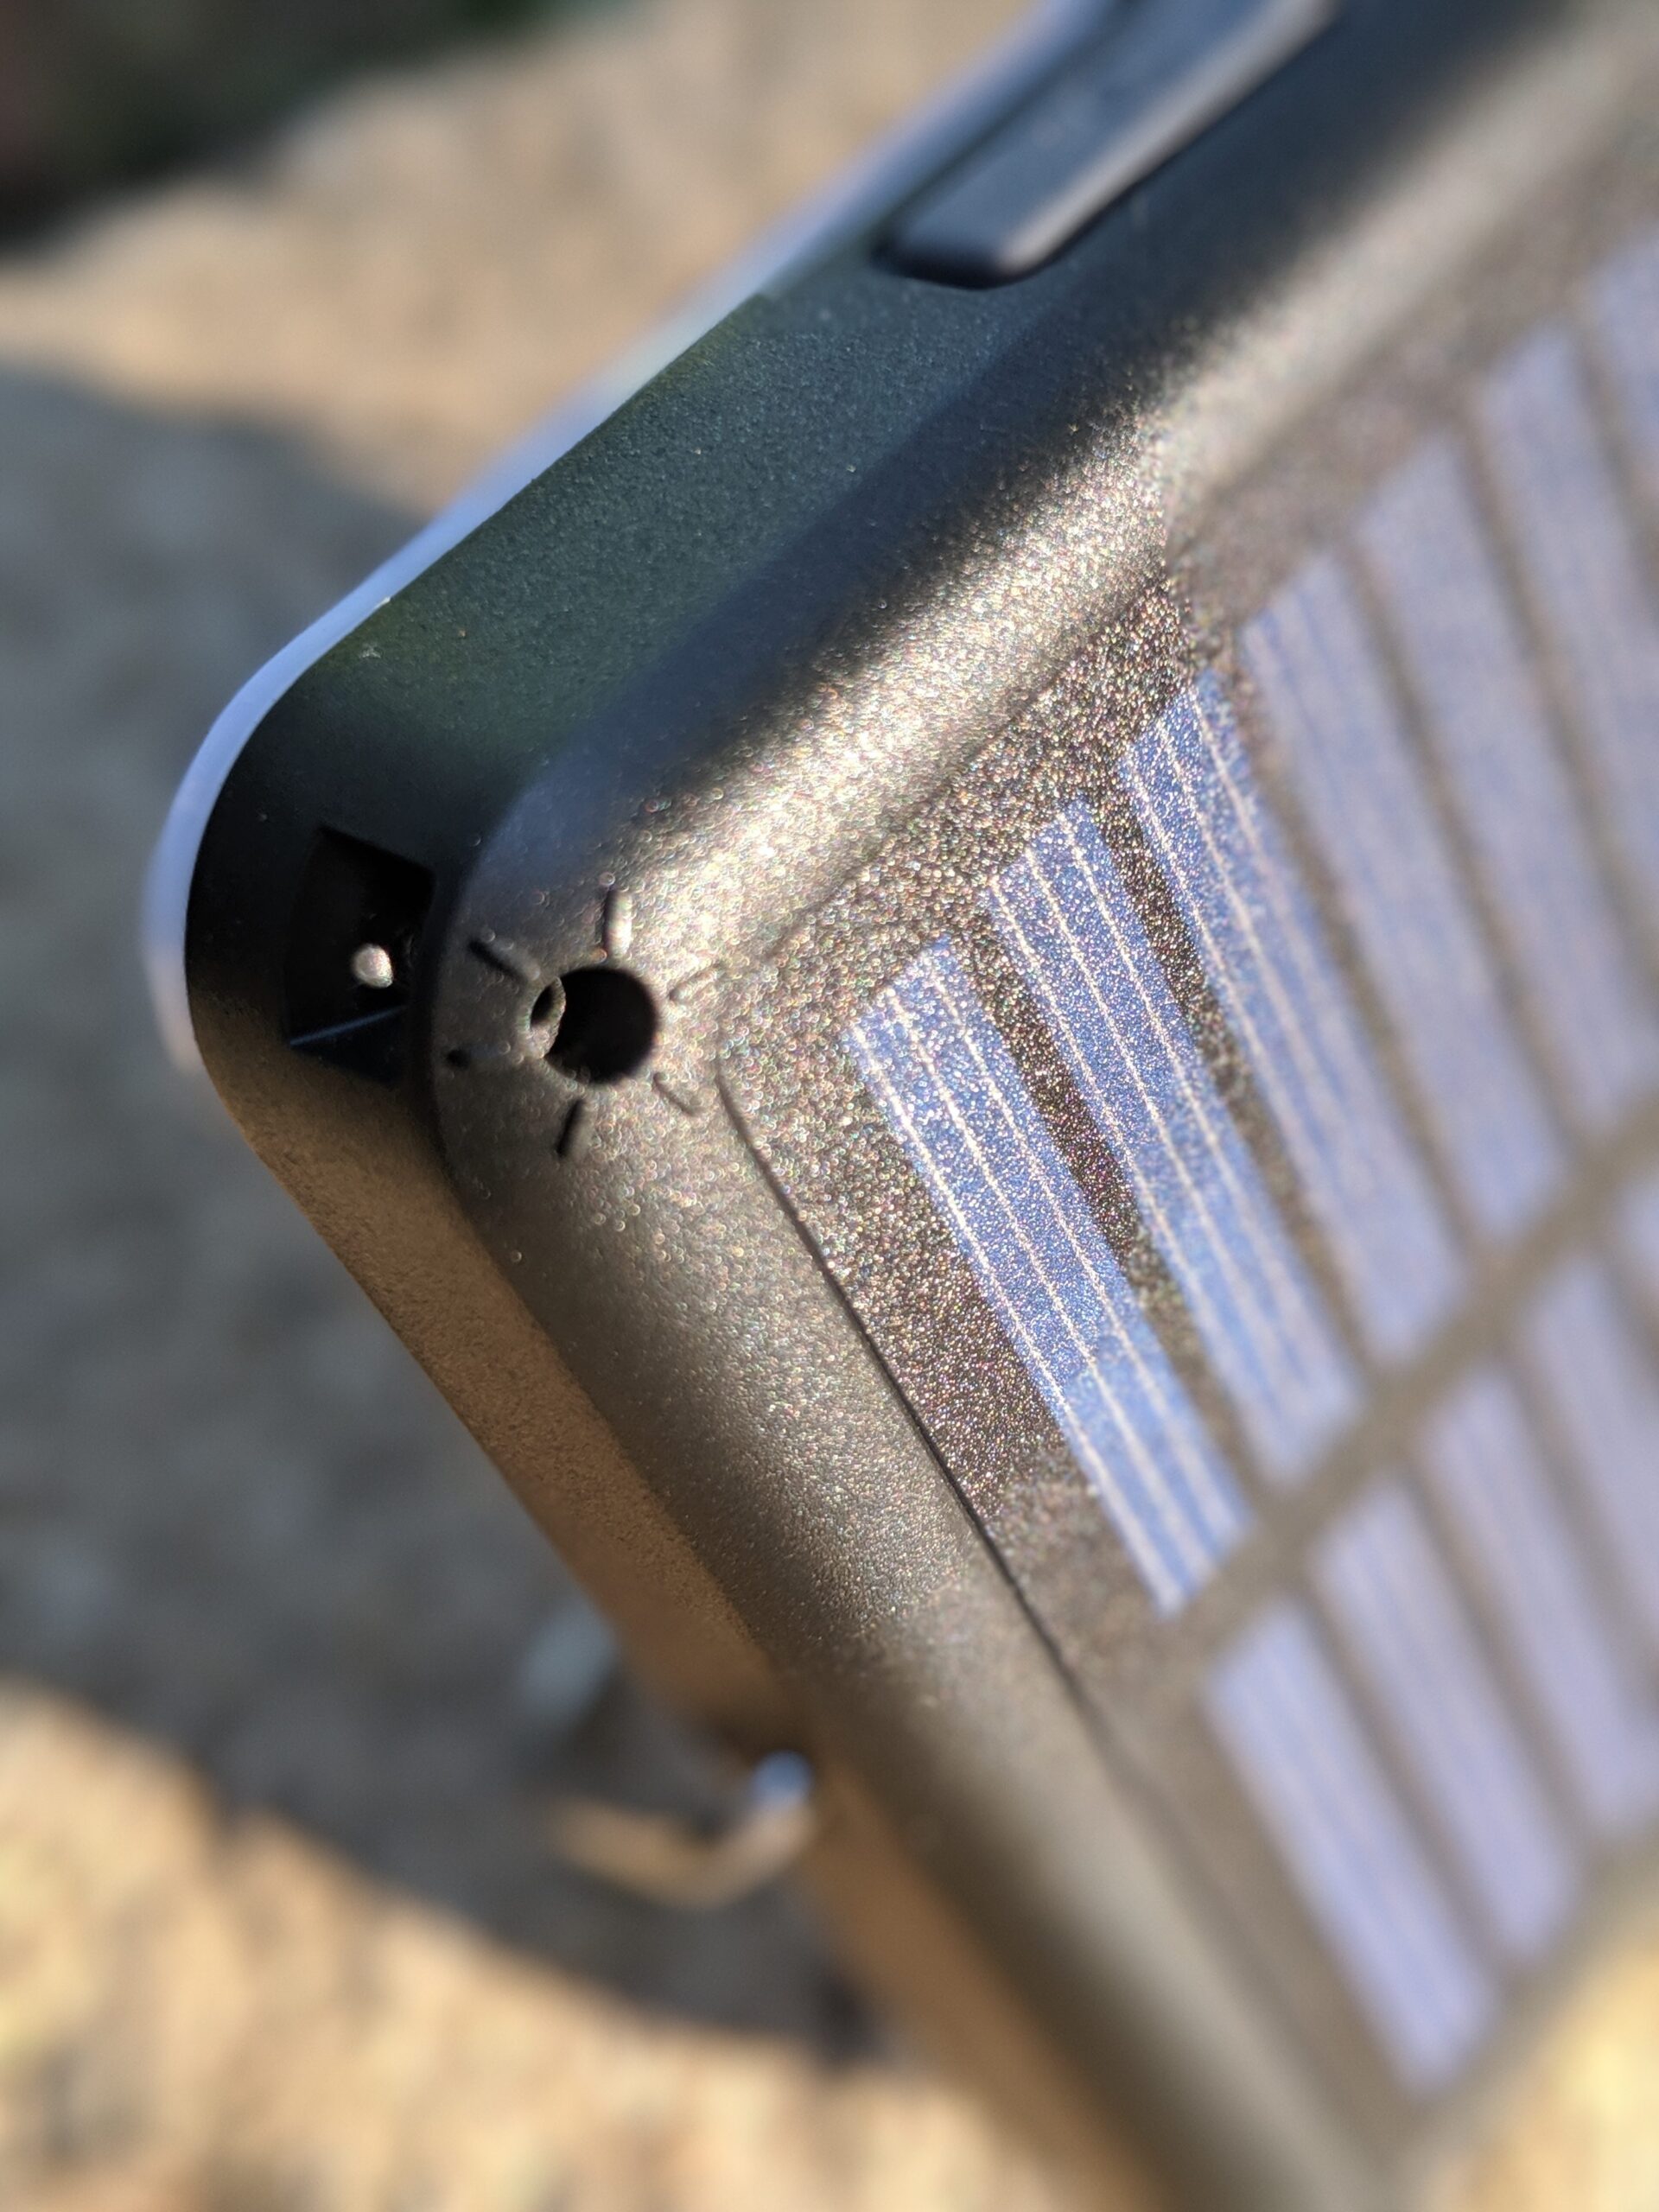
The SunLight Portable Solar Light is a stellar example of BioLite’s legacy: high-quality, no-fuss, outstandingly effective tools for you and me. The SunLight doesn’t boast a lot of crazy options or doo-dads; it has one job that it knows how to do, and it does it well.
Measuring 3 ⅛” by 3 ⅛” x ⅞”, the easily-packed, 100-lumen SunLight is simple in execution and function. One side has a white plastic lens face, the flip side is where the full-size solar panel lives. There is a stunningly innocuous metal wire kickstand that one can use to stand the SunLight up in the best location for doing its job, or swivel the stand to the other side and prop the solar panel up to catch the best angle to catch sunlight and charge the SunLight.
A brilliantly simple feature of the SunLight is the small hole drilled in one corner of the plastic housing; though some may infer that this hole is for a lanyard, it actually has another purpose as a sundial of sorts: Place the SunLight in the sunlight, and swivel its position around until you can see a small white dot on the inside of the nousing notch; this shows you that the SunLight is most efficiently positioned to catch solar energy and charge most effectively.
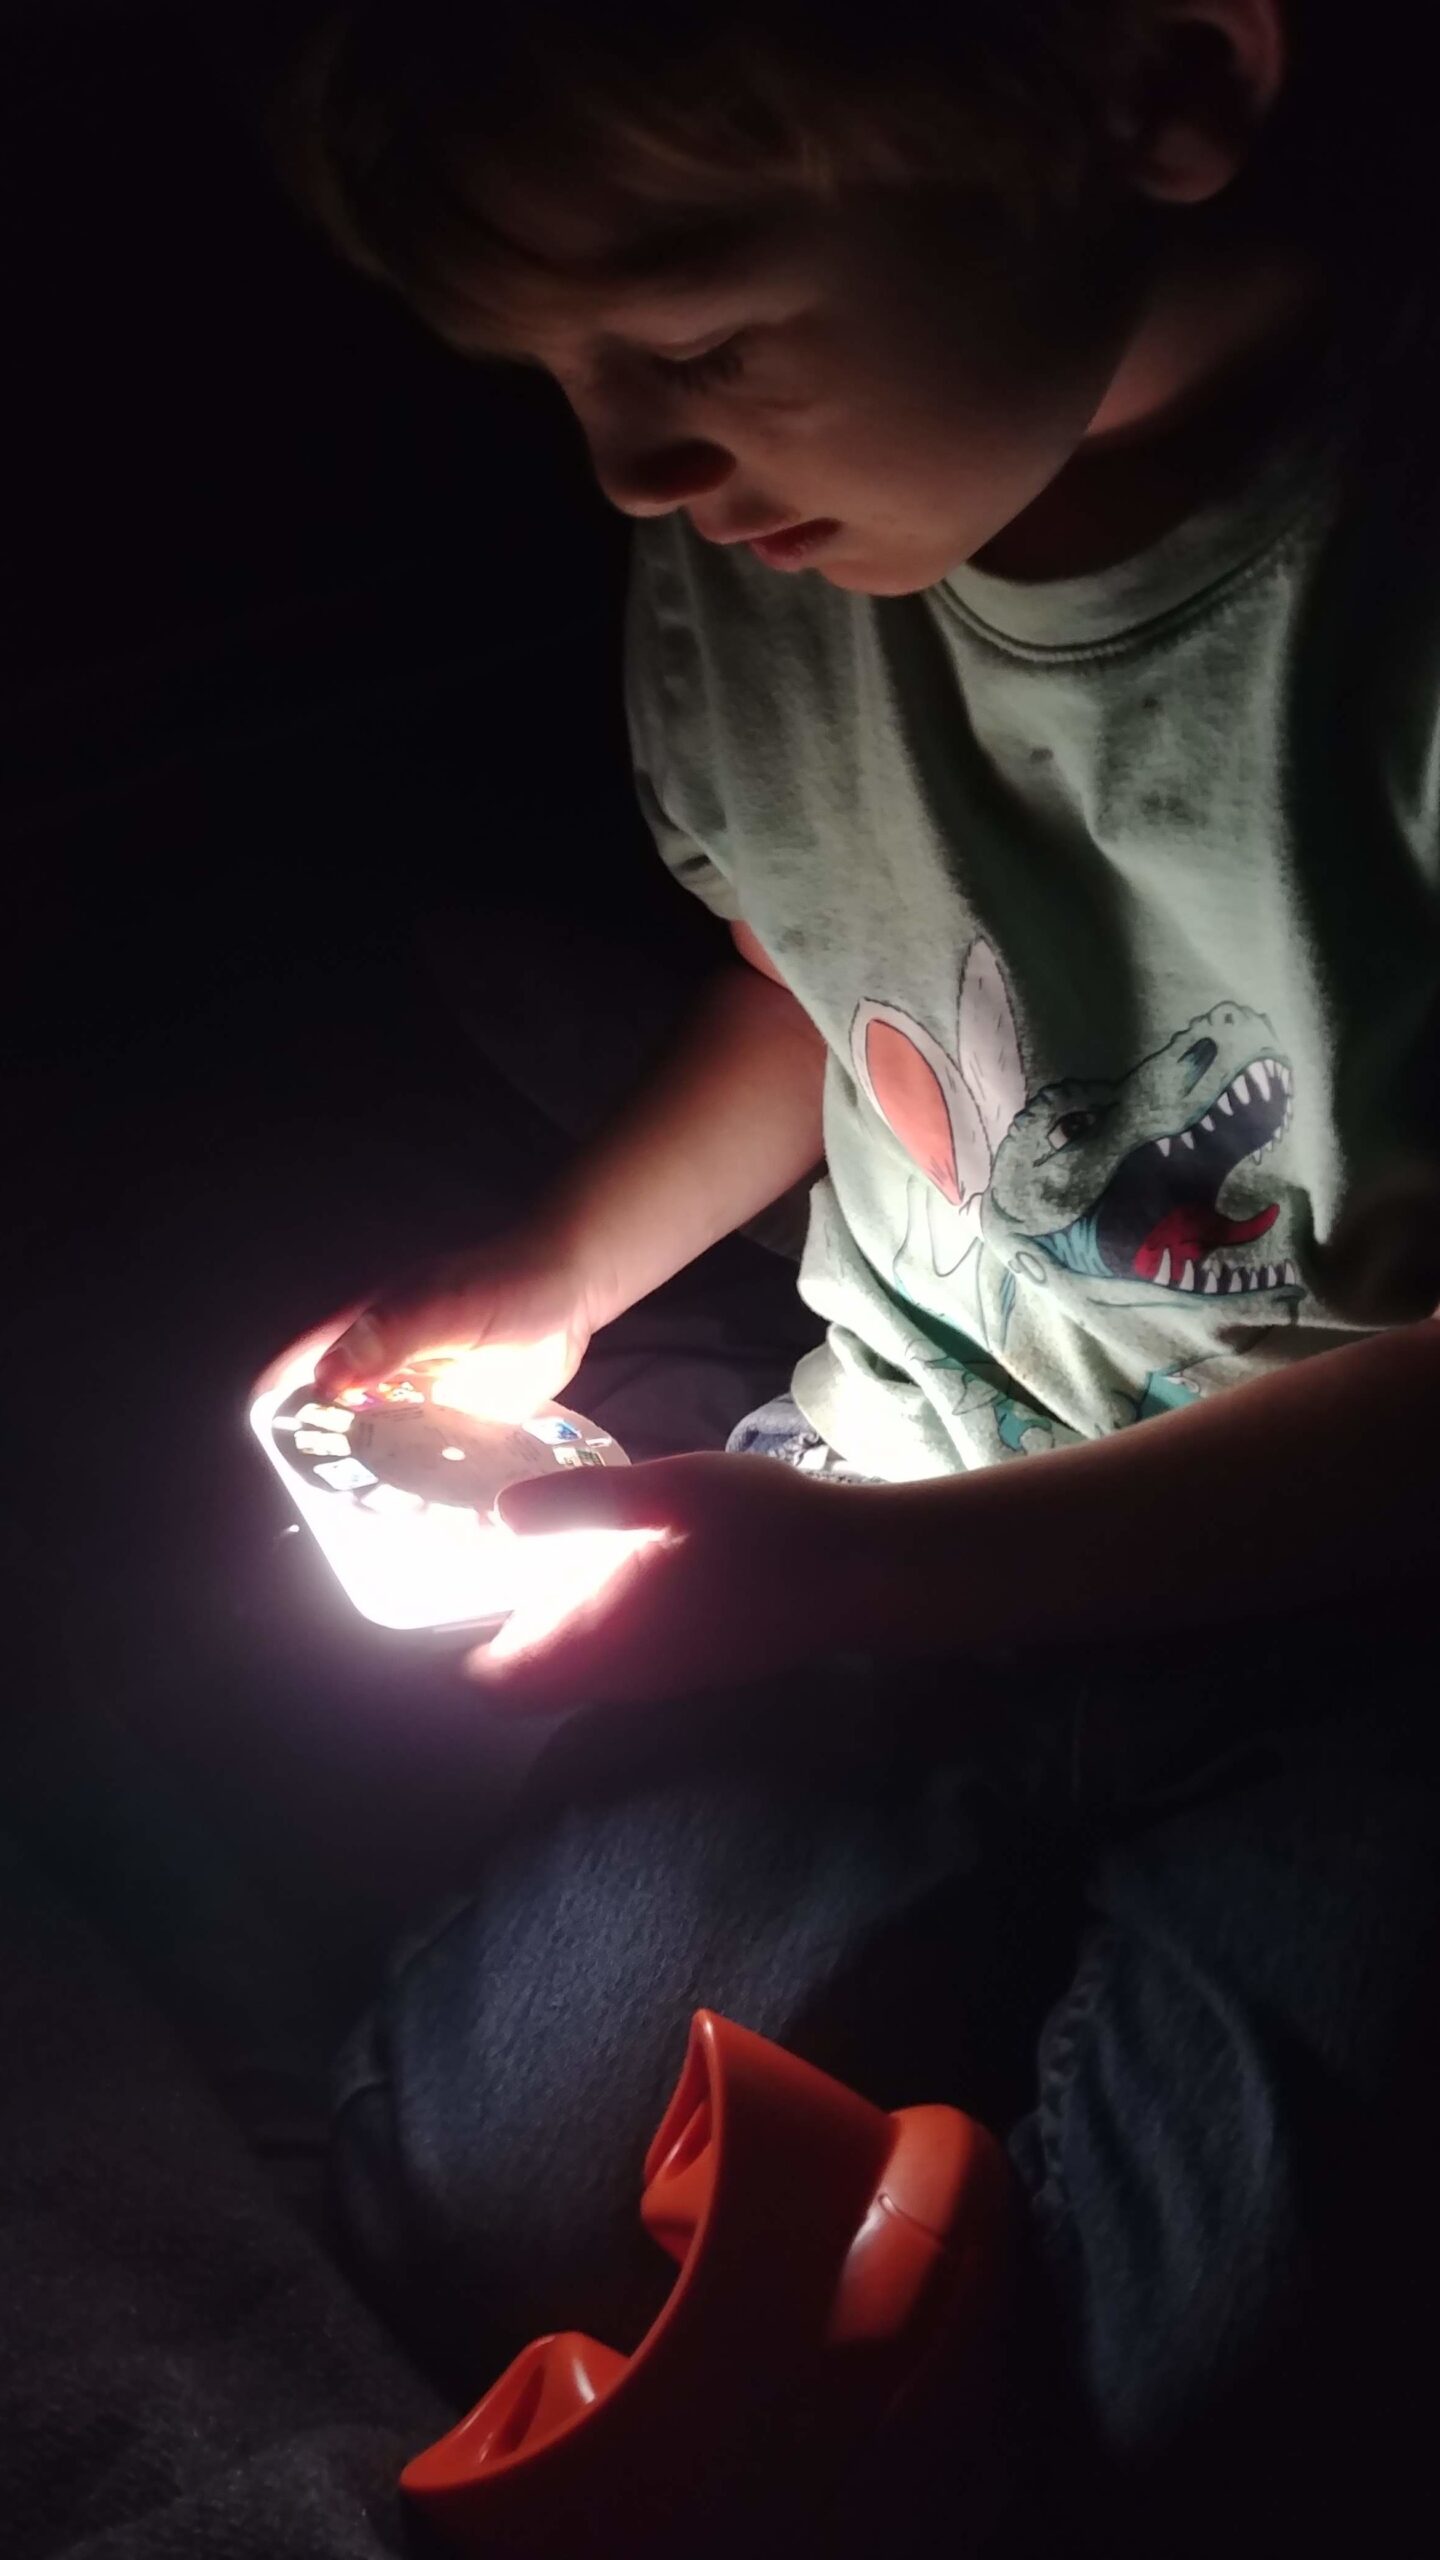
The only features encumbering the smooth outside housing of the SunLight (aside from the stand) are the USB charging port and the single power button. The sealed USB port can be used to top off the SunLight’s sealed batteries when power is available. The power button obviously turns the lantern on and off, but it is also used via a morse-esque bug out communication method of taps and holds to cycle between brightness levels and colors.
First, though – you’ll need to get the SunLight out of its as-shipped “demo” mode lest ye be driven mad trying to get the device to work properly. To remove the cursed yet flamboyant retail demo mode, simply press and hold the power button for 10 seconds and the demo demons will be exorcised, enabling the standard functions of the SunLight.
In my testing, with the illumination output at about the half-way point (or the best I could figure as being the halfway point), the SunLight provided all-evening nightlight duty for camping with my 5-year old. After a full 8 hours of glowing, the SunLight was still pumping out the lumens – though when I flipped it over and plunked it in the sunlight to charge, the light flashed red to describe the battery level as being low and in need of charging.
The SunLight is an outstanding alternative to open-flame candles in your domicile or while camping, providing more than enough output to light up a small room for reading and working once the lights are out. When the sun peeps back over the horizon, simply align the solar panel with Sol and charge it back up for the next evening.
LifeStraw Classic

The LifeStraw Classic should be familiar to most readers of this page, but a quick touch on the details tells the story why the LifeStraw Classic water filter is the archetypical portable water filtration system of our day. A scant 2 ounces in weight and is 9 inches long by 1 inch in diameter. Its “straw” design means you can (if your nose is brave enough) stick the LifeStraw directly into a stagnant bog and (with effort) suck out clean, filtered water that won’t have you running for the bathroom a couple hours later.
It does take some power to initially suck the water through the internal filtration system but once it’s flowing, the LifeStraw works like a charm and even my 5-year-old uses one with relative ease. While some in a survival situation may balk at using the same LifeStraw (only one is provided in the apartment bundle), its ability to filter about 1,000 gallons of water means that a 4-person crew can run one straw for over a half a year if everyone drinks a gallon a day.
Also Read: Gear Review: Epic The Answer Filter System
The LifeStraw Classic is easy to clean, takes up very little room, is effective, and makes an incredible amount of sense to include in this bundle. If you want each person in your crew to have their own filter, individual LifeStraw Classics can be purchased pretty much anywhere for around twenty bucks each.
SolarHome 620 and Charger

The last (but far from least) component of the BioLite Apartment Kit: The SolarHome 620. A very cool, relatively inexpensive rig that allows you to bring solar power, light, charging, and tunes into your home, camp, RV, etc., without expending a ton of dollars. As a matter of fact, BioLite has shipped tens of thousands of SolarHome 620 kits to Africa, where homes in undeveloped areas can have light and radio. The simplicity of the 620 along with the carefully picked list of features makes this setup a winner.
At the heart of this mini-grid system is the central charge controller. The teal-colored high-impact plastic box houses the brains of the operation, on which you can monitor charging rate, battery level, and sun strength on the solar panel via a screen that looks like it was lifted directly from my old legendarily durable Nokia 3360 cellphone.
Also located on the control box are two USB ports for charging cords (a short, multi-ended cable is included, but it’s decidedly short on Apple-based plugs – so iPhone people need to provide their own cable here), a MicroSD card slot, two ports on the back for plugging in the lights, an input plug for the provided 6 watt solar panel, a DIN port for plugging in an expansion battery (not included), a hanging bracket, and a bafflingly-sized compartment which fits no cellphone I was able to scrounge up and try (maybe it was designed for that Nokia 3360 they took the screen from?).
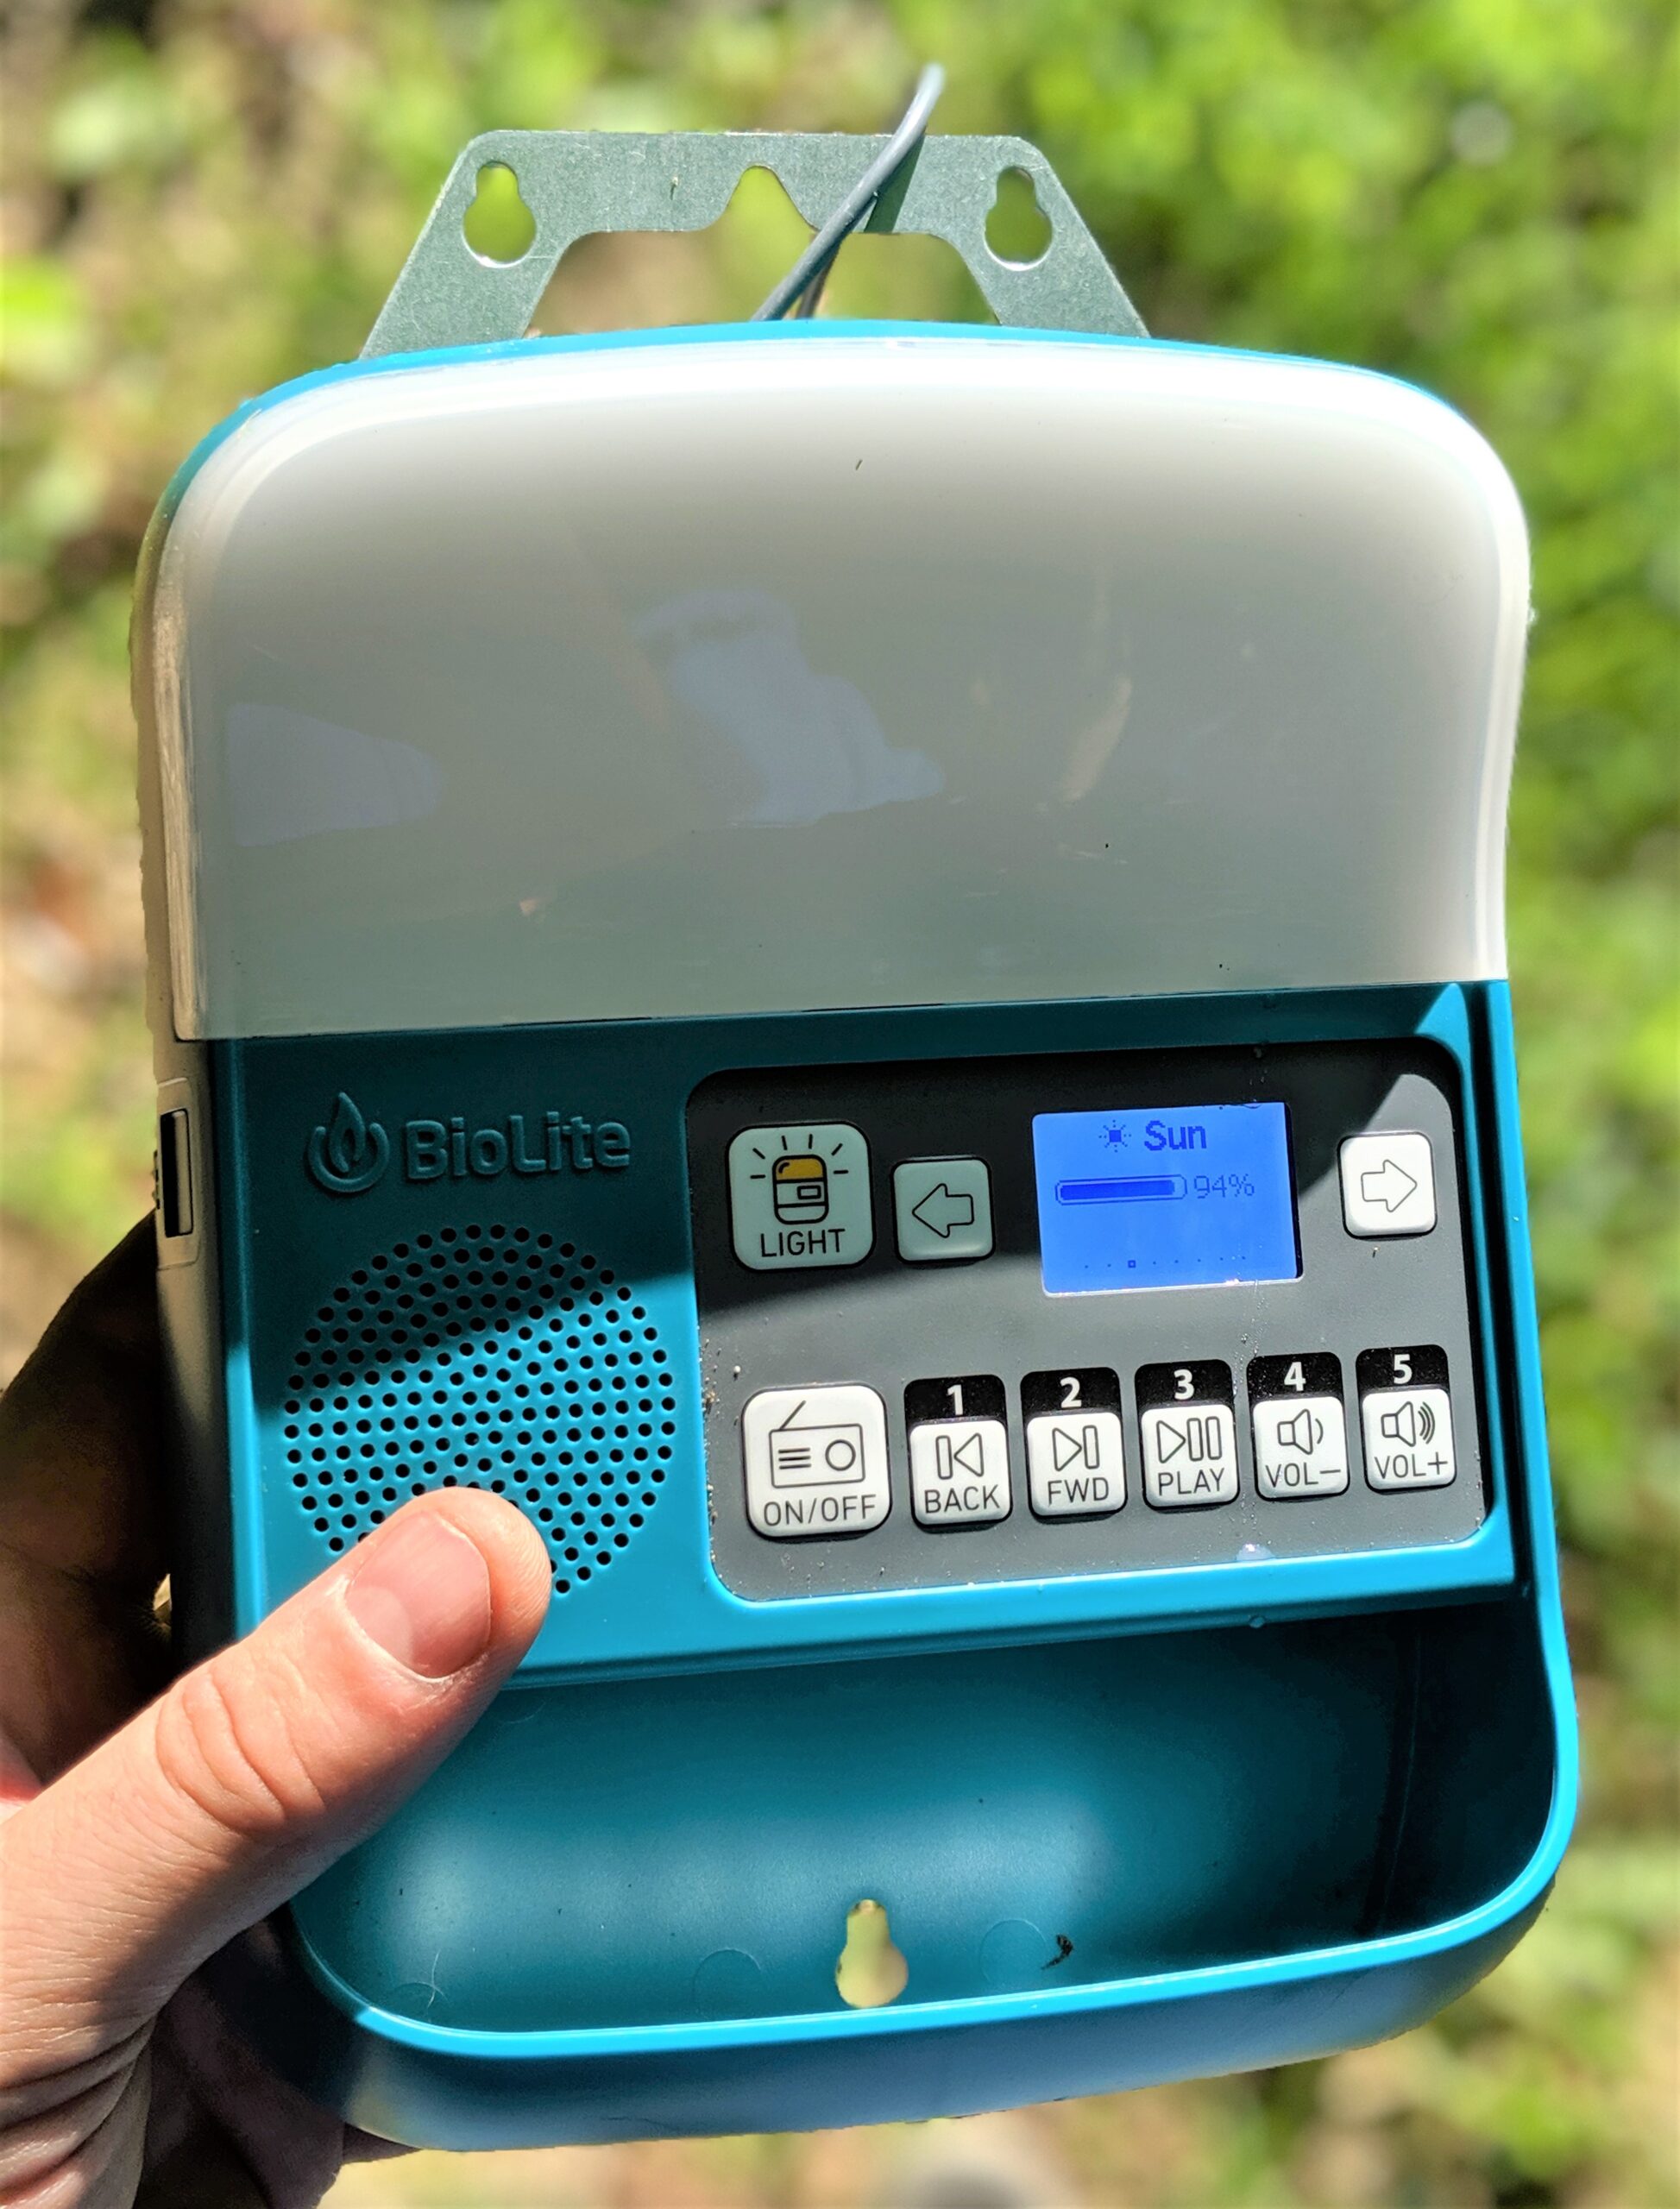
Also, on the face of the control box is a fixed light, the aforementioned screen, and the push-button controls for the radio, clock, and MP3 player. Regarding the controls: a bit of head-scratching, trial-and-error, and patience is required, since all you pretty much have is left and right buttons to get where you need to go when working with tunes stored on a SD card.
Also included with the SolarHome 620 are three hanging lights with cords that stretch probably 18-20 feet (I didn’t measure). Since there are only two light plug ports in the back of the control box, you’ll need to daisy-chain the lights together, much akin to stringing together Christmas tree lights. It’s all weatherproof and easy to figure out. The three lights each have a maximum output rating of 100 lumens, and each light has its own push-button controller to regulate the power output: high, low, off. One of these lights also boasts a motion detector that is enabled via a fourth click on its wired controller. The motion detector is quite sensitive, and turns on by default for 30 seconds when it senses movement in front of its sensor.
The included 6-watt solar panel is large-ish – about 11 ½” x 7 ½”, and is picture framed with sturdy aluminum framing. The wire to the panel is a bit longer than the light wires, so you hopefully have a bit of flexibility between the best location for the solar panel and the best location for the control box to be mounted. The solar panel is waterproof, but definitely needs to be positioned properly to avoid hail, falling acorns, and other gravity-driven paraphernalia falling from the sky.

Once you remove the whole getup from its box and take stock of the situation, the whole system is quite simple. Since the solar panel is the lynch pin to the whole operation, finding an appropriate location or locations for the panel should be tantamount.
Generally speaking, here in the Northern hemisphere, keeping the panel facing South should give you the maximum amount of sunlight exposure throughout the day. However, if you have location flexibility, being able to adjust the position of the panel as the sun moves across the sky will give you the best results.
Obviously, the brighter the sunlight, the faster/stronger the charge – and fortunately, BioLite has provided a meter in the display that tells you the strength of the incoming solar rays.
The lights are easily strung once you know where you want to place them, and BioLite has thoughtfully provided wire staples to securely run wires if your location has the luxury of permanence. A modicum of thought will need to be provided due to the fact that you have three lights and only two plugs. The lights themselves have small plastic hooks that can be slid up and down the wires as well, so you can fiddle around with the light angle presented.
I took my son on a separate camping trip in my 4Runner, and once we found suitable ground, proceeded to set up my makeshift awning. Once properly secured, I pondered the setup and started looking at a good way to promote the strengths of the lighting setup while maintaining quick takedown and portability – as one might do on a bug-out or mobile camping trip.
I ended up hanging the control box on my roof-rack rod holder tube, where it hung steadily off a small bungee cord. I had charged the unit up before I left with the provided AC wall charger, and immediately turned on a local oldies station and let Buddy Holly and Neil Diamond caress my ears as Lil’ Dude and I set up camp and figured out the best lighting setup.
We eventually found that the control unit light and the the two wired lights – one of them the motion-sensing unit – provided all the light we needed in our little area of backwoods Maine, so that’s all we ended up running. The wires ran over the top of my awning with a small strip of duct tape holding each of the wires in place, and I let the switches dangle free in unobtrusive areas. The radio kept our spirits high and the lights kept the moths and bugs distracted, leading to a lovely overnight camping experience. I had kept the motion-sensing light pointed towards the entrance to our tent for security, and it was a great help indeed when I got up in the middle of the night to take a leak – I didn’t need to grope around for a flashlight – I merely stumbled (okay, rolled) out of the tent, waved my arms a bit, and the light popped right on.
In the morning, I plugged my phone in and charged it while we made coffee and breakfast. The charging setup isn’t exactly a barn-burner: I registered a 9% battery increase over a 15 minute span, meaning probably a 30-40% battery charge per hour, depending on your phone’s battery.
Disassembly was a bit slow, since you have to account and neatly secure all the wires and accoutrements in the storage box; the jigsaw puzzle takes a few minutes to solve. Supposedly, the SolarHome 620 setup can be stored in a shoebox; I figure BioLite must have access to one of Shaq’s shoeboxes or have the most OCD dude in the world working for them, because storing the SolarHome 620 is a bit of an exercise in patience and rearranging. It’s perfectly feasible for lighting on the go, but just know going out the door that you’ll be swearing at the bird’s nest of wires you may be fighting on occasion.
Wrapping It Up

BioLite really did their homework when putting the pieces of this kit together. The BioLite Apartment Bundle is, as stated before, a pre-engineered, ready-to-go, turn-key solution to someone who wants to get their feet wet in the solar-driven world, or wants to be able to buy a ready-made kit and say to themselves, “Cool, solar is checked off and I have illumination and charging capabilities ready to go.”
The sum of the Apartment Kit parts is indeed a package of thought-out products combined to provide a small dwelling (stationary or mobile) with off-the-grid light, power, and tunes. It’s an outstanding deal and a stellar performer, worthy of your attention if you’re planning on the end of the world or merely for your next camping trip in the middle of nowhere.
