I’ve been fiddling around with making antennas a bit of late, and if you’re brand new to ham radio and have quickly discovered the importance of the antenna with your ability to both receive and transmit, you’ve probably begun to wonder a bit about what it takes to make your own antennas as well. If this is where you find yourself, one of the easiest antennas that you can build is called a dipole antenna.
I’ll show you how I made one (literally out of garbage) for my Baofeng UV-5R. It may give you the inspiration you need to try to tackle making your own.
Let’s Say You Just Passed Your Technician License
That means you now have legal access to transmit on the 2m and 70cm bands (more info on technician license). Where I live, it seems as if most of the traffic that’s out there is in the 2m band rather than the 70cm. If you live in a rural location, this makes sense. The 2m band does a much better job of traveling distance over rural locations than does 70cm. (In contrast, 70cm does a better job of traveling in urban locations through buildings.)
Because of where I live, I wanted to build an antenna that was made specifically for the 2m band. Within this band, you have legal permission to transmit from 144-148 MHz with a amateur radio license. I arbitrarily decided that I was going to make my dipole specifically for 146.000MHz. It’ll still work throughout 144-148MHz too, though.
To do this, you are first going to need some equipment. When I was starting this build, I wanted to demonstrate that you can literally make an antenna out of just about anything. If you find yourself in a WROL collapse situation, you aren’t going to have access to Amazon or Gigaparts. You have what you have around you and that’s it. But if you know how to use what’s around you, you can easily craft an antenna out of garbage.
That’s what I did here.
What You Need
The only essentials that you have to have beforehand is a split post BNC adapter, an adapter, your coaxial cable, and your radio.
- Used for adapting single BNC Plug to Dual Banana Jack, such as QRP Rig, odd connections to Oscope and Freq Generator, radio antennas, dipole antenna, and Provides isolation for a four terminal network
- Impedance: 50 Ohm; Material: Brass;The double tail hole can be inserted into the 5mm banana plug.
- Black plastic, dual port Banana Jack Socket for easier recognition, screws type, no soldering
- Binding posts facilitate connections of test leads or additional components,Connections can be made to the binding posts by spade lugs, banana plugs or wire leads
- Package include:2 x adapters
- Material:Pure brass with Great connectivity.(Not Alloy)
- Impedance :50 ohm
- Commonly Used in RF Applications, Antennas, Wireless LAN Devices , Coaxial cable, Wi-Fi Radios External Antenna, >1000 Times Mating Life Time.

- RG58/U BNC 50Ω Male to Male
- Great as jumpers to an antenna tuner, switch, meter or your main antenna
- 50 Ω Low-loss
- Frequency Range: 144-148MHz, 420-450MHz. Please kindly know that UV-5R would not transmit without this frequency range.
- 128 Channels 50 CTCSS and 104 CDCSS Dual-Band Display, Dual Freq. Display, Dual-Standby, A/B band independent operation, High/Low TX power selectable: Busy channel lock-out(BCLO)
- High/Low TX power selectable: Busy channel lock-out(BCLO),128 Channels 50 CTCSS and 104 CDCSS Dual-Band Display, Dual Freq. Display, Dual-Standby, A/B band independent operation, Keypad Lock. Voice...
- Tri-color background light selectable: 0-9 grades VOX selectable. Large LCD Display
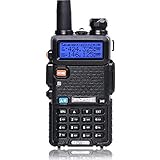
For the radio, I used the Baofeng UV-5R as mentioned above. This seems to be the stock “prepper” radio, everyone has one, and if you end up in a post-Hurricane Katrina type event, these are the radios that you’re liable to see popping up throughout the community.
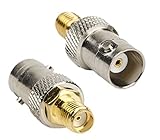
Attached to that, you’ll have an adapter that’s SMA female on one side and BNC female on the other side. This will allow you to attach to the cabling I’m going to discuss below. BNC adapters are nice because you can detach them from your radio quickly, and then you don’t have to worry as much about breaking the SMA male adapter that’s inside of your Baofeng UV-5R.
For the coaxial cabling, I used this here. It’s a BNC male ending on both sides. I used a 25’ length of cable, which isn’t ideal, but it’ll work just fine. To my understanding, once the cable goes beyond 19’, you begin to lose some of your “juice” in your transmissions. The radio will have to work harder to “pump” the signal down a super long length of “pipe” and it weakens the signal. So, don’t buy a 50’ cable.
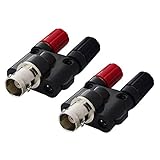
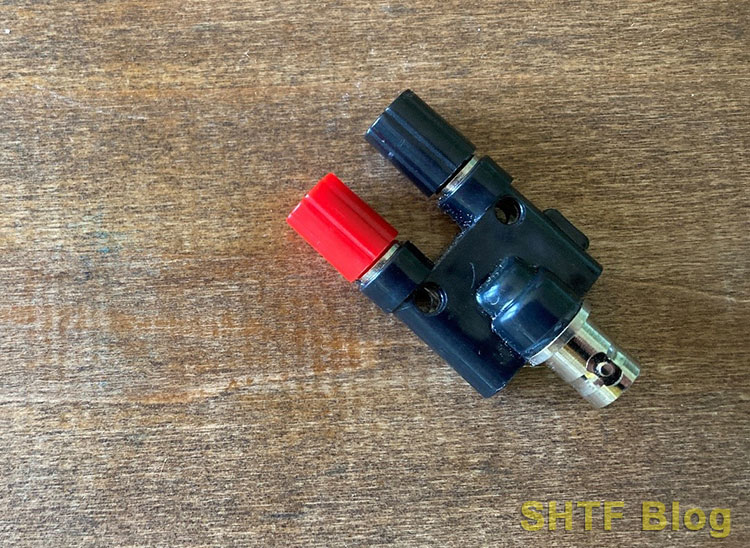
At the opposite end of that coaxial cable is this split post BNC adapter. Keep in mind that this is a BNC female split post BNC adapter. If you end up buying a male version, you’re going to be very disappointed when you go to set everything up and talk with your buddies, only to discover that you actually can’t connect to your antenna at all.
So, Those Are the Essentials. What About the Trash?
You’re going to need two lengths of wire, two pieces of cordage, and two insulators. This is the area where you can get creative.
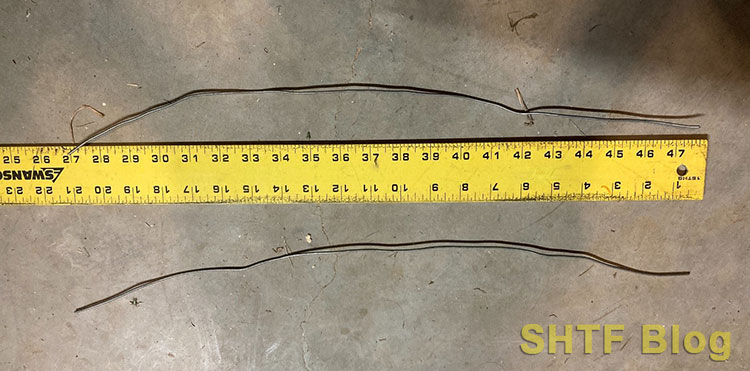
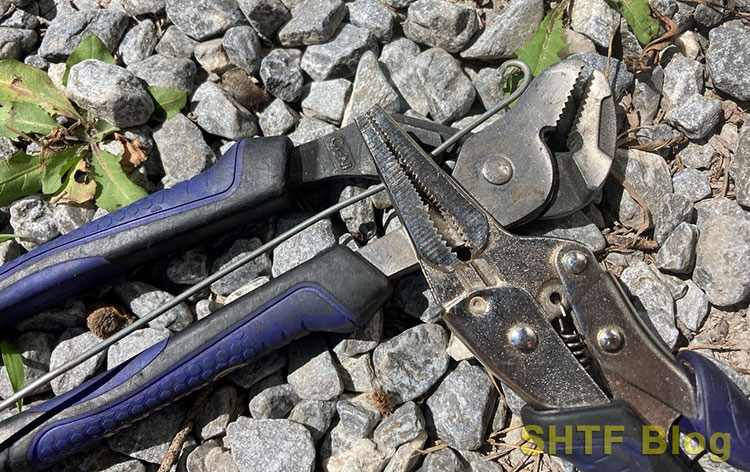
The other day, I was mowing my lawn when I somehow ran over a piece of the electric fence that was going around one of my gardens (don’t ask). After about 30 minutes kneeling in the dirt with a pair of wire clippers, I had plenty of scrap wire for my antenna build. That event was the inspiration for this article.
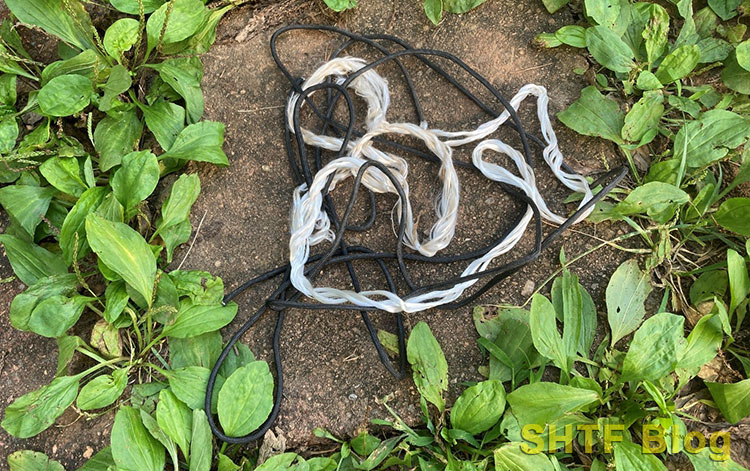
My two pieces of cordage suffered a similar fate. I was using a long length of paracord to attach to azalea bushes to pull out of the ground with my truck. I pulled one azalea out and then shredded the paracord to pieces attempting to pull out the next. The tangled mass of frayed cordage ended up being recycled for this antenna.
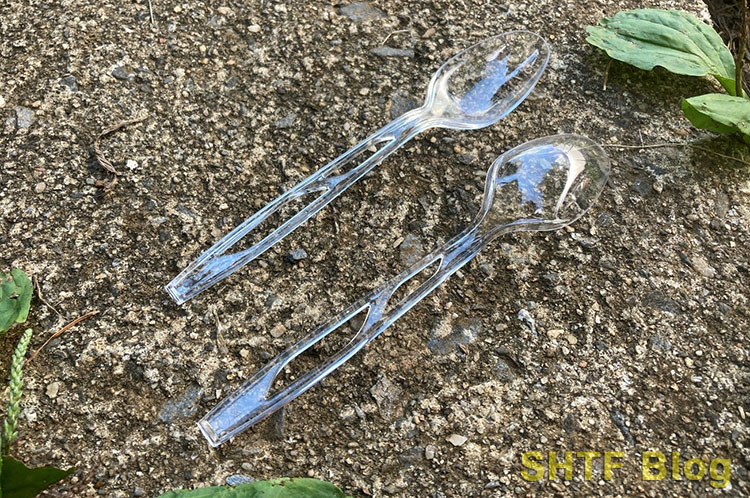
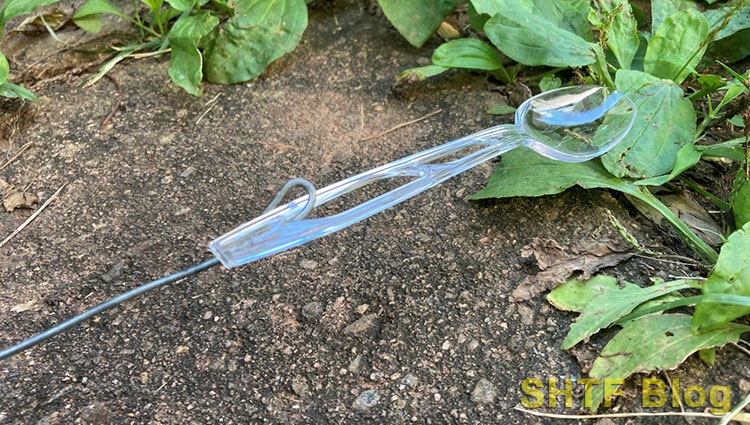
For my insulators, I used plastic spoons. Every survival manual I have ever seen that discusses emergency communications always seems to have a picture of a plastic spoon being used as an insulator. That being the iconic “Oh crap, I need an insulator!” item to me, that’s what I decided to use.
Cutting the Wire to Size
I had to do a bit of math on this. So, with a dipole, you have a length of wire that’s attached to each post on the split post BNC adapter. I wanted each of these lengths of wire to be a quarter of a wavelength long.
Remember that I said I wanted my antenna to be for 146.000 MHz? Because of that end goal, each length of wire needed to be a quarter length of a 146.000 MHz wave.
To calculate this, I used the following formula:
A quarter wavelength antenna length in feet = 234/the frequency I’m using
So in this case, I took 234/146. That gave me an answer of 1.6027 feet. Okay, so I know I need to make each length of wire 1.6 feet long. Being academically lazy, I plugged in this figure to a conversion calculator online. It told me that 1.6 feet is 19.2”. That means that each length of wire needs to be 19.2”. DON’T CUT YOUR WIRE TO THAT LENGTH, HOWEVER.
I’ll tell you why. You need to give yourself some wiggle room. You’re going to have to attach that wire to an insulator on one side and a split post BNC adapter on the other. That requires a little extra wire to do so. I gave myself an extra inch on both sides to work with. This means that I cut each length of wire to 21.2” using a pair of wire cutters.
Next, I used a pair of needle nose pliers to bend each side of the wire into a small hook. I tried to use an inch of material to make each hook. There’s a bit of electrical engineering involved in the ‘why’. Your wire may include 21.2” of material, but it’ll behave like a 19.2” wire if it’s bent to be a 19.2” wire. So, if I bend an inch of material on each side, the electricity that flows through the wire will still “think” it’s a 19.2” wire.
After making the hooks, I unscrewed the red and black caps of the split post BNC adapter a bit and hooked one wire on one and the other wire on the other. To make the hooks want to stay in place, I squished them with a pair of pliers. Then, I tightened back down the red and black caps. This made everything stay in place on the split post BNC adapter and made it so that I had what looks like a long metal walking stick.
I then needed to attach my insulators – my spoons. Thankfully, my spoons already had holes in the handles of them. I put a hook of the wire through one of these holes in the spoons on both sections of wire and squished it down with pliers again so that it would hold onto the spoon. My insulators were now attached.
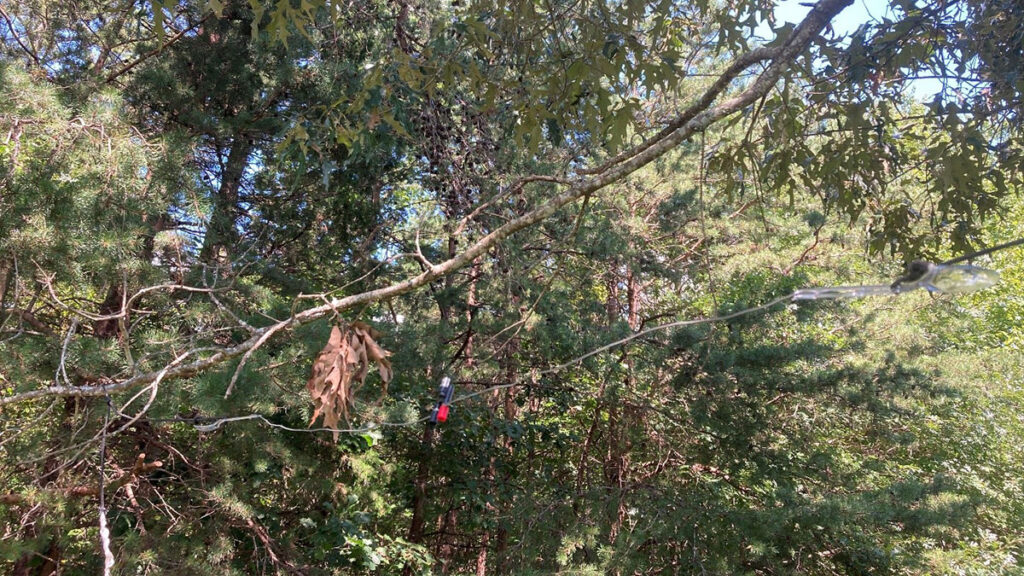
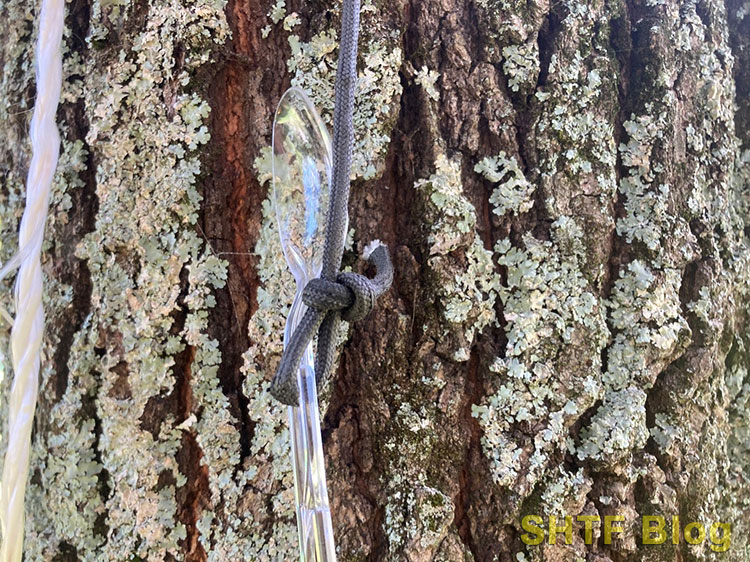
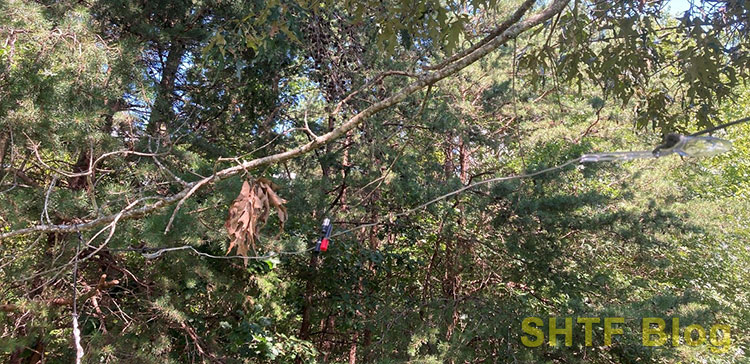
Get it Up Into a Tree
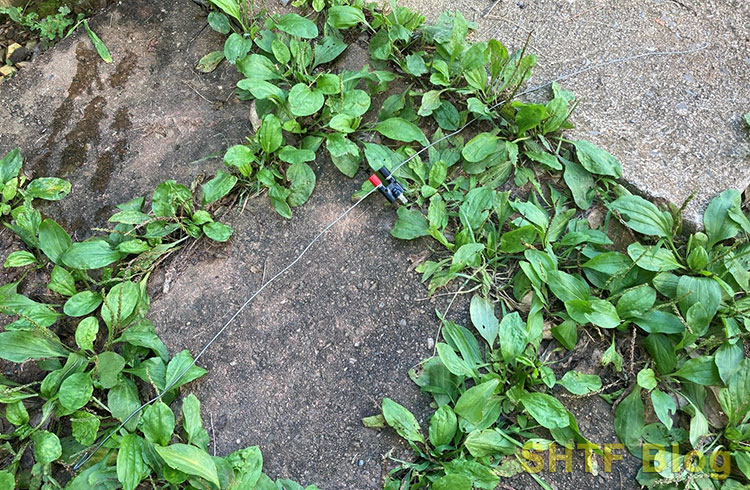
Remember that Paracord I used for my azaleas? That’s where this came in. I cut the Paracord into two pieces and tied a length of it to each spoon. Then, I tied one piece of Paracord to a tree, stretched out my antenna, and tied the other length of Paracord to a big branch. The result is a wire hanging up off the ground, parallel with the ground.
In this case, my whole setup was about 8’ into the air, so I was still able to reach it and attach the BNC coaxial cable to it without a problem. If you’re going to hoist your antenna up way high in the air, you’re going to want to have your BNC coaxial cable attached before you do so.
The last thing that I had to do was to connect the other end of the cabling to my Baofeng UV-5R. Piece of cake. I now had a dipole antenna strung up into a tree that was usable. One of the main things to remember anytime you’re working with VHF is that you’re operating line of sight. That means that the higher up your antenna is, the better able it will be to “see” other radios. This means that you can typically get out crisper transmissions and receive clearer signals the higher your antenna is.
Where I live, the vegetation is dense, and everything is hilly. This was one thing that’s routinely given me problems with lower antenna setups. I was able to listen in on some other guy’s transmissions, but my own were very staticky.
To combat this, I set the dipole antenna up on my front porch. It’s much higher ground there than where I had it in the tree, and a clearer line of sight is present. I also oriented the antenna in a different direction this way as well.
While a dipole antenna is an omnidirectional antenna – meaning it both receives and transmits in all directions – it doesn’t transmit very well from the tips. So, if your buddy on the other side of town is at a bearing of 270 degrees and your dipole antenna is pointed straight at him, you’re not going to get a very good transmission his way, if at all. You will need to swing your dipole out broadside to him to get the best results.
By my mounting the dipole between two supports of my porch I was able to transmit out to a local repeater for a net that was going on, but my transmissions were fuzzy. The repeater was a good distance away and I was only transmitting with five watts of power (not a lot), so my transmissions out still weren’t great, but the reception was fantastic.
After taking a few days to think over this problem, I discovered that I’d made a rookie mistake. All VHF communications (aka, the 2m band) are FM. All FM signals utilize vertically oriented antennas. I’d set up my dipole horizontally. That’s why my transmissions were garbage. You lose something like 20 dB of gain, meaning that your transmissions are going to go out very weak. That’s what was happening to me.
The other thing I would highly recommend is investing in an SWR meter if you’re going to build your own antennas. I didn’t use one for this build (I know, I know), but it will keep you from burning up the guts of your radio and rendering it a brick if you make a mistake in your antenna build.
Making a Dipole Antenna is Easy
As you can see from above, you can literally make an antenna out of trash and be successful with it. As always, there are going to be variables that you are going to have to take into account (distance, power levels, geography, etc.), but just knowing a few simple antenna builds as well as prepping the necessary adapters and coax beforehand will give you a huge benefit in a disaster situation over the guy who just bought a bunch of UV-5Rs and threw them into a box in his basement for when the crap hits the fan.
While he’ll have the ability to transmit a signal, it won’t be anywhere near the distance that you will be capable of, and you’ll have the knowledge and ability to know how to make your own antennas even when things break (and they will).
So, grab yourself the necessary gear and get out and start experimenting with this stuff. It’s a heck of a lot of fun, you’ll learn a lot, and you’ll bolster your preparedness levels.
What are your thoughts on all this? Have you ever built your own antennas? Do you have any other advice? Let us know in the comments below.
2 comments
You’ve made it unnecessarily cumbersome. a wire J-pole with a simple adapter at the radio works fine. I used fishing line to raise it up a tree.
Nice crop of plantain you have growing there……