Always on the lookout to improve my ability to keep everything at home functioning as smoothly as possible in the event of a power outage, I began to look deeper into setting up an emergency hand pump for my well.
You know those old well pumps you see in Bugs Bunny cartoons, where Elmer Fudd moves a lever up and down to bring water out of the ground? I wanted one of those. I knew I would need a lot of water to keep my household functioning in a crisis. This was one solution to that.
I figured a hand pump attached to my well would be the most resilient means of ensuring that I always had water regardless of what happened to the grid. I’ve always liked the idea of solar and had originally contemplated setting up a solar rig to attach to my well, but we’ve had some hailstorms where I live, and the thought of putting a lot of work and money into something only to have it destroyed by a freak storm in the near future was unsettling to me.
Besides, there’s a long history of people using hand pumps. Most of that history is during the years before electricity was readily available. If early Americans could rely on hand pumps for water, I figured it’d be perfect should an emergency situation arise.
Buying an Emergency Hand Pump and Accessories
I figured that given there are zero electronic components involved whatsoever, this would be an EMP-proof, blackout proof way to get water. I could probably even figure out how to get spare components should there be some type of collapse and there was a mechanical failure. There’s a blacksmith nearby that I thought could easily make what I needed should it come down to it.
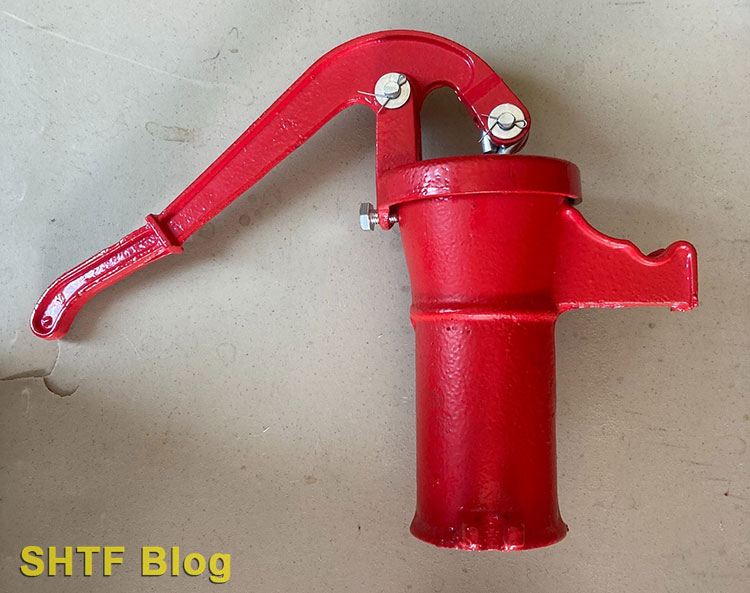
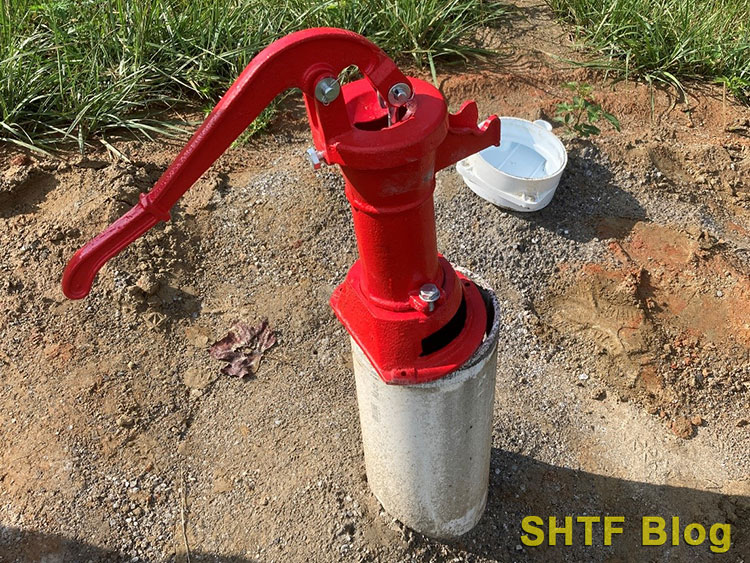
And so, I began my research. I found that Amazon had a handful of hand pump water wells to choose from, but I didn’t want to spend several hundred dollars. So, I bought the Simmons #2 Pitcher Pump. It had solid reviews and a reasonable price.
- Designed for rugged long life service
- All parts are made from close grain cast iron for optimum strength
- All bolt lugs are reinforced for maximum strength
- Cap can be adjusted for a wide range of handle positions
I liked the cast iron design, but I was somewhat concerned about a bird perching on the spout and pooping on it. I’ve never been able to acquire the taste for bird poop. However, the only other pump that Amazon had with a covered spout I liked was a few hundred dollars, which I did not want to spend.
If the hand pump being exposed to the “elements” became a concern, I could always build a simple structure to cover it.
I also had to buy a leather collar for the pump (it doesn’t come with one), a one-way foot valve, and two adapters to connect the pump and foot valve to the well hose. The adapters I picked up at Tractor Supply, I believe, so I don’t have a link for you there.


- Universal repair kit for Pitcher Pumps
- Includes 3-1/2" x 2-7/8" lower Valve Leather
- Includes 3" x 2" Leather Cup
- Easy to install


- No lead brass construction - IAMPO Certified
- 1" in. X 1" in. Female NPT
- Abrasion resistant O-ring fitted to the poppet for a positive seal
- Spring Loaded - Maximum working pressure is 200 psi
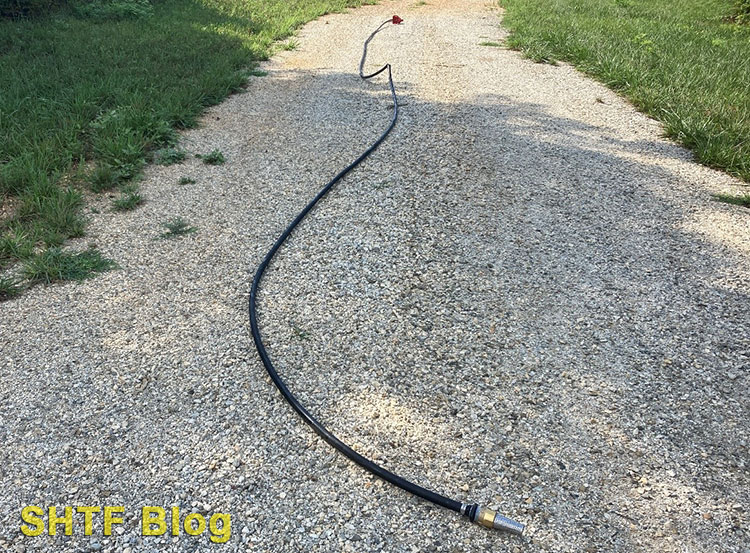
I had plenty of well hose already that I had picked up from Lowe’s to build a chicken tractor, so I was already set there. If you’re looking for well hose, I typically find it around the electrician’s section of Lowe’s for some reason. It’s black and comes in a coil about 4’ tall. It’s normally less than $100.


Putting Everything Together


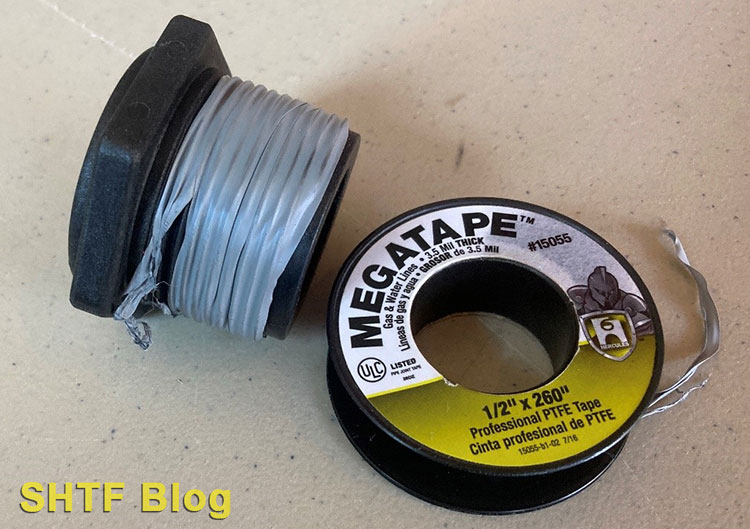
I somehow get involved in a lot of plumbing work (against my will), so I had a special type of plumber’s tape handy that you’re going to need as well should you attempt to set up your own emergency hand pump. What this tape does is help ensure that the screw attachments remain watertight.
Attaching the Foot Valve to Well Hose
The very first thing I did was attach the foot valve to my well hose. To do this I pushed the adapter into the hose all the way and then used my special plumber’s tape around the screw ends. I wrapped around the threads twice counterclockwise.
You want to make sure you do it counterclockwise so that everything stays in place when you screw everything together. Otherwise, you’ll peel the tape off the threads as you screw things together and end up with an ineffective mess or a jam in the threads.


I now had a foot valve on the end of my hose. The reason that this piece is important is that it keeps dirt from being sucked up into the hose and it makes pumping everything up possible.
There’s a one-way valve here so that as you pump the lever on the pump, water is sucked into the hose, but can’t fall back down. This makes it so that each time you pump, you help to bring more water to the surface. You’re not going to be able to do this otherwise unless you can pump like The Flash.
Attaching the Adapter
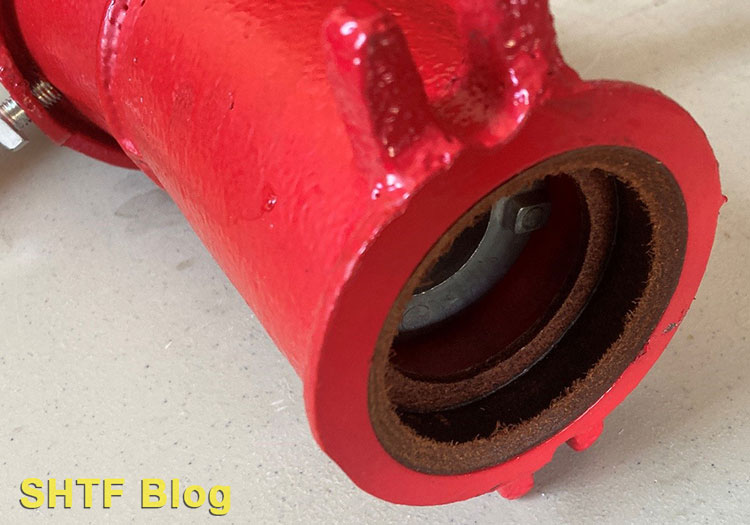
Next, I followed the same principle with the adapter on the pump itself. I first pushed the adapter tight into the hose. Then, I nestled the leather collar into the well pump base. It was a nice, snug fit. The reason for the leather collar is to keep junk from falling into your well like bugs or mice.
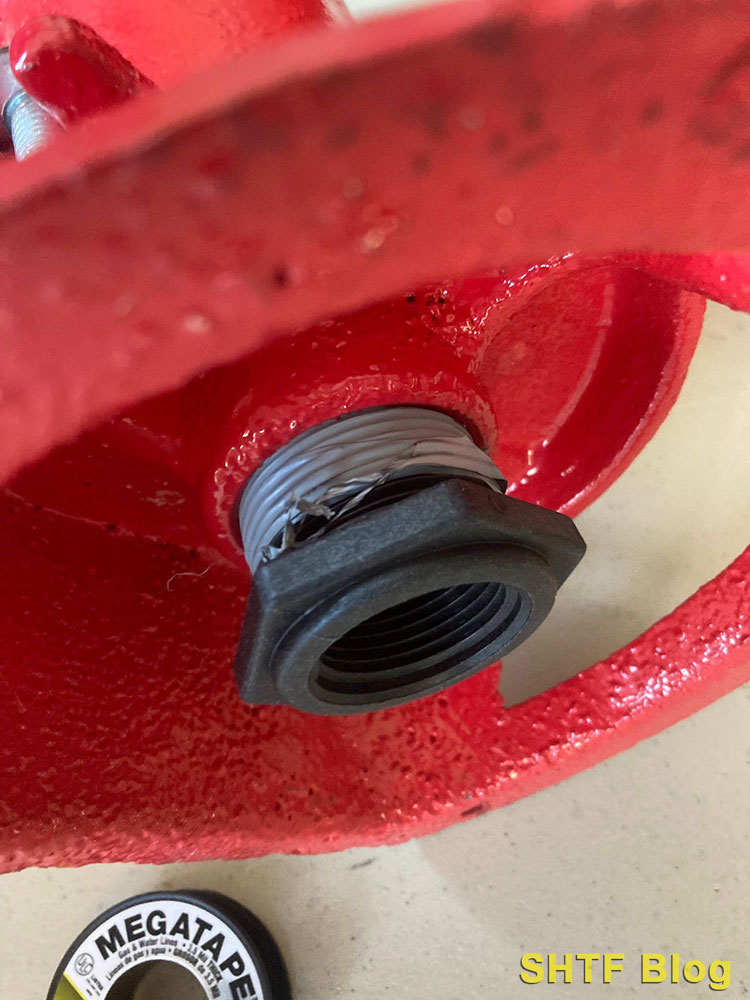
I then used my plumber’s tape on the threads of the adapter, putting the tape on counterclockwise again, and screwed the adapter into the pump. Keep in mind that if you haven’t put the leather collar on already, you’re liable to have to thread it all the way along the entire length of the hose so that it can now nestle in place. Not a huge deal, but something of a “Well, THAT was a stupid mistake,” moment.
Attaching the Well Hose
You have to be very careful with the well hose. If you kink it, you’ve ruined it. When you pick up the whole system to put it into place, remember this. There may be some wisdom in keeping a spare coil of well hose available if this is a system you intend to rely on in the event of a long-term power outage.
If you store the entire system away, you have everything you need to pump up water out of your well in an emergency when electrical power is cut. It’s always good to test out your equipment, though, before you need to rely upon it, and so this is what I did next.
Mistakes I Made
I hauled the entire rig out to the well, unscrewed the cap to the well, and gently slid the hose down into the earth. I had 50’ of hose attached to my rig. This is where I encountered my first hiccup.
As I gently laid the pump atop the PVC pipe of the well and pumped away like none other, I couldn’t figure out why no water was coming up. It didn’t make any sense. I knew that the water level was 30’ deep and here I had a 50’ hose. What was happening?
It turns out I had bought a pump that only had the ability to suck up water to a depth of 25’!
This was something of a disheartening experience. I still had hopes that I could get the thing to work, though. I pulled the hose out of the ground, noting that there was a lot of water that was in the hose.
The pump had been pulling water in as I pumped maniacally, but the suction provided by the pump wasn’t strong enough to go toe-to-toe with that many pounds of water. Physics has never been my forte, so if I’m wrong on this thought, let me know in the comments.
That’s the only reason I could figure that a one-way valve wasn’t working here. I had to suck up an increasing amount of water weight with every pump and the pump couldn’t handle it.
I then pulled the entire contraption up out of the well and discovered that you have to play around with the hose a bit to get the foot valve not to catch on the bottom of the PVC pipe of the well. It took about five minutes of wondering if I was ever going to get the thing out of there until it magically got past the lip of the PVC. Do not just yank the thing out. You’re liable to cause the foot valve to fall off into your well forevermore.
Then, while pulling the contraption out, I kinked the well hose. Not only did I have 50’ of everything all beautifully attached, but it was now useless. The kink was right around the 25’ mark and I wasn’t exactly positive that the water in the well was down 30’ so I thought I would give it another go.
I sawed off the section I could use with a drywall saw I had handy (previously, I’d used a PVC cutter to cut the hose where I wanted it), attached everything back together, and gave it another go.
This time, the hose was too short to do anything.
A Stronger Emergency Hand Pump is Needed
I write all this to you for a few reasons.
For starters, if you’re going to buy a hand pump for your well, do your research on how deep it can draw from first. I was new to this and didn’t even know that this was something I had to investigate. I just assumed that a one-way valve would hold everything I sucked in, and water would come up eventually. That wasn’t the case. You have to buy a pump that will work with your well depth.
My rig is functional – I have no doubt that it will work – but it just doesn’t work with my well. The current rig is stowed away in storage not far from a 3-5’ deep stream. Right now, I’m thinking that I can at least use the rig to pump water out of the stream without having to traverse a rather steep bank with buckets of water. The water won’t be pure to drink, but it would serve well in a camp shower, or could be purified later.
If you have a well that’s 25’ deep or less, this rig should work perfectly for you. It’s inexpensive, portable, and not too heavy to move about. If, like me, you have a much deeper well, you’re going to have to shell out several hundred dollars for a pump that can handle it. Otherwise, you’re just wasting your time.
If you’re looking for something with a bit more suction, my post-mishap research has led me to discover a pump with a 32’ drawing ability. How I didn’t see this one during my initial shopping, I do not know. I think the red color was what really attracted me to my initial pump. And like a bull drawn towards the same color, it led me astray.
No products found.
Lessons Learned
Learn from my mistakes. That’s the main reason I write this for you. If you do learn from my mishaps here, I’m confident that you will be able to rig up a system that will keep your family well-watered regardless of what power hiccups await in the future. You’ll be able to keep your chickens alive, your goats happy, and your pig from shriveling up like a piece of bacon.
At the very least, you’ll have learned the techniques necessary to get one of these systems set up for your family using the proper gear. It’s not that difficult to get the rig all set up, it’s just a matter of knowing the steps to do all that. My hope is that I’ve helped to shed some light on this topic for you so that you can help to get your family better prepared. Who can argue against a more resilient family?
I’m interested in hearing your thoughts on all of this, though. What other tips and tricks would you recommend to readers if you’ve done this before successfully? Are there other blatant mistakes here that I’m missing that stick out like a sore thumb to you? (Not only am I bad at physics, but I’m not a plumber.
There could be something I’m missing here.) Are there particular pump units that you would recommend? Have you experienced similar problems (I can’t be the only one. At least I hope not.) Let us know in the comments.
1 comment
The formal name for the “metal strap doohickeys” is “jubilee clips”.