No matter how you prepare, it seems like all of us have been in a “last resort” situation. Water purification is so important for survival that it’s good to have several “last resort” options tucked in the back of your mind. Through unforeseen circumstances your $300 Katadyn might simply be out of your reach.
One of many different last resort methods of water purification is using a homemade gravity water filter. The supplies for this are easy enough to come by: a five gallon bucket, a nail, hammer, pebbles/rocks, dirt and two towels.
One quick disclaimer: I happened to have extra Emergency Essentials buckets to use for the photos. I don’t work for them or benefit if you choose to buy buckets there or anywhere else for that matter. Get your buckets wherever you want!
Step One: Puncture Bottom of Bucket
Using your handy nail and hammer, pound out about a dozen holes in the bottom of your bucket. Put them grouped in a 4 inch diameter in the center.


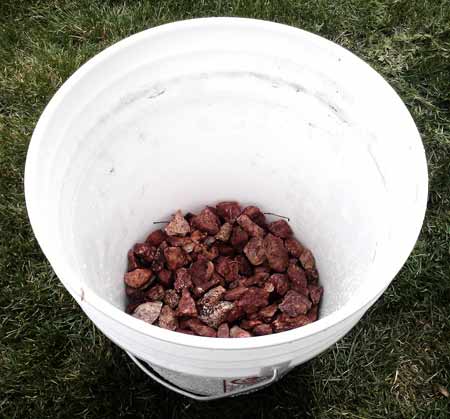
Step Two: An Inch of Rocks
Get about an inch to an inch and a half of rocks or pebbles. The smaller the better.
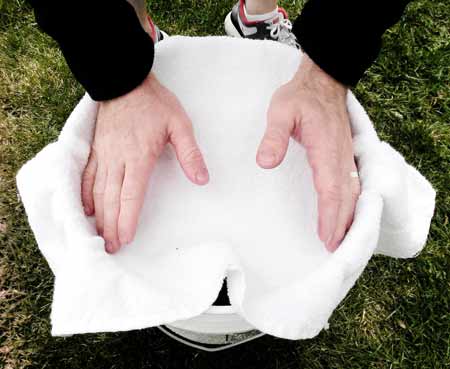
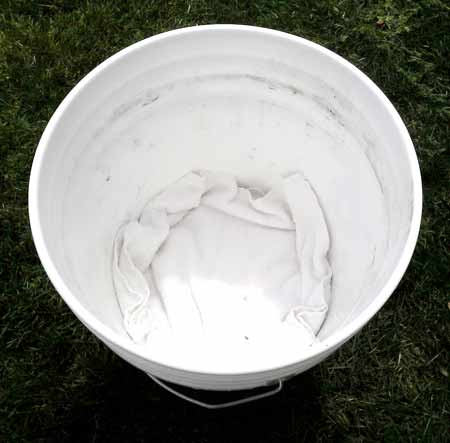
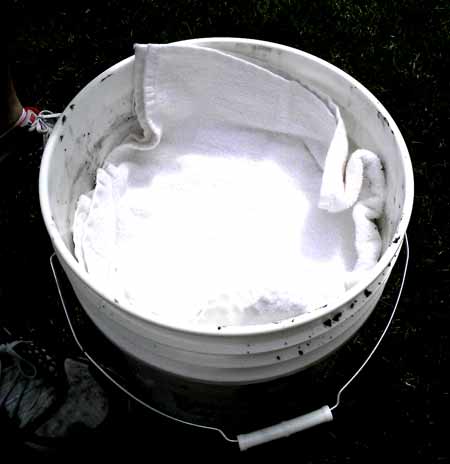
Step Three: Towel
Push your towel down into the bucket so it completely covers the rocks/pebbles.
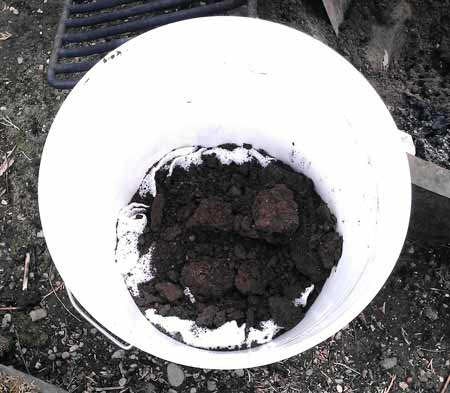
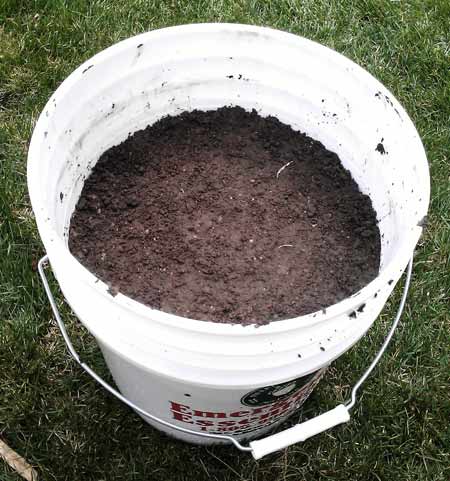
Step Four: 6 Inches of Soil
You’ll want to dig down about 5 inches to get to the soil containing some clay. Use this soil and fill up your bucket with about 6 inches worth.
Step Five: Another Towel
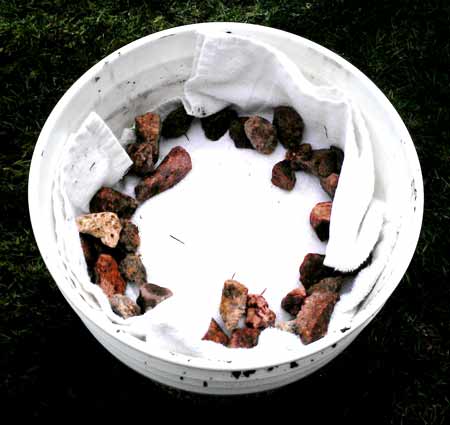
Step Six: Line the Edges
Use some rocks to line the edges of your top towel. This will keep it tight against the edges, keeping the water where you want it.
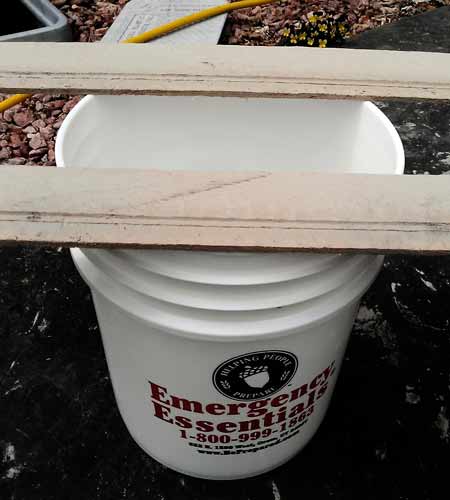
Using the Filter
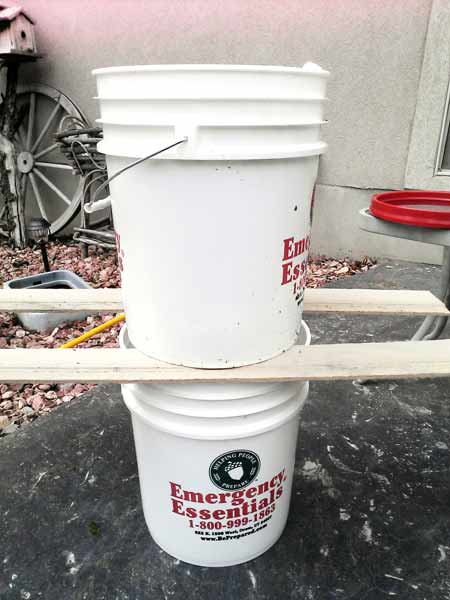
There are many ways you could use this filter. One of which being propping it up on some bigger rocks over a shallow basin. In the pictures below I just took a separate 5 gallon bucket, places two wood pieces over the edges and put the filter on top. Whatever you decide just don’t forget to leave the 4 inches of holes exposed at the bottom.
Ultimately, this is one of the easier last resort water purification methods. However, don’t rely on it to do the job of store-bought filters. During our tests it is great to remove larger pollutants, but failed to remove chemicals such as antifreeze and oil.
What are your favorite last resort water purification methods? Boiling? Distilling? Leave your ideas and experiences in the comments section below.
8 comments
I always distilled water and filtered it only if is was nasty water before I distilled it. I usually have a survival coffee can in my BOB anyway so it does me well. We have a big berkey water filter that we’ve been using for tap water, but that’s about the extent of my filtering experience.
Just curious. Why dirt? Most other homemade filters use sand. The theory being that you can clean sand. And again, just curious. Why would you need dirt if you are filtering through two sets of towels?
This is very cool , and anybody could do this , thank you for the information .
I’d suggest alternating layers of pebbles, sand, charcoal, and fabric. Maybe put a couple coffee filters in place of fabric. Final treatment with bleach or pool shock, or a brief boil if you care to spare the fuel and time.
I’ve posted mine before, but it’s close along the same lines – my version has a towel at the bottom, a layer of finely-ground natural (not BBQ!) charcoal in place of the gravel (it’s actually not that hard to make), a 2nd towel, towel above that, a layer of clean sand, and then a layer of gravel to top it all off (and catch the big chunks of yuck on their way in). This gravel/sand/charcoal filter is exactly what many townships used when water treatment plants first began to appear. You could also complete the shebang by including a couple of drops of bleach per gallon of water filtered, then letting it sit for awhile (or just skip the chlorine and boil it instead) before consuming.
The charcoal has the benefit of absorbing most of the nasties like petrochemicals and heavy metals, and the {chlorine|boiling} step at the end kills any germs.
One thing to note: unless you’re using a commercial backpacker’s filter or a distillation device, *always* throw out the first cup or two of water that passes through any filter. This will get rid of any dirt or residual yuck (you know, like charcoal dust) that was in the filter itself before you started running it.
marc said it best – you really should have alternating layers as such:
sand with a cloth or coffee filter
—–
charcoal with a cloth or coffee filter
—–
peat gravel/pebbles with a cloth or coffee filter and use a manual valve of some sort.
The reason to do it in this order is:
that the sand will filter out particulates,
the charcoal will help filter our chemicals and heavy metals,
the peat gravel allows for free flow at the bottom of your filter.
ALWAYS run a gallon or so through the whole filter to (1) ensure that it’s working, (2) sifts out coal dust, sand dust, and rinses the gravel.
I’ve built something similar in the past using rocks, charcoal, and sand as an experiment. It was darn heavy for sure! I never thought about using a layer of towels between the layers. I wonder how clogged that would get over time? Anyway, thanks for the idea.
I am glad to be a visitant of this utter weblog ! , appreciate it for this rare info !