Ever wanted to know how to take one piece of firewood and turn it into a stove/torch? Wonder no more. This is an introduction to the Swedish torch. As with anything there’s a dozen ways you can use this concept; from taking your chainsaw and cutting a pile of notches in a log for a long burn to doing it how I did it here, by taking a small chunk of firewood and splitting and cutting it into smaller pieces with my survival knife.

Click on image to enlarge
Check out the Swedish Torch video:
The Steps
First you need a chunk of wood. In this example I used a 3 inch thick piece and about 14 inches long just to see how it would work.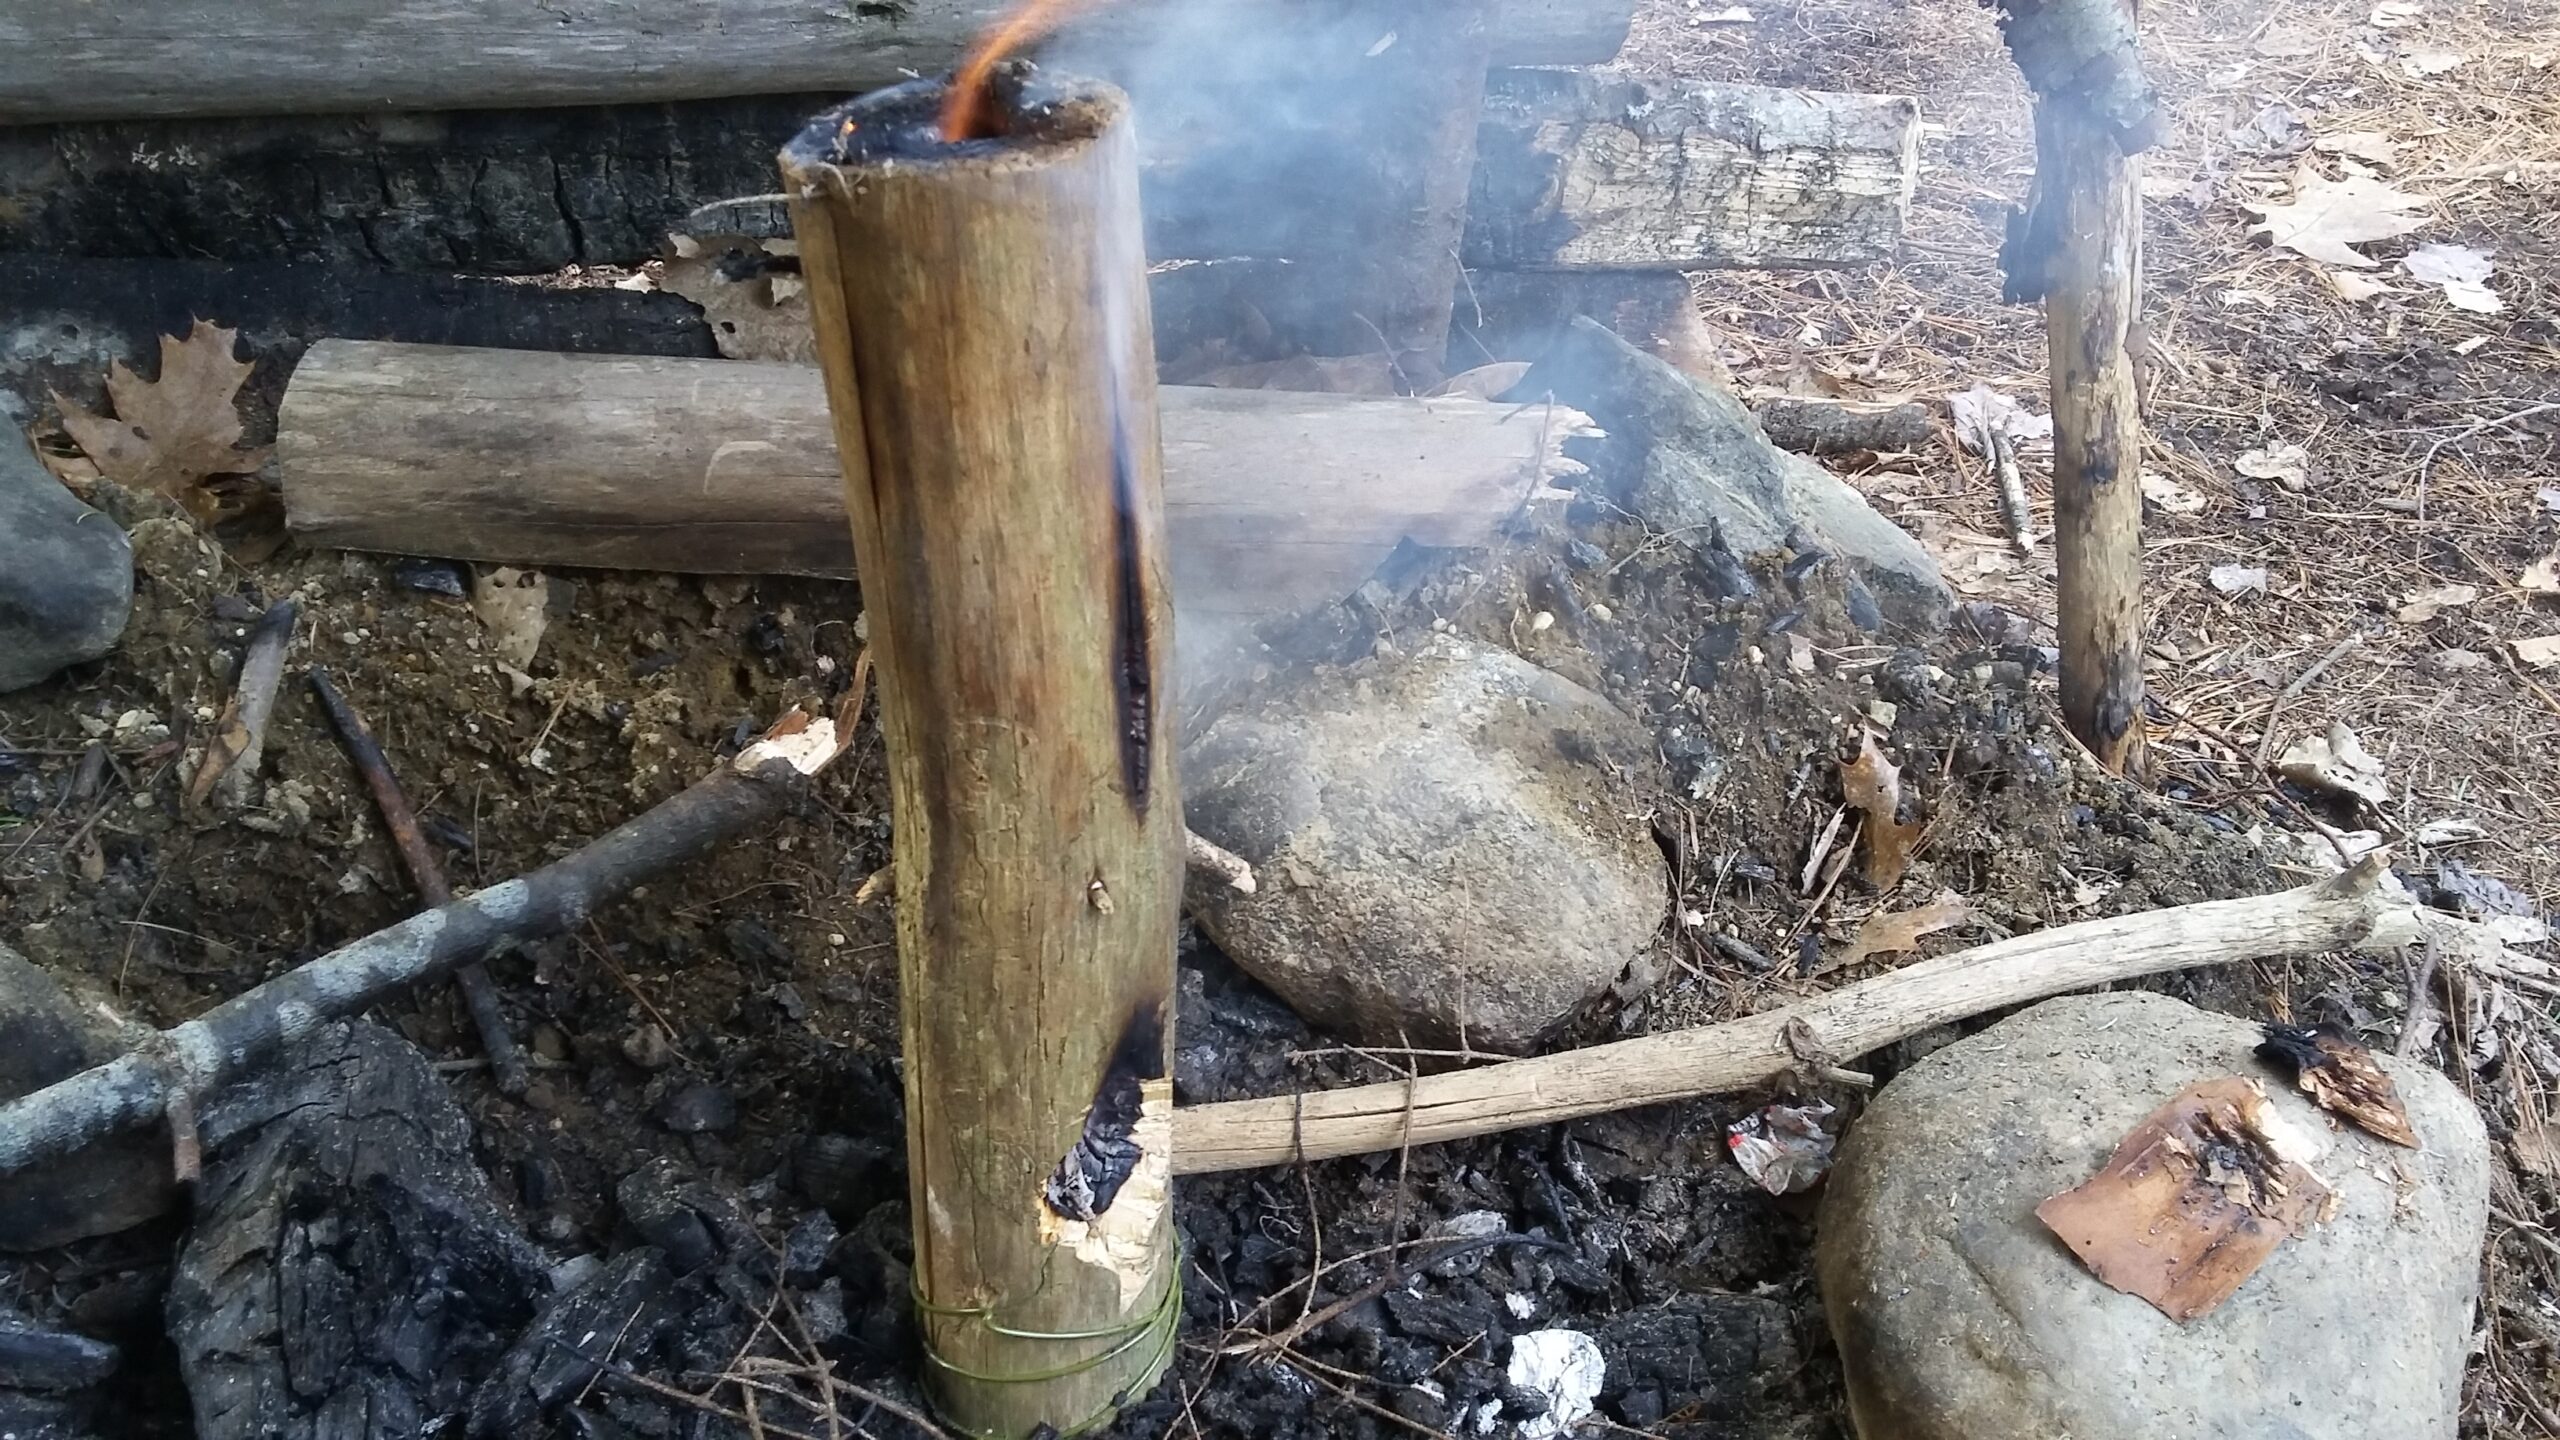 I wanted to make sure it would light easy, so I used a dry piece of fir tree that had been standing dead for a long time. I split the wood using my TOPS Survival Knife then whittled the inside down a little to make a chimney. Once the wood was split I whittled about an inch or so out of the four quarters before putting them back together again. I also cut a notch into the wood that would be the place where I lit the fire about two or three inches up from the bottom. I also had an old wire coat hanger I used to tie it together at the bottom of the log. What I did there was wrap the wire around the bottom of the wood and then used my multi-tool to tighten it up so it wouldn’t fall apart after it started burning.
Lighting the Torch
Now I had a stick of firewood that had been split, hollowed out, had a hole carved in the side, then wired back together again. I 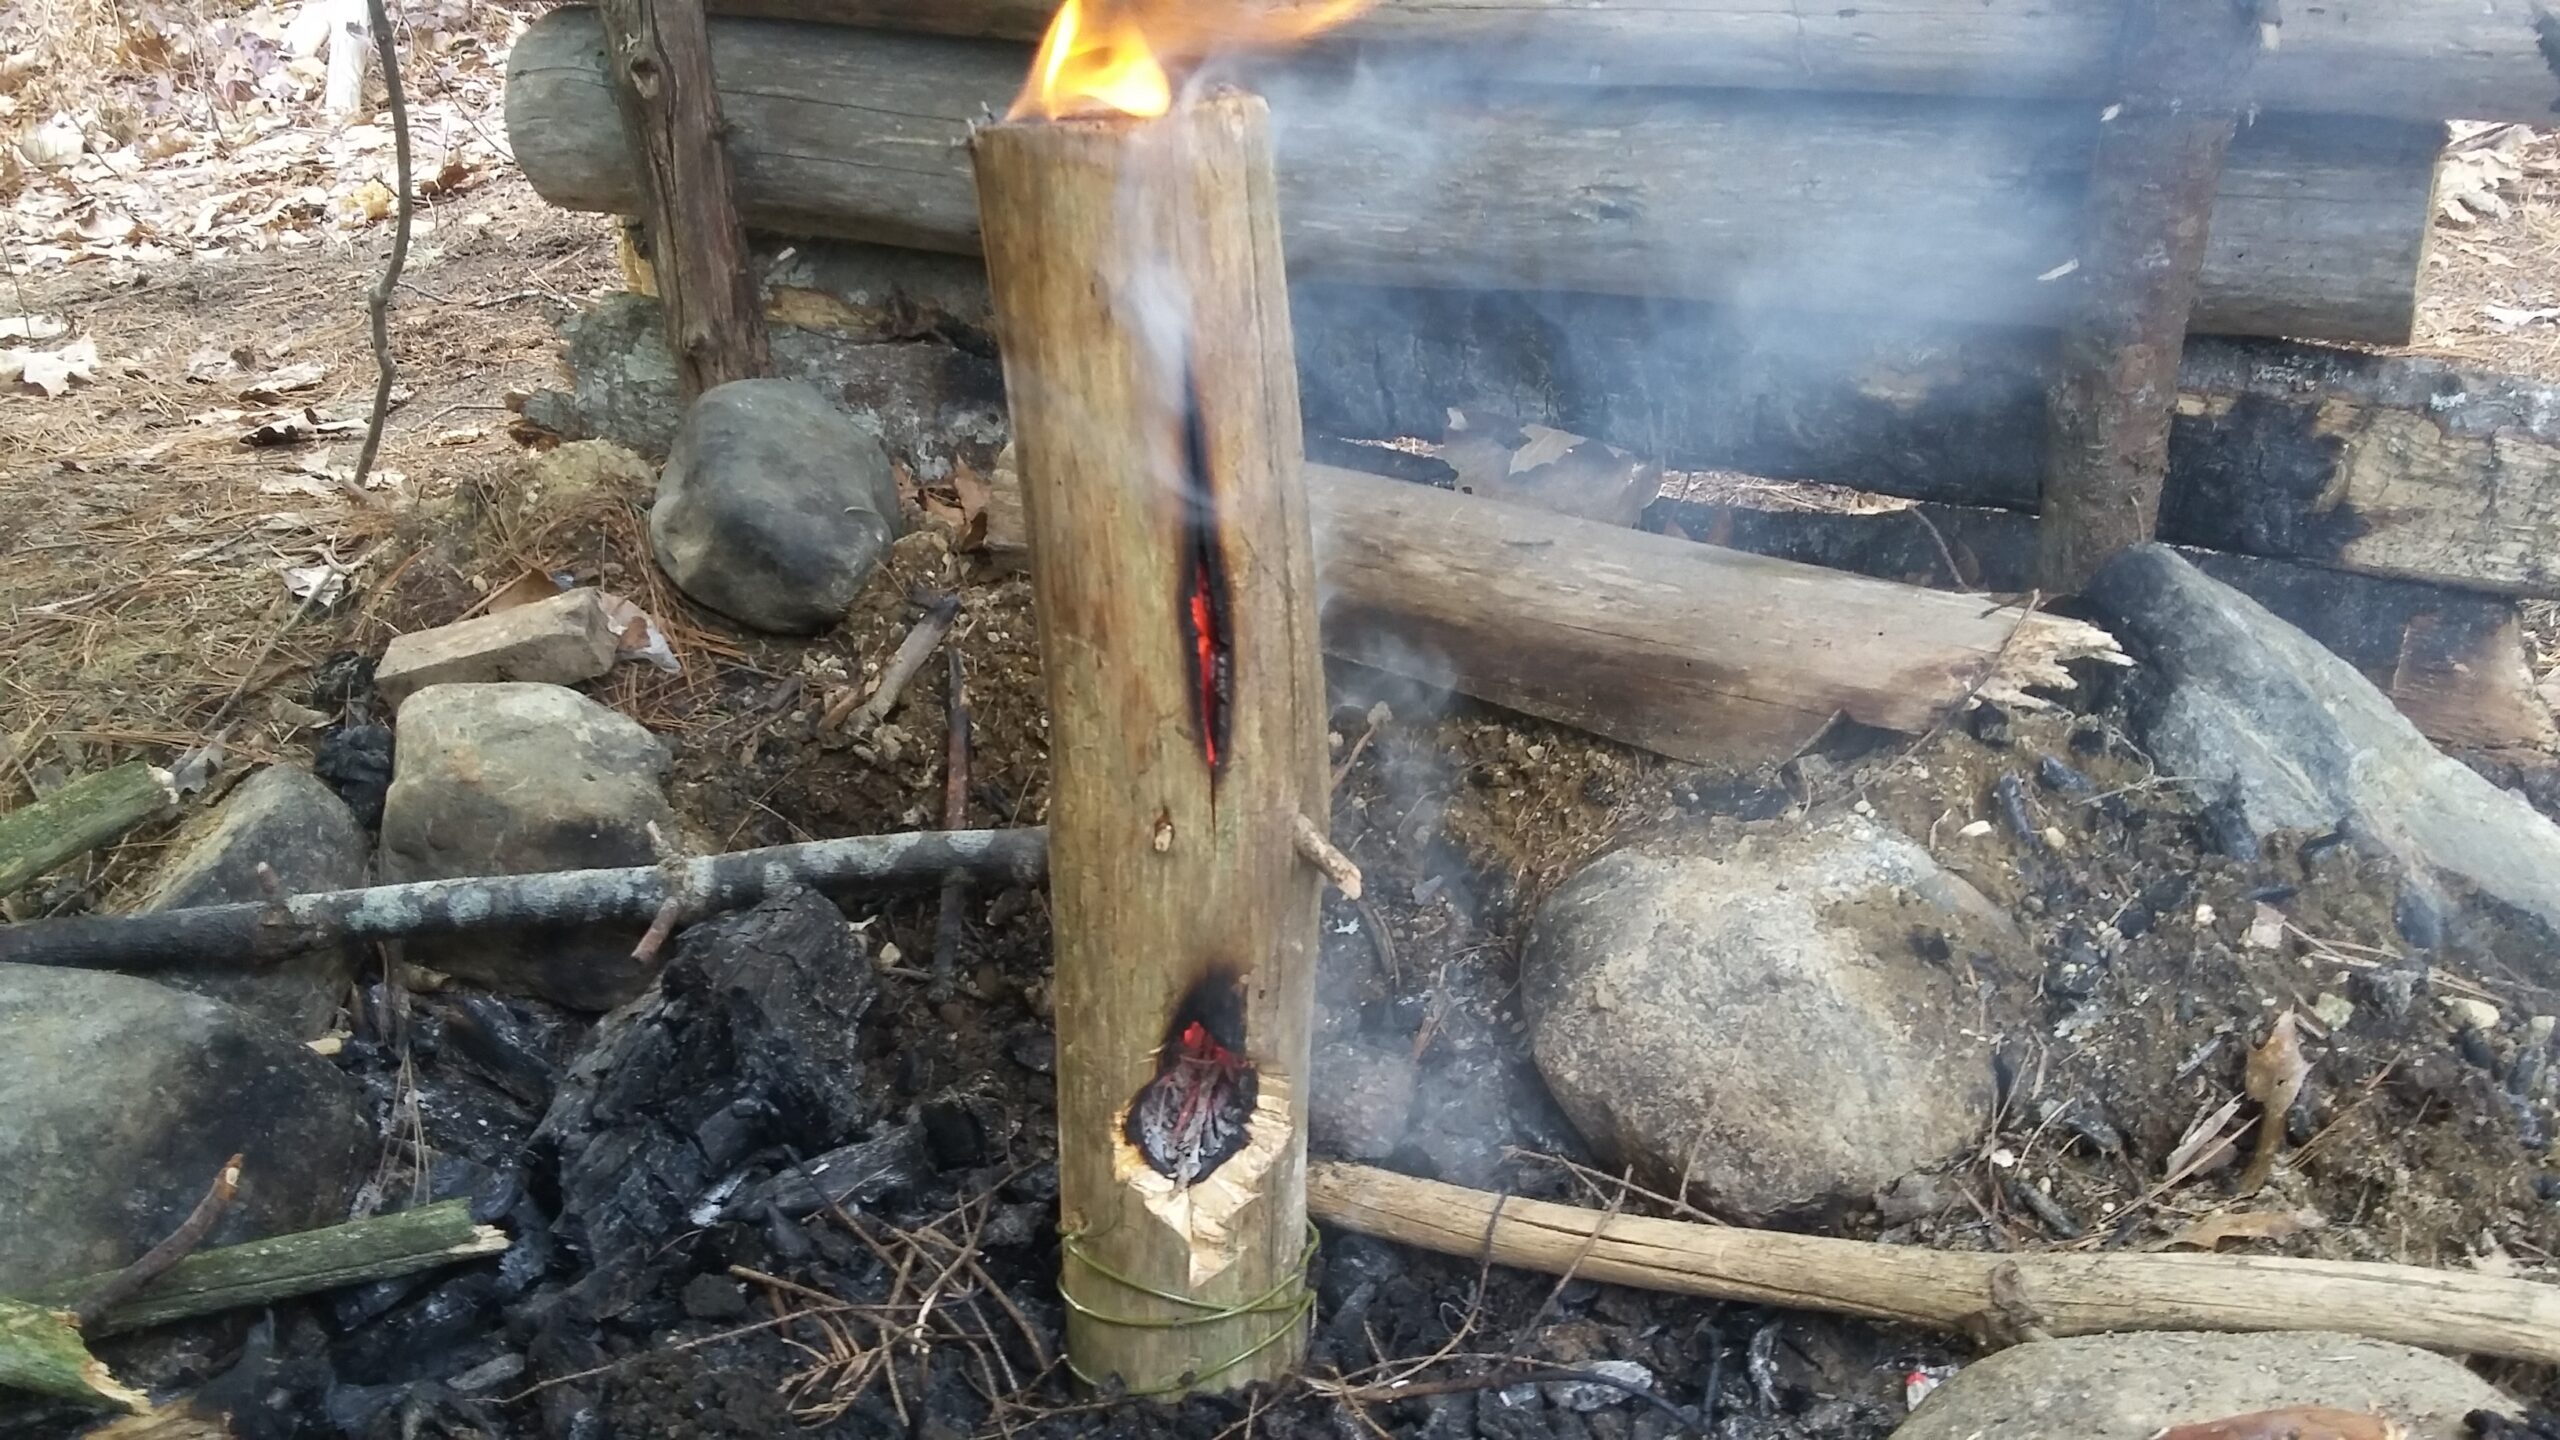 gathered the driest smallest sticks I could find, which typically come from the dead branches of a fir or pine tree. I broke these little twigs into even smaller pieces and stuffed them down the “chimney” hole from the top. Don’t stuff too much wood down or it will block the flames and you won’t get a fire. If this happens simply pull some of the wood out and try again. Next I lit a piece of birch bark and put it into the side hole (the fire place – if you will) then let it burn up and into the dry twigs I’d stuffed into the top. I wound up blowing on the fire for awhile and for awhile I didn’t think anything was going to happen.
Related: Make A Fire With A Bow Drill
It actually felt similar to blowing on a “bird nest” when you’re trying to light a fire with a coal made from a bow drill. At first nothing happens, then bam! There’s a beautiful flame burning. The top of the torch lit like it was supposed to and burned reasonably even from the top down. Nothing in nature is ever perfect, but I was really pleased with how it performed.
Duration
This particular Swedish Torch lasted maybe a half hour or so. If I’d made the log bigger it would have lasted a lot longer, but since 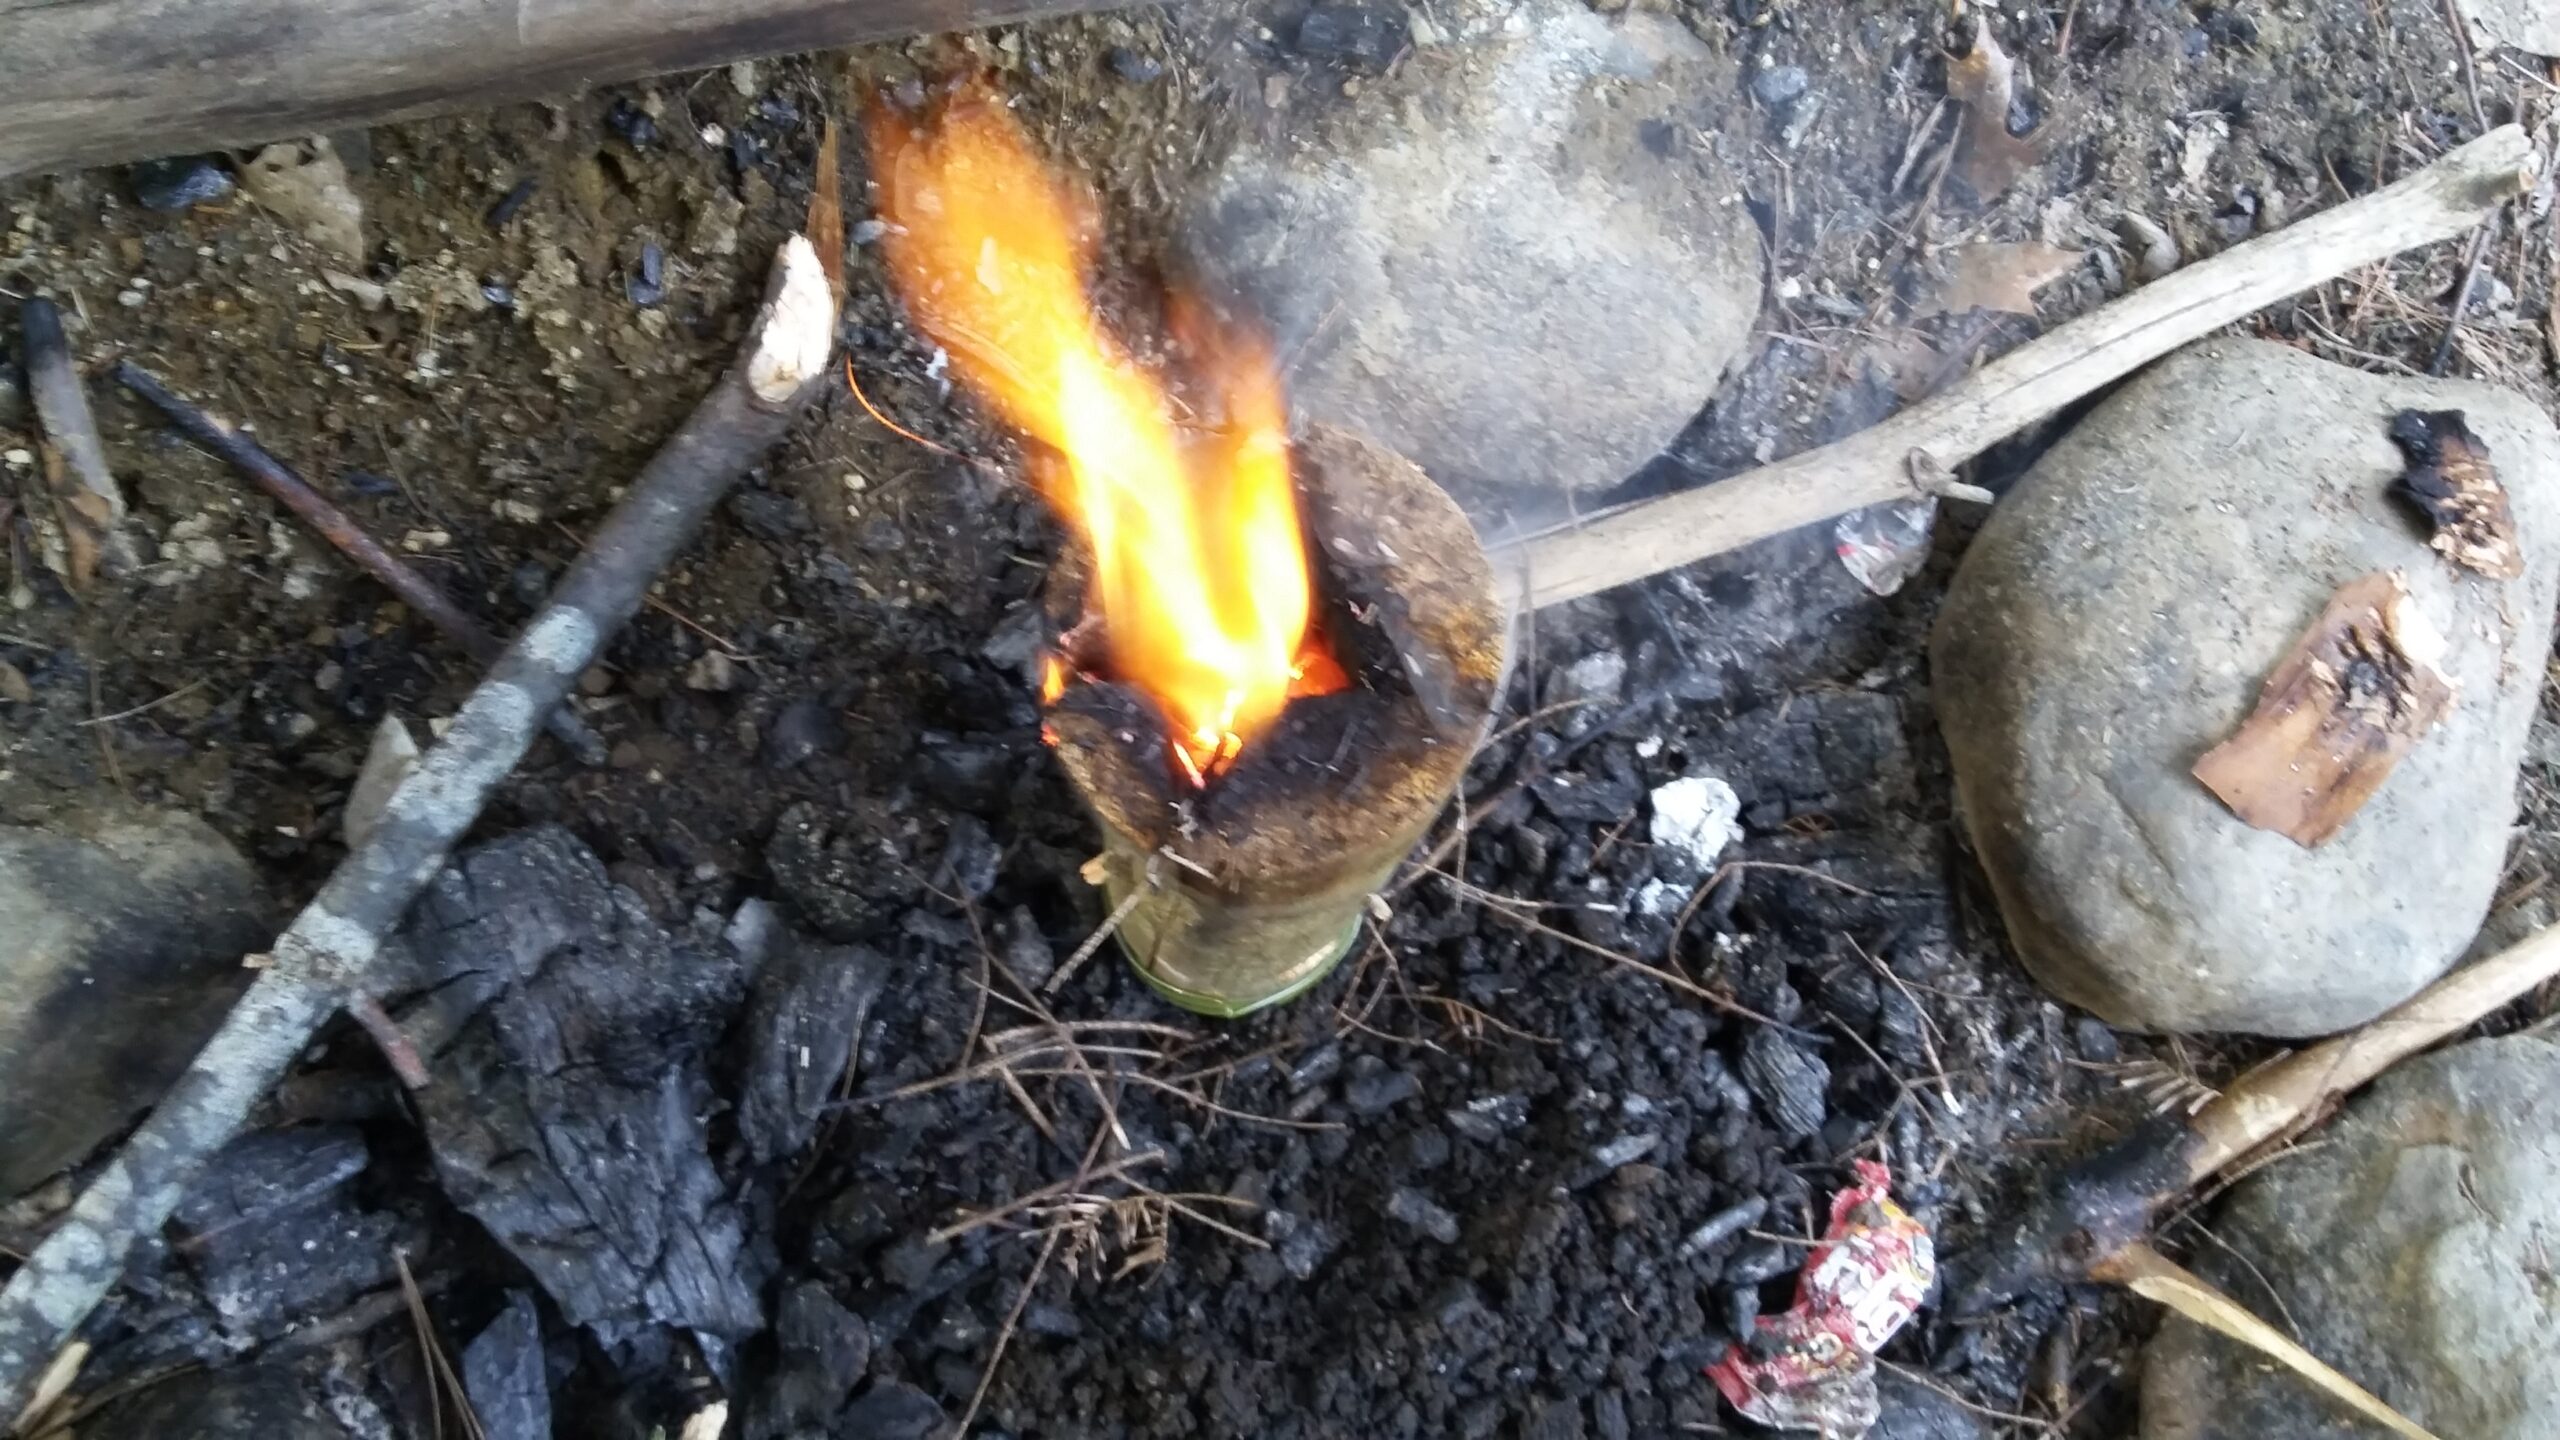 this was just a test I was happy with the way that it went. The Swedish torch isn’t really meant to be a torch. It’s not like in the movies where the hero walks into the cave and grabs a torch covered with cobwebs that’s obviously been there for fifty years, then lights it and it burns like the sun for three hours while they explore the darkest reaches of the cave. Could it be used as a torch if you wanted to walk through the woods?
Also Read: How To Make Your Fire Last All Night
You could probably get away with a few minutes of walking through the forest or a dark cave with it, but I wouldn’t want to depend on it for any length of time. I’m not sure how it would perform being moved around when it’s really meant to be a stationary fire. Would I do it if I had to? Hell yeah! You can always make something that is adaptable, so always try and look for more uses for something if possible.
Make It Into a Stove
I was also able to take my canteen cup and put it on top of the log in such a way that when it burned it was heating water. It didn’t 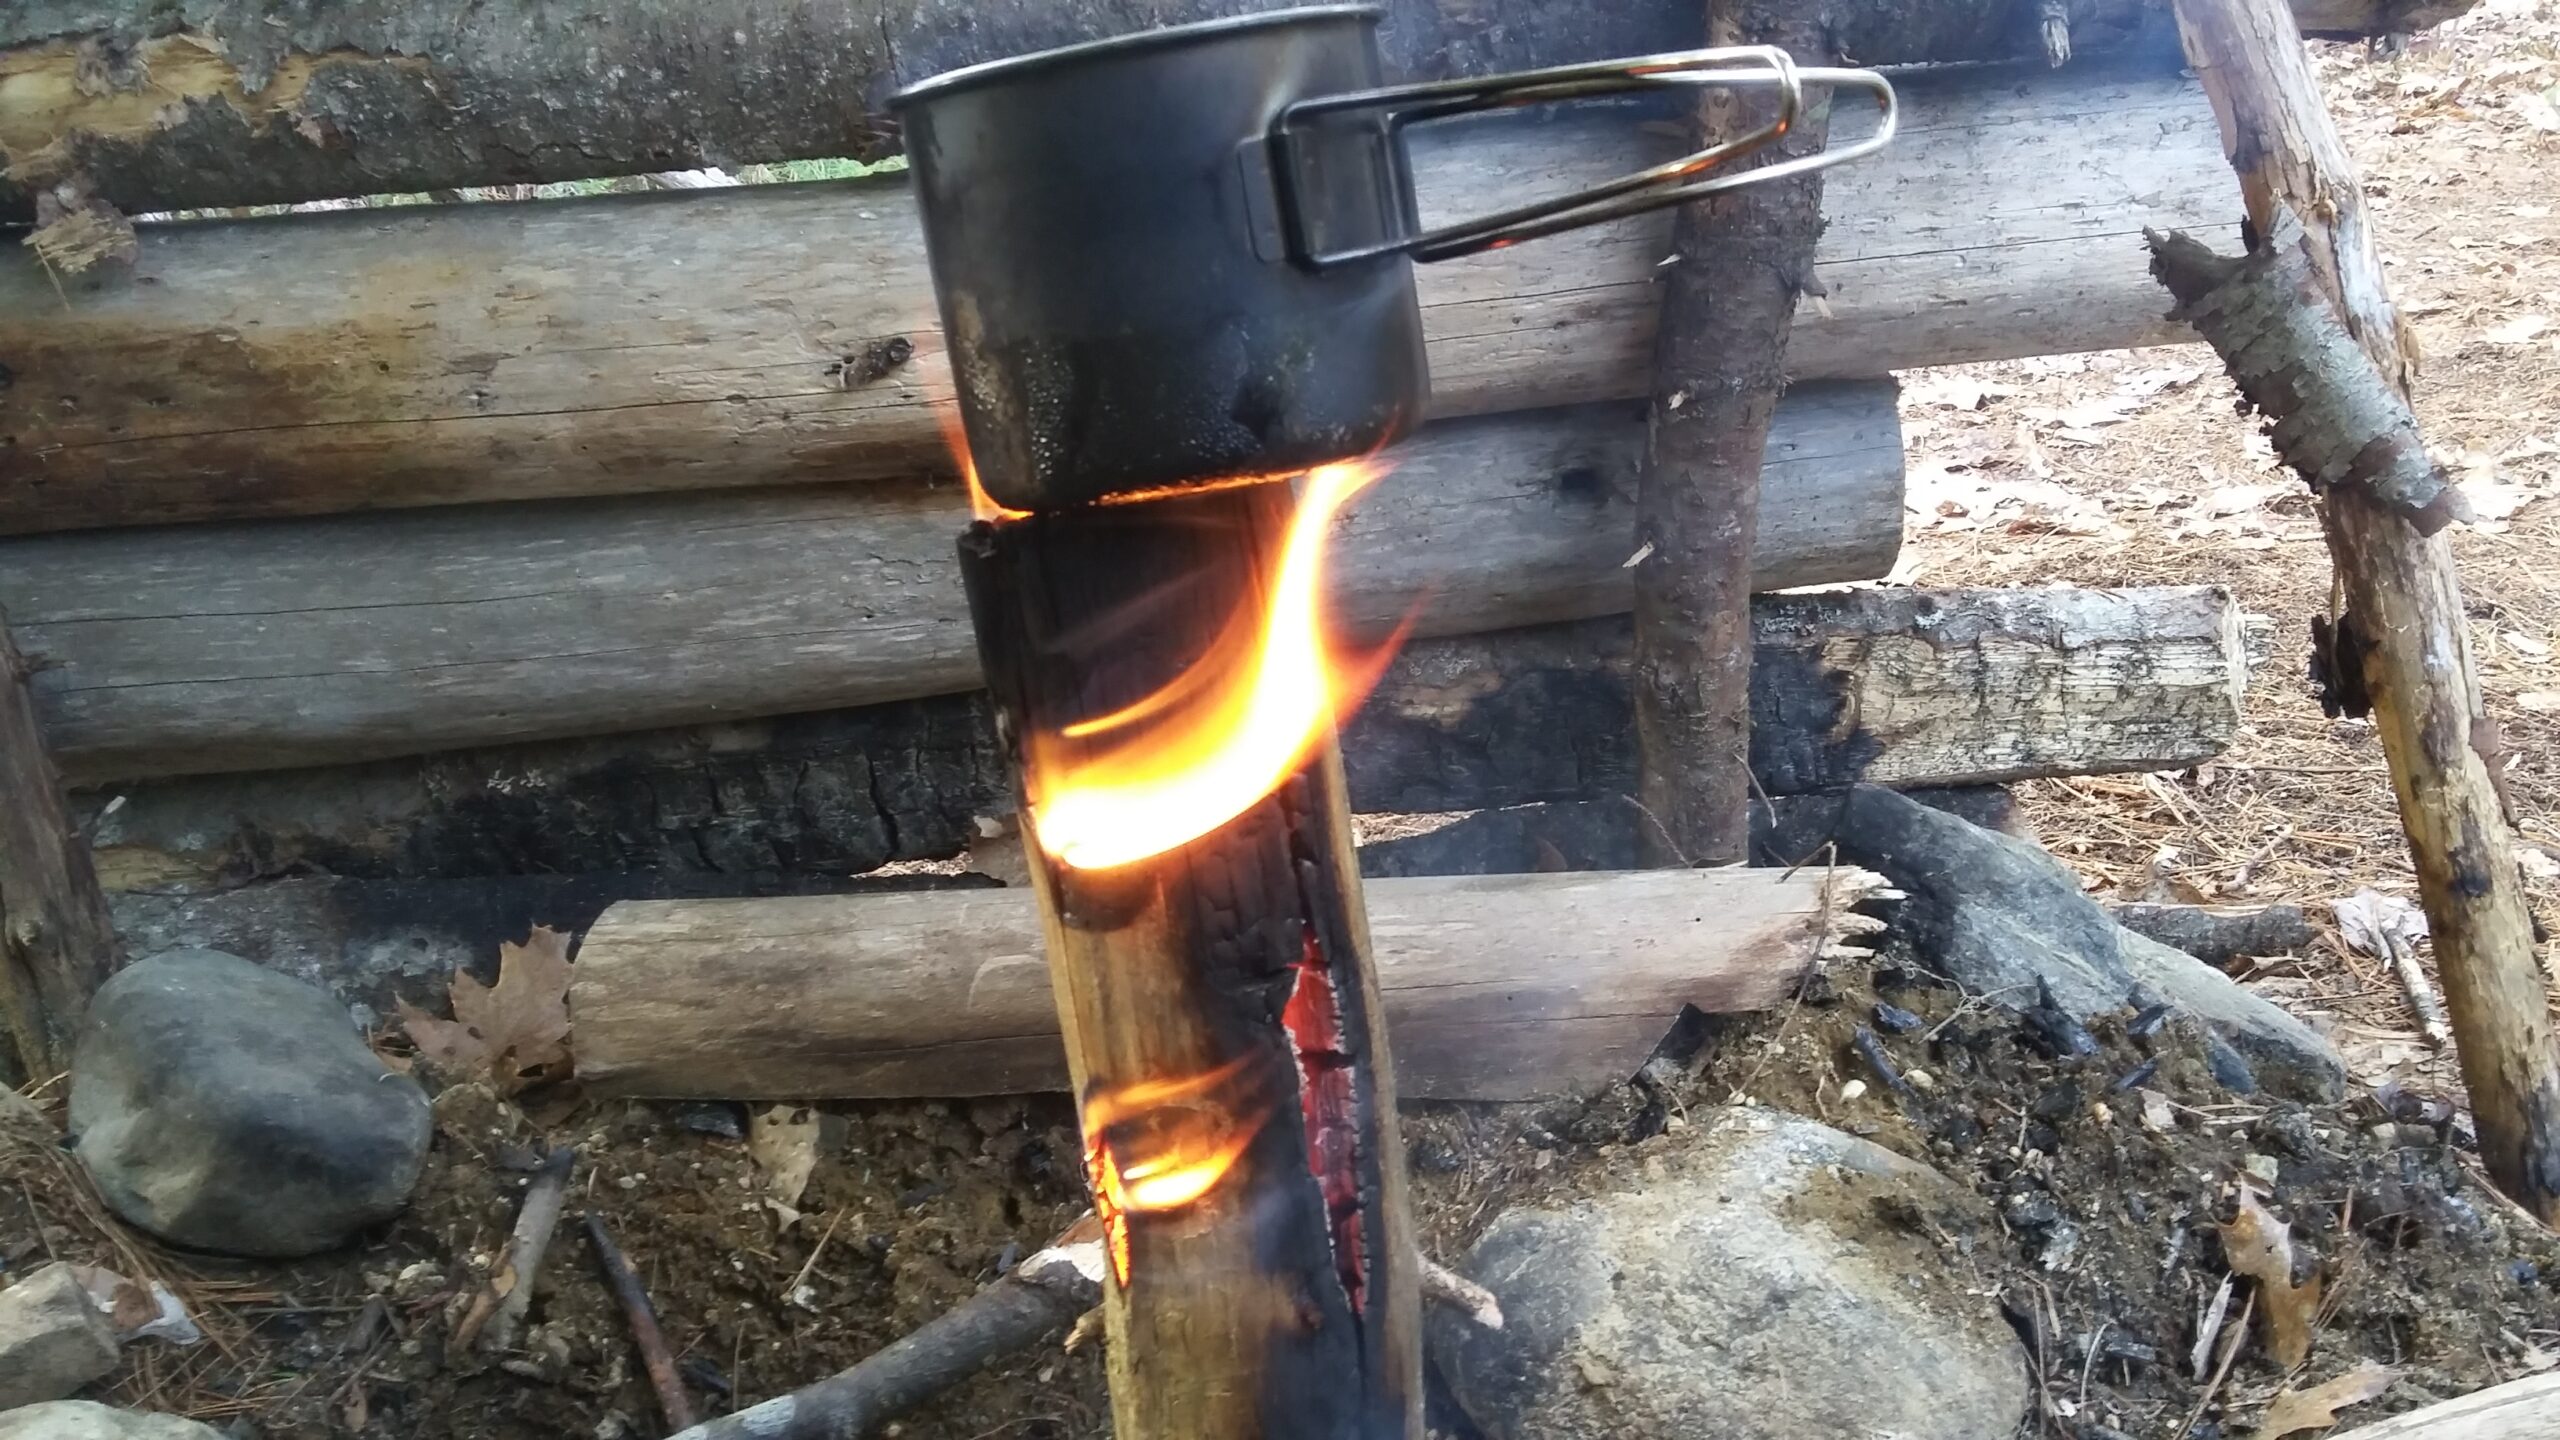 take too long for it boil a cup of water, maybe seven or eight minutes, which is totally acceptable in the bush.The next time I make one of these torches I’m going to cut a notch in the top in such a way that it will hold the pot and still be able to burn freely at the same time. I left it flat on top and it burned ok, but I had to offset it so that it didn’t smother the fire.
Overall Impressions
I liked the Swedish Torch for several reasons. First, it’s economical. It doesn’t 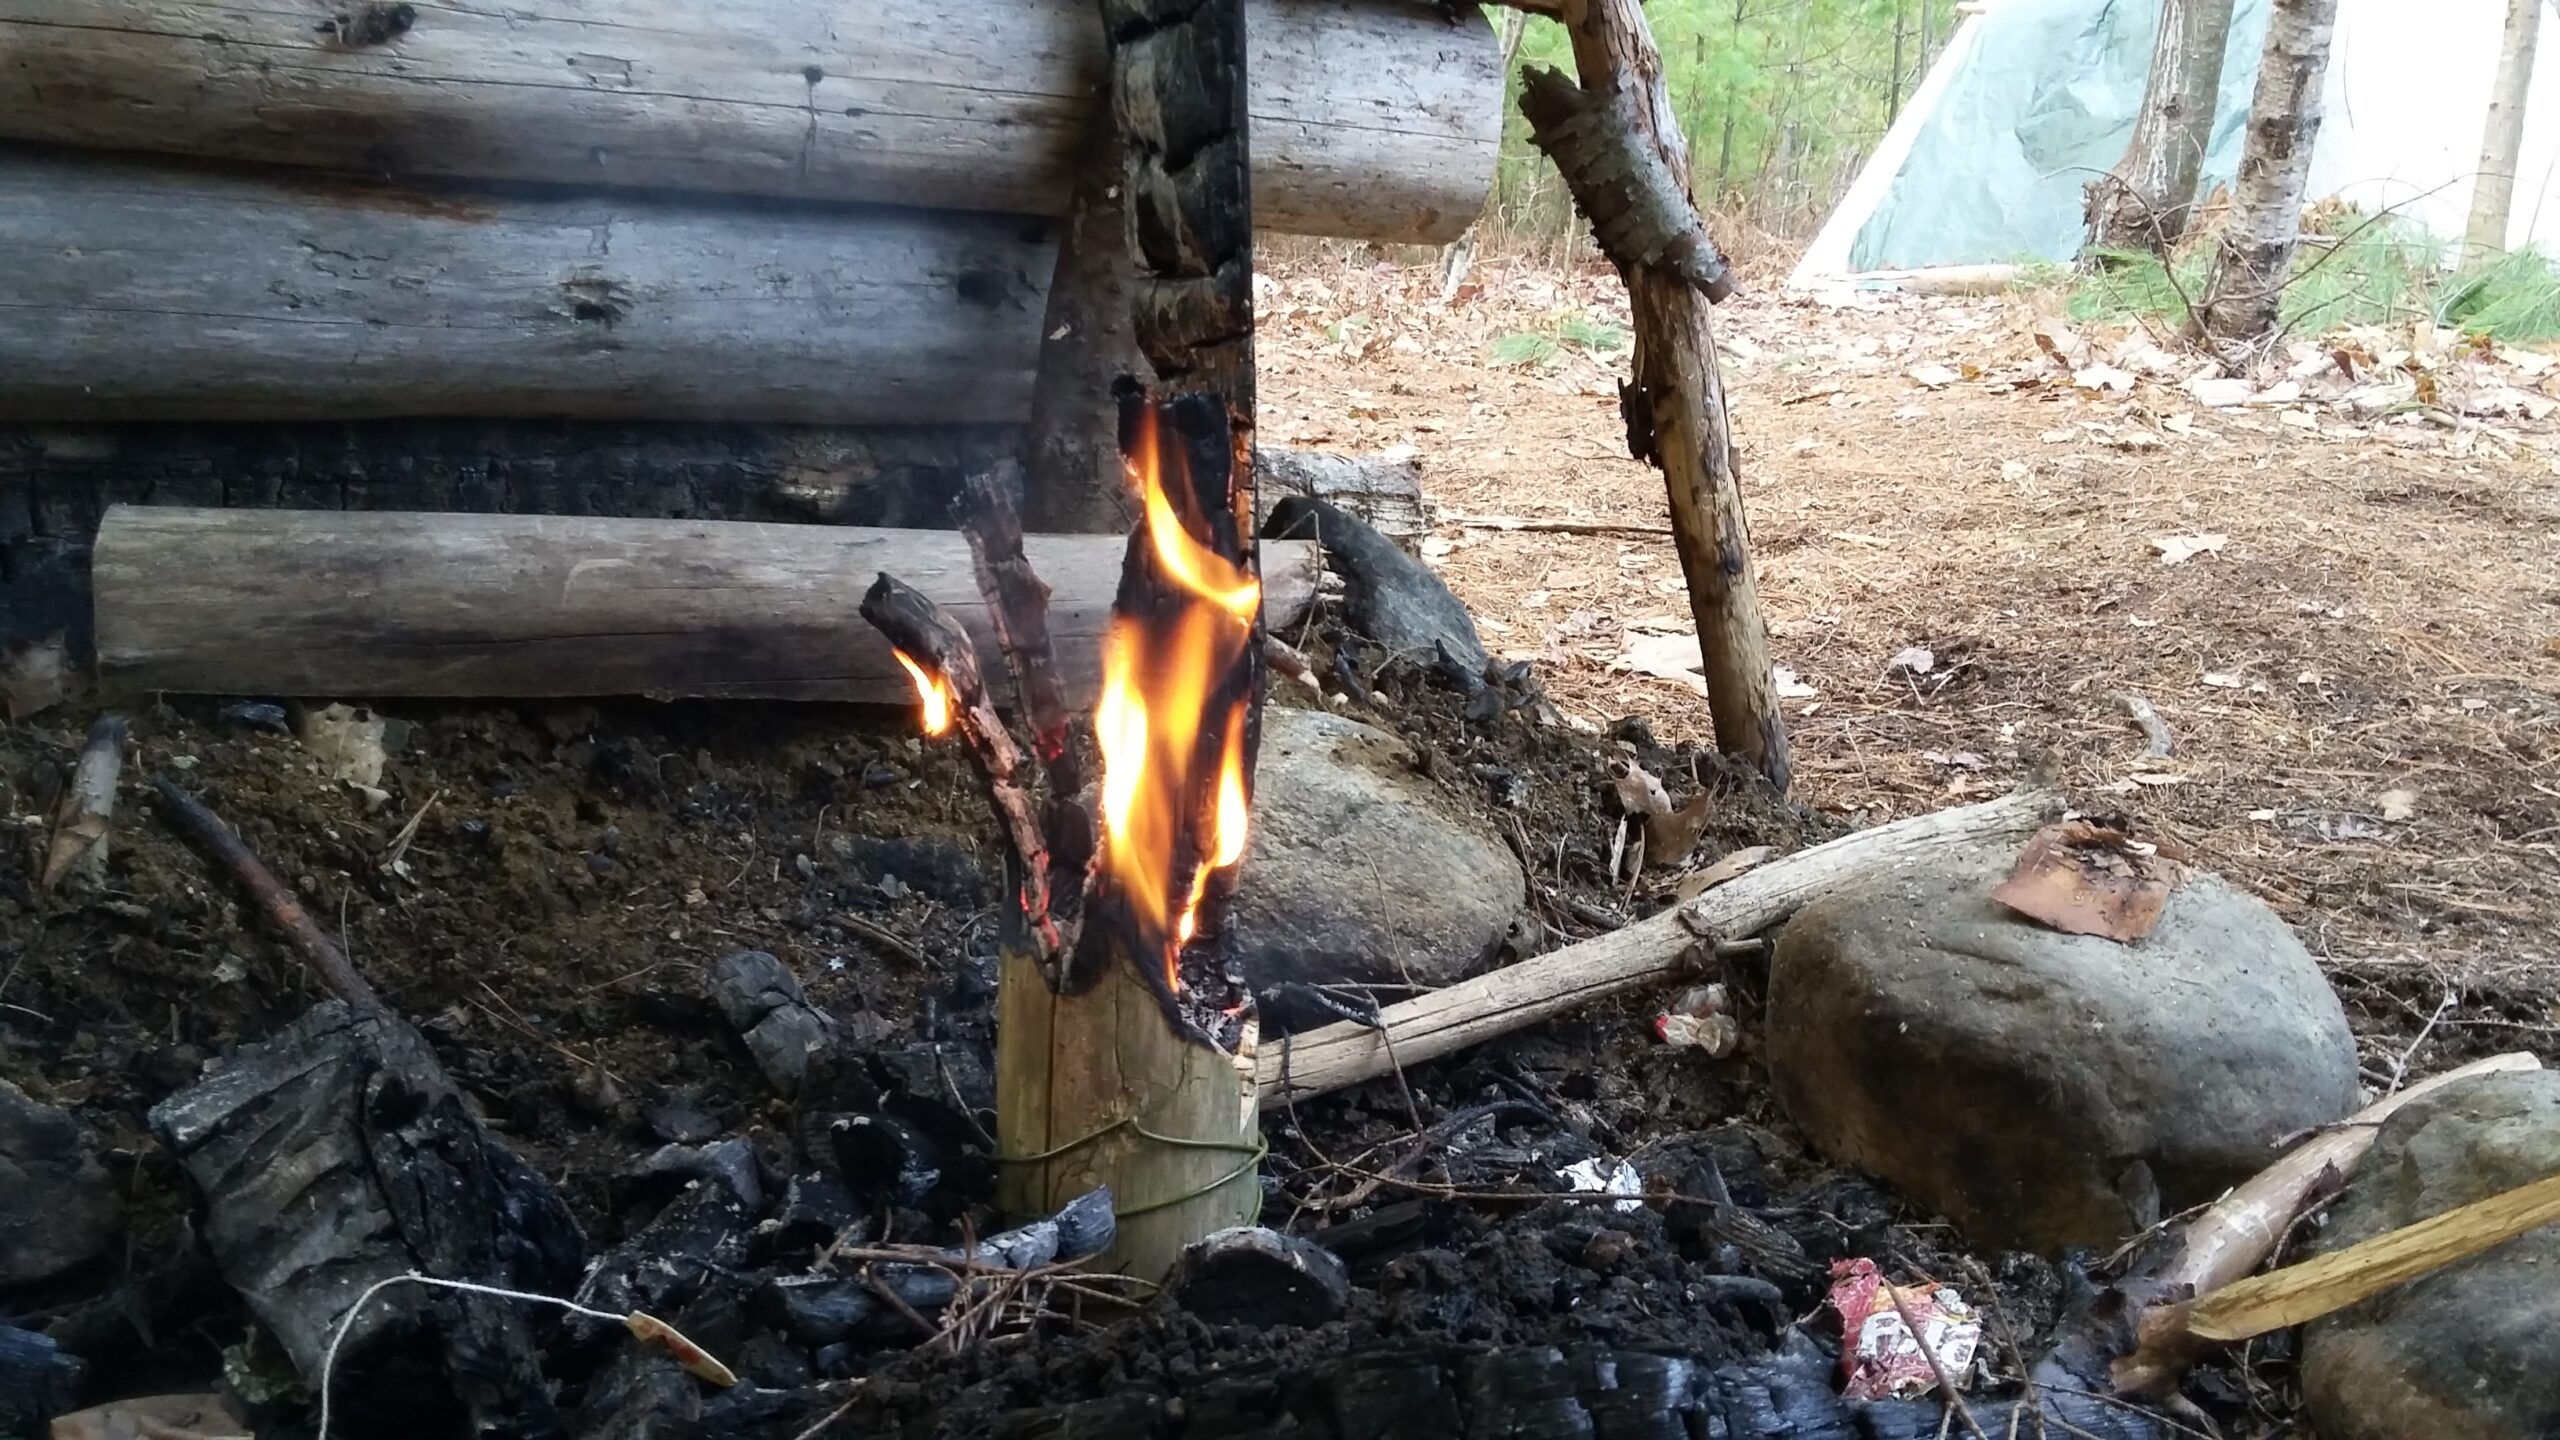 take a lot of wood to keep a small fire going for a reasonable amount of time. It’s not going to throw a lot of heat, but you’ll be able to warm your hands over it with no problem. It’s a great way to throw light if you don’t have a candle, lantern, or flashlight, or if you just want to use it for atmosphere sitting next to your fire pit. You can heat water on it without having to make a bigger fire. Of course the downside to it is there’s some work on the front end to fashion it and get it lit. If I were to spend a night out without man made light, I’d probably make four or five of these and have them laying around.
Questions? Comments
Sound off below!
Jarhead Survivor
12 comments
First time I’ve seen this used, thanks for the clear tutorial. This goes in my “bag of tricks” forcsure!
Glad you liked it and thanks for reading!
Anyway to make the chart graphic bigger? Clicking on it does nothing
Hi Gene – please try the graphic again. I changed it so that it should work now. If it doesn’t please let me know ASAP and I’ll dig deeper.
I had the sound full blast and still couldn’t make out what he was saying! As for the graphic, I agree it is small and hard to read (fuzzy) and clicking did nothing.
Sorry to hear that, Sam. I watched the video again on my laptop and my Surface and was able to hear it fine on both. Do you have a different device you could try it on? If there’s a problem hearing it on a different platform I’d like to figure out how to fix it. Thanks for the comment.
What advantage (if any) does using this ‘torch’ have over a regular small camp fire? It seems to me that in high winds this ‘torch’ wouldn’t work well at all! And the prep time seems to be as much if not more than for a simple camp fire. Am I missing something? GLAHP!
I think the biggest advantage is that you only need one piece of wood in order to have a fire. It’s also portable, meaning you could move it if necessary. But it’s like everything else, if you think it might be handy go ahead and put it in your toolbox, if not disregard and on to the next post. Thanks for reading.
At first I wondered what good this thing would really be. But then I remembered a cold night I spent surrounded by swamps when a duck hunt went bad. There was lots of wood, but it was mostly soaked. If I’d been able to craft a few of these with the available dry stuff, the night would have been a bit more pleasant.
Good job.
Sounds like a long night. Thanks for your comment and appreciate your reading SHTFBlog!
Been reading since ’07. Thanks to all of you for sticking with it. I know it’s a lot of hard work.
I have been doing something similar for van camping trips. I take a 16″ tall round about 12-16″ in diameter and take my chainsaw to it. Cut 3 or 4 times thru the diameter leaving 2-3″ of uncut at the bottom. Start a little fire up top, in about 10 minutes the fire has worked its way down into log, set your pan up top and get to cooking. They last 2-3 hours before collapsing. If they set to long without being used, the cuts will start to shrink up so I put some sticks in the gaps. Very handy for a quick fire that is easy to cook anything on.